Instructions for SL500DC/SL800DC
www.gatexpertstore.com
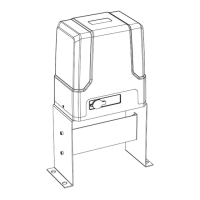
Step 1 - Gate Preparation
· Ensure that the sliding gate is correctly installed.
· The gate is horizontal and level and the gate can glide back and forth smoothly when moved by
hand before installing the gate opener.
· Wheels and guide rollers should rotate easily and be free from dirt or grime.
· Track should be flat, level and firmly affixed.
· Any misalignment in the gate will affect performance of the automatic gate opener.
The gate should slide smoothly by hand before attempting to install the gate opener.
Figure 5
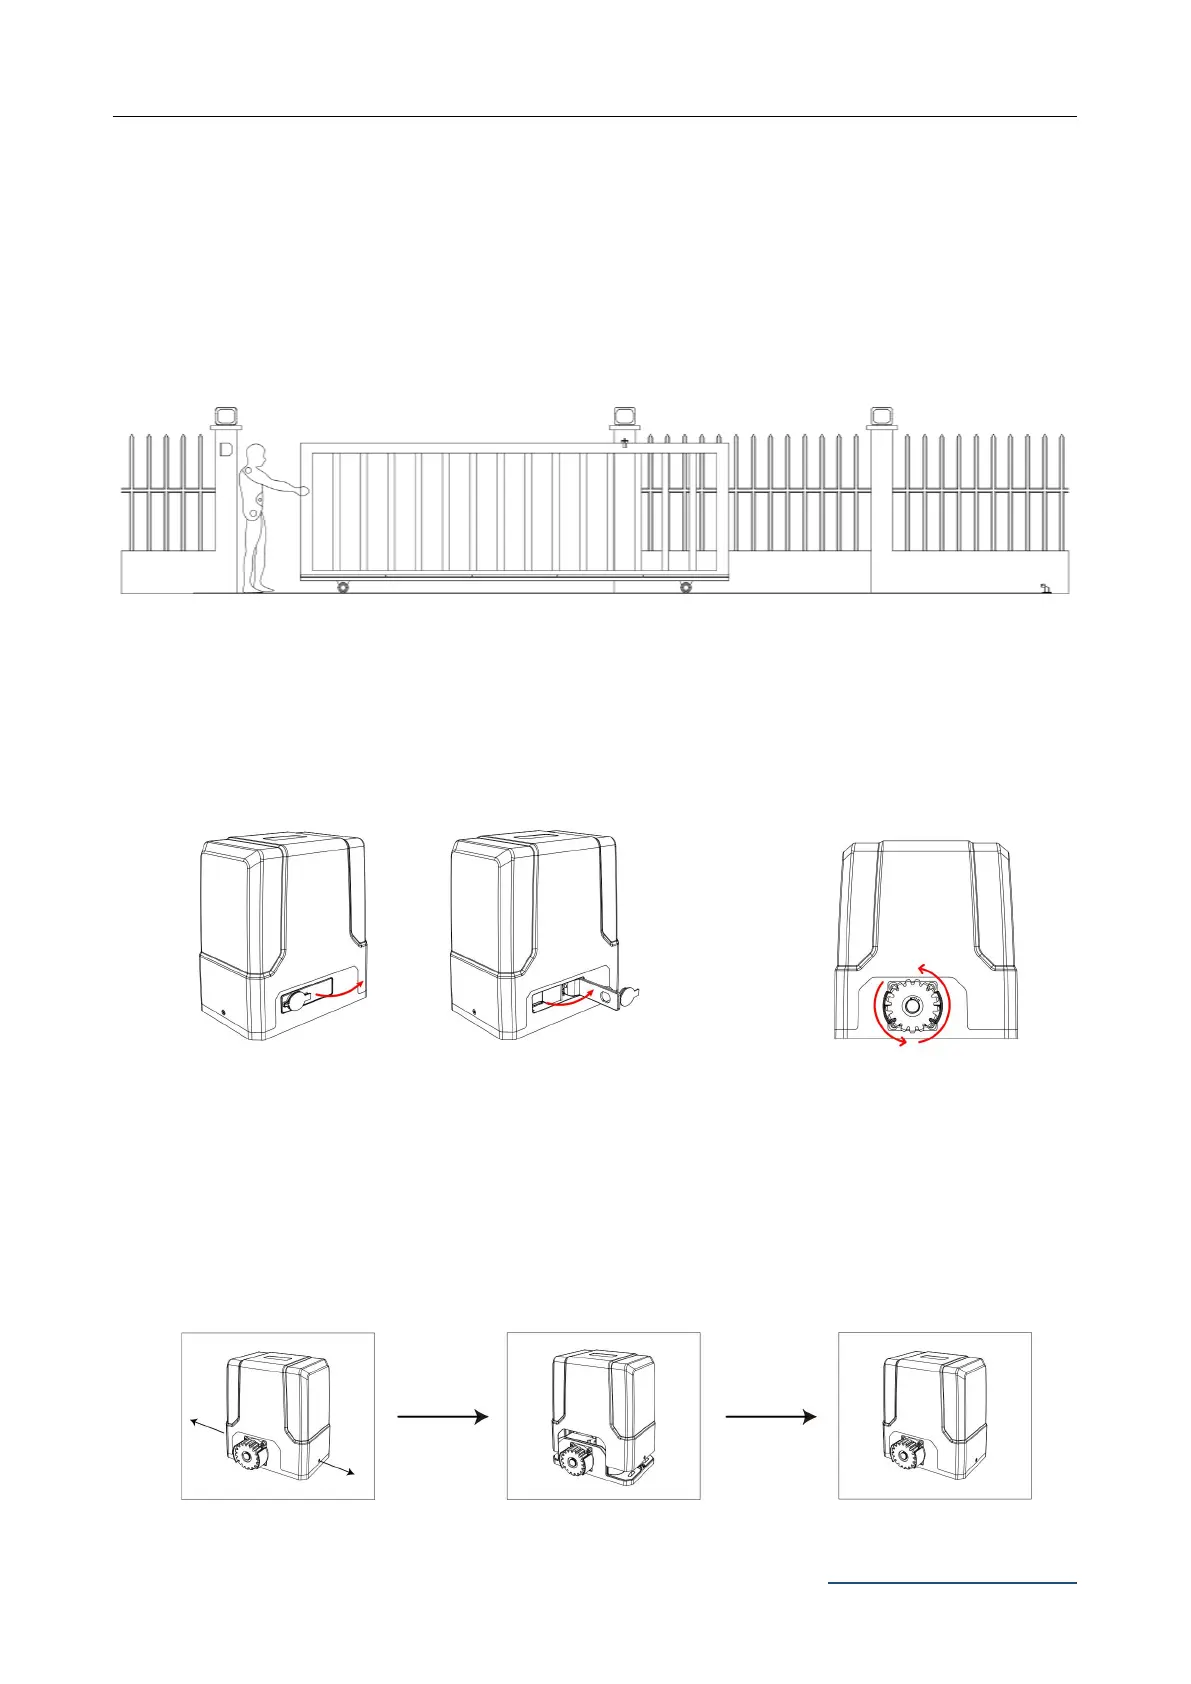
Step 2 - Checking Manual Release
· Insert the key and open the manual release bar to enable the motor get into manual mode and
check that the motor output gear rotates freely by hand (Figure 6).
Figure 6
Step 3 - Removing / Installing Motor Cover
· Unscrew the two cover screws located at each side of the motor cover.
Figure 7
To make the motor into manual mode, insert the
key and open the manual release bar till it rotates
by 90°.
In manual mode, the gear
can turn freely and the gate
can be operated by hand.