Puma III User Manual
Installation 2-3
the holes and tighten them as Figure 2-2. Then the complete picture of
stand will be like Figure 2-1.
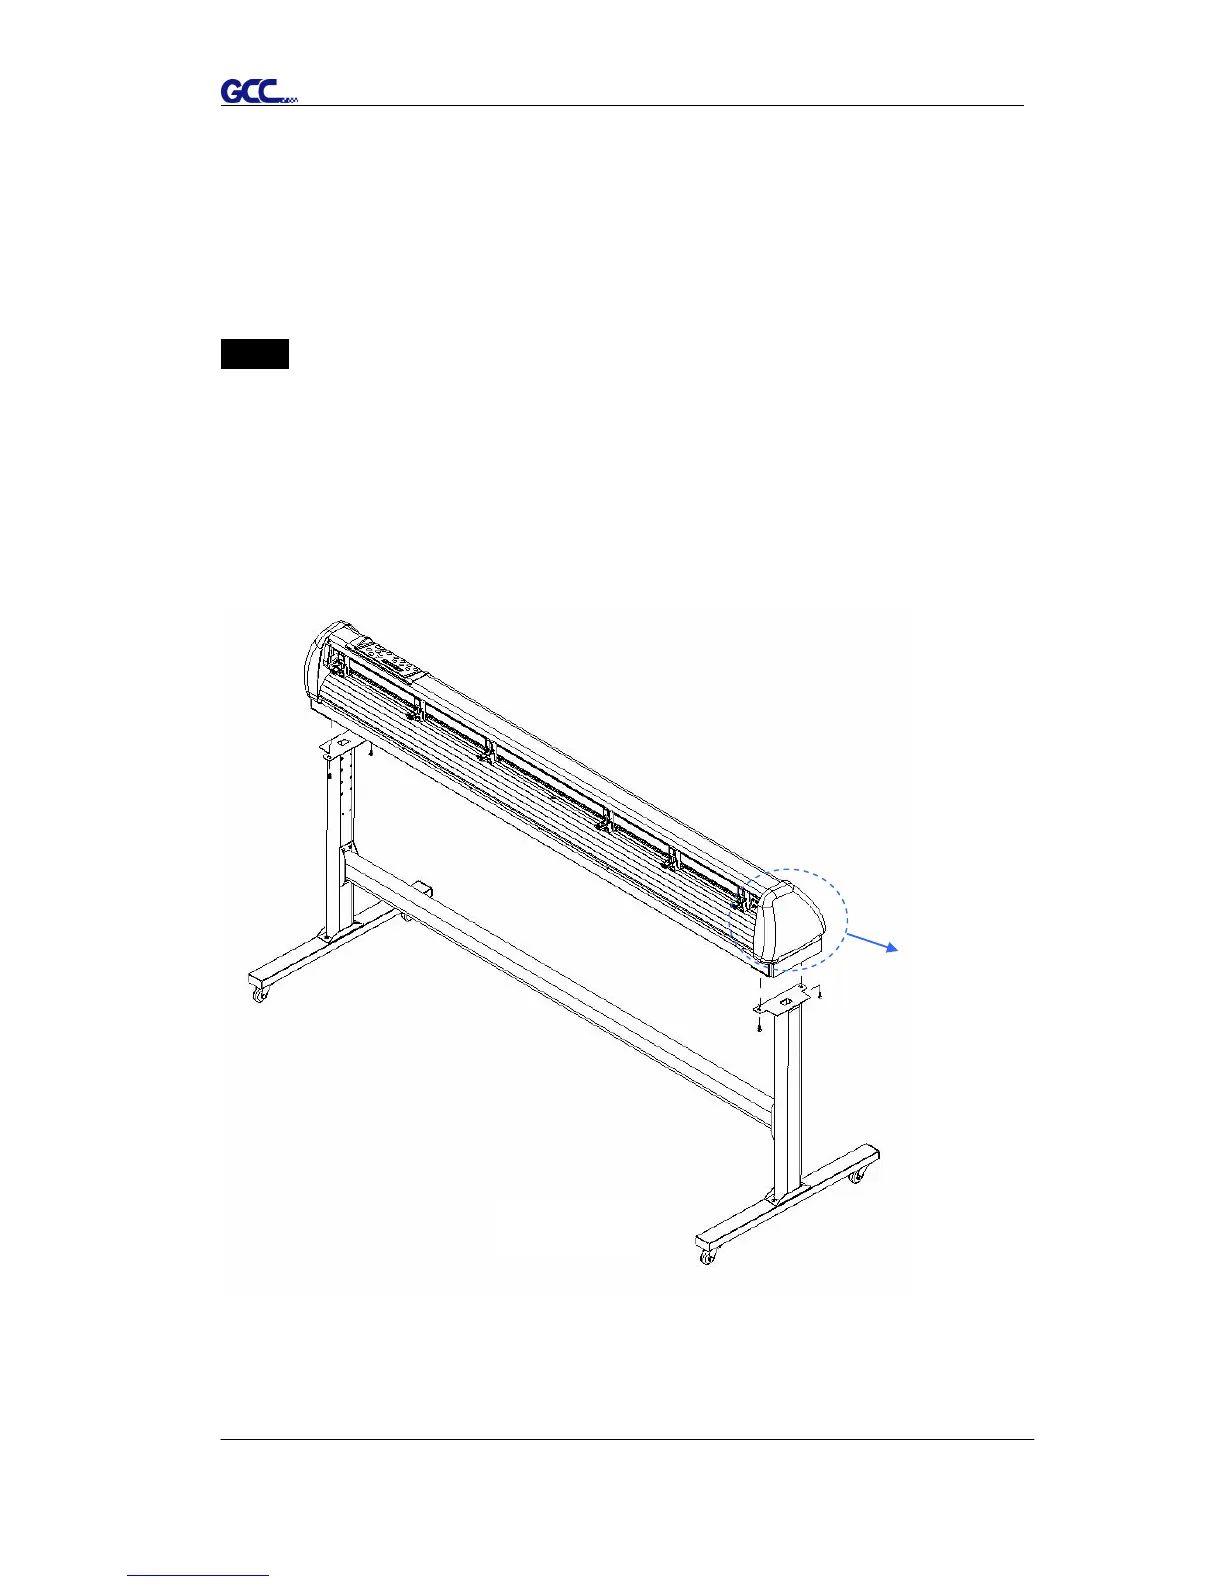
Step 4 Remove the cutting plotter from the carton. Position your stand under the
plotter, on the bottom of the plotter, there is one hole on each side in the
position corresponding to the locating pins, so the locating pins can be
located into the holes. Then insert the screws into the holes on the stand
to fix the plotter and tighten them up as shown in Figure 2-3.