Step 4
Then turn the roll downward to make an equal tension across the media. (Figure 4-9)
Step 5
Move the pinch rollers to the precise location and be careful that the pinch rollers must be
positioned above the grid drums.
Step 6
Push the lever downward to lower down the pinch rollers.
Step 7
Fixes roll holder guide bushes on the roll holder to secure the roll media.
Step 8
Turn on the power switch and select Roll, Edge or Single mode appropriate for one time
setup, or set to Default Roll in Sizing Setting and Roll type sizing will be performed when the
machine is turned on. Then the cutting plotter is ready to work.
Step 9
Unloading media:Reversing steps mentioned above to remove the media.
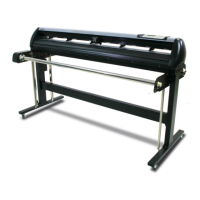
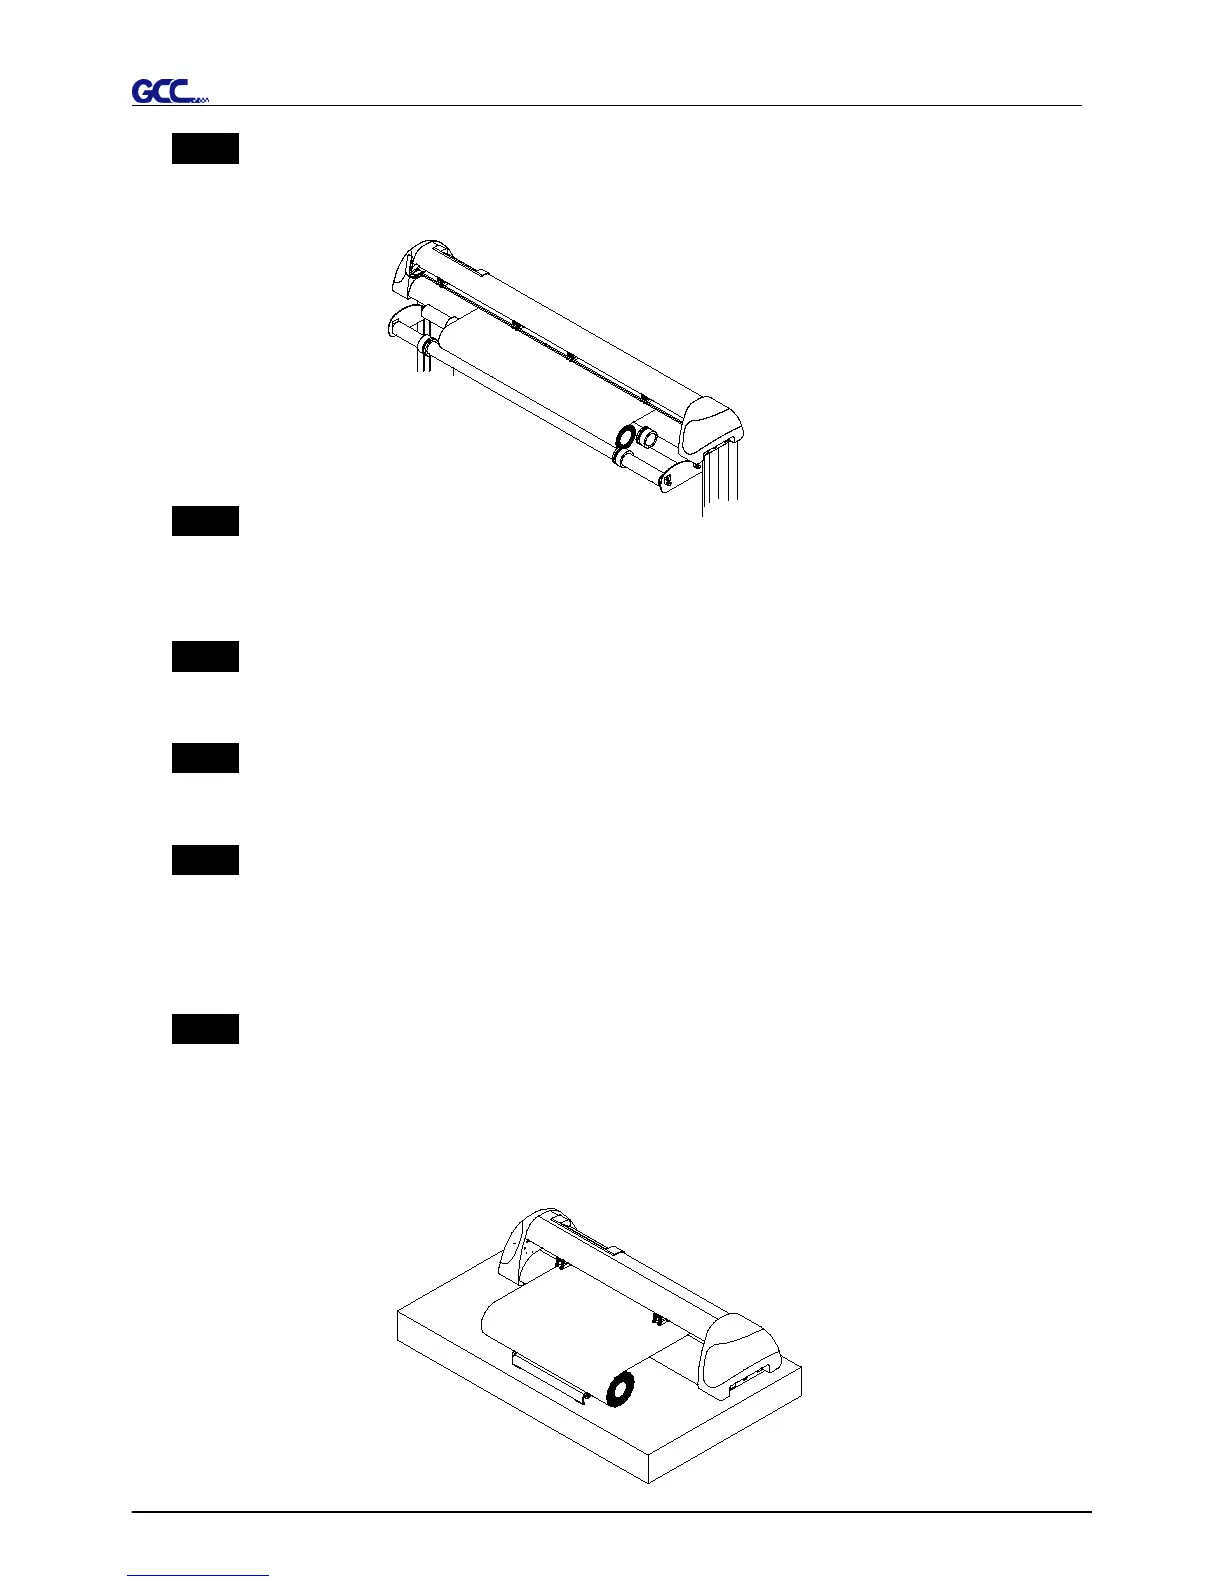
For the users of Puma III-60, you can also use the “Roll Base” (a standard accessory of
Puma III-60) to feed a roll media. Please adjust the position of roll base to get a good cutting
result. (Figure 4-10)