○○○○○○○○○○○○○
Sampling 95
○○○○○○○○○○○○○
SAMPLING PROCEDURE
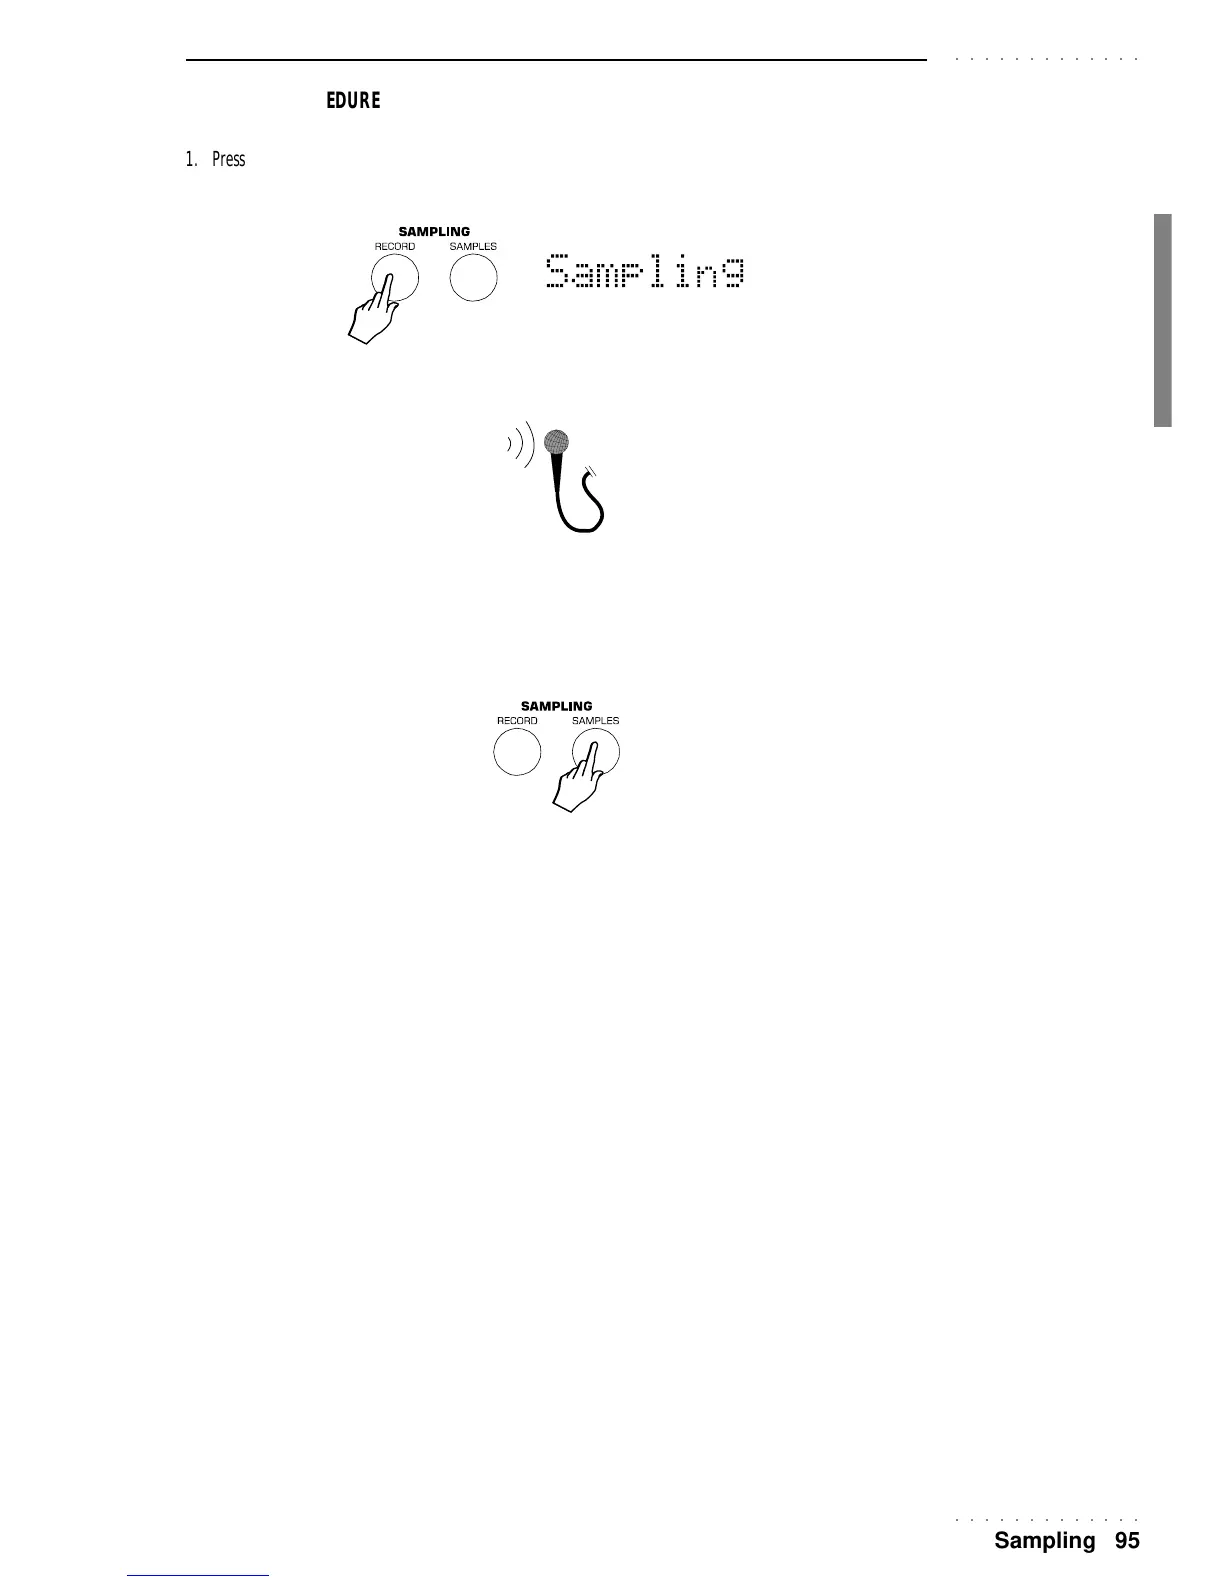
1. Press the RECORD button.
The display shows the flashing word “Sampling”.
2. Speak into the microphone.
If you do something wrong during the flashing “Sampling” phase, press RECORD again and repeat the
operation.
3. Press the SAMPLES button and assign the Sample to a keyboard track using the normal sound assignment proce-
dure already explained.
Your sample is memorized directly to the SAMPLES group.
The SAMPLES group corresponds to the battery-backed Sample RAM which maintains data after turning
the instrument off. To safeguard your sample against cancellation, save your Samples file to disk using the
procedure already explained in the Disk chapter.
Every time you carry out a sampling operation, the entire RAM available for sampling is utilized (approx.
100 Ksamples).
NB. A floppy disk can con-
tain only 1 file of samples.