Rocket 4D Evaporation System
04-7848 Issue 2-4 August 2014 43
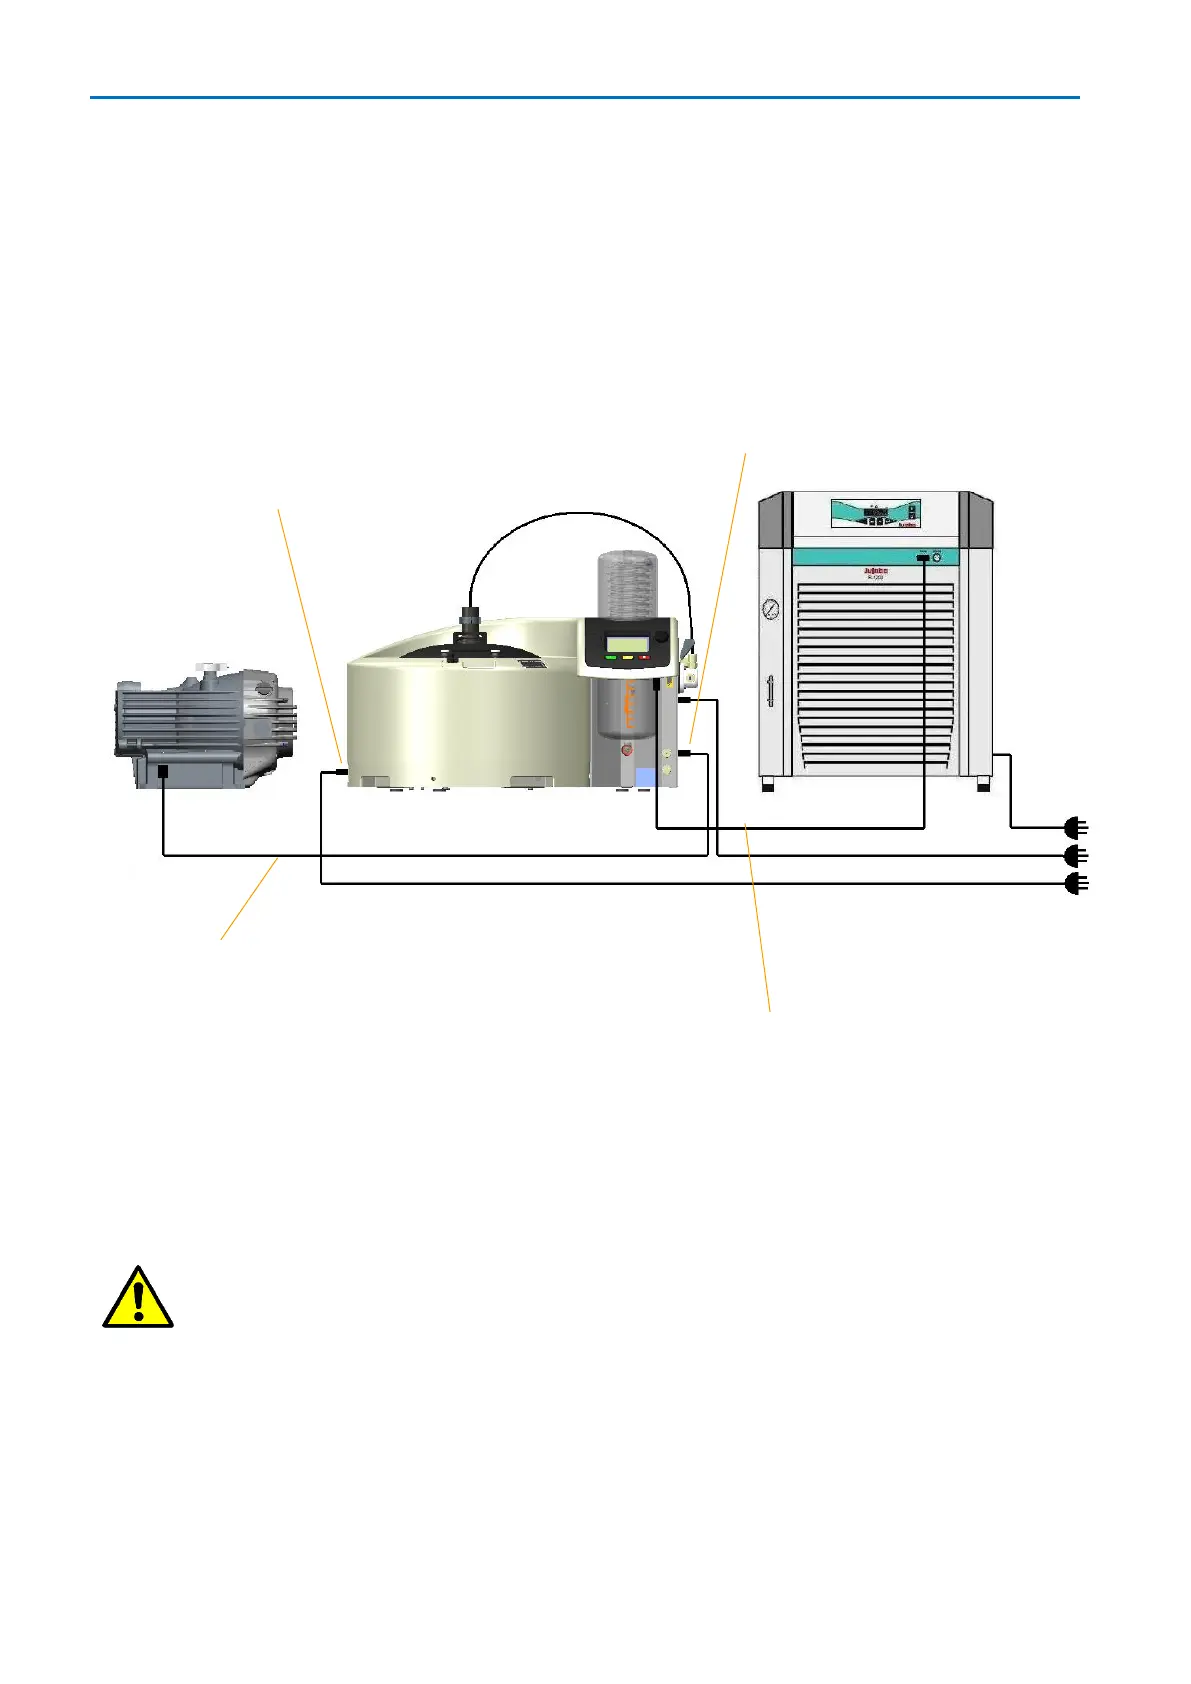
Electrical connections
The illustration on this page shows the electrical connections.
Connect the vacuum pump to the Rocket 4D via the pump control cable supplied, do not
connect the vacuum pump directly to the mains power supply outlet.
Note: For 120 V systems, the power cables supplied with the evaporator are labelled:
LEAD 1 - 10 A and LEAD 2 – 5 A. Lead 1 must be connected to power inlet connector 1
(power switch), lead 2 must be connected to power inlet connector 2 (service panel).
Caution: Check mains voltage and frequency shown on the serial plates to
make sure the evaporator, chiller and pump are correctly specified for the local
regional mains supply.
Chiller control cable – RS232
Power inlet connector 1
(120 V systems only)
Power inlet connector 2
(120 V systems only)