14. Attach the bracket with the OrPAY1000 to the pump
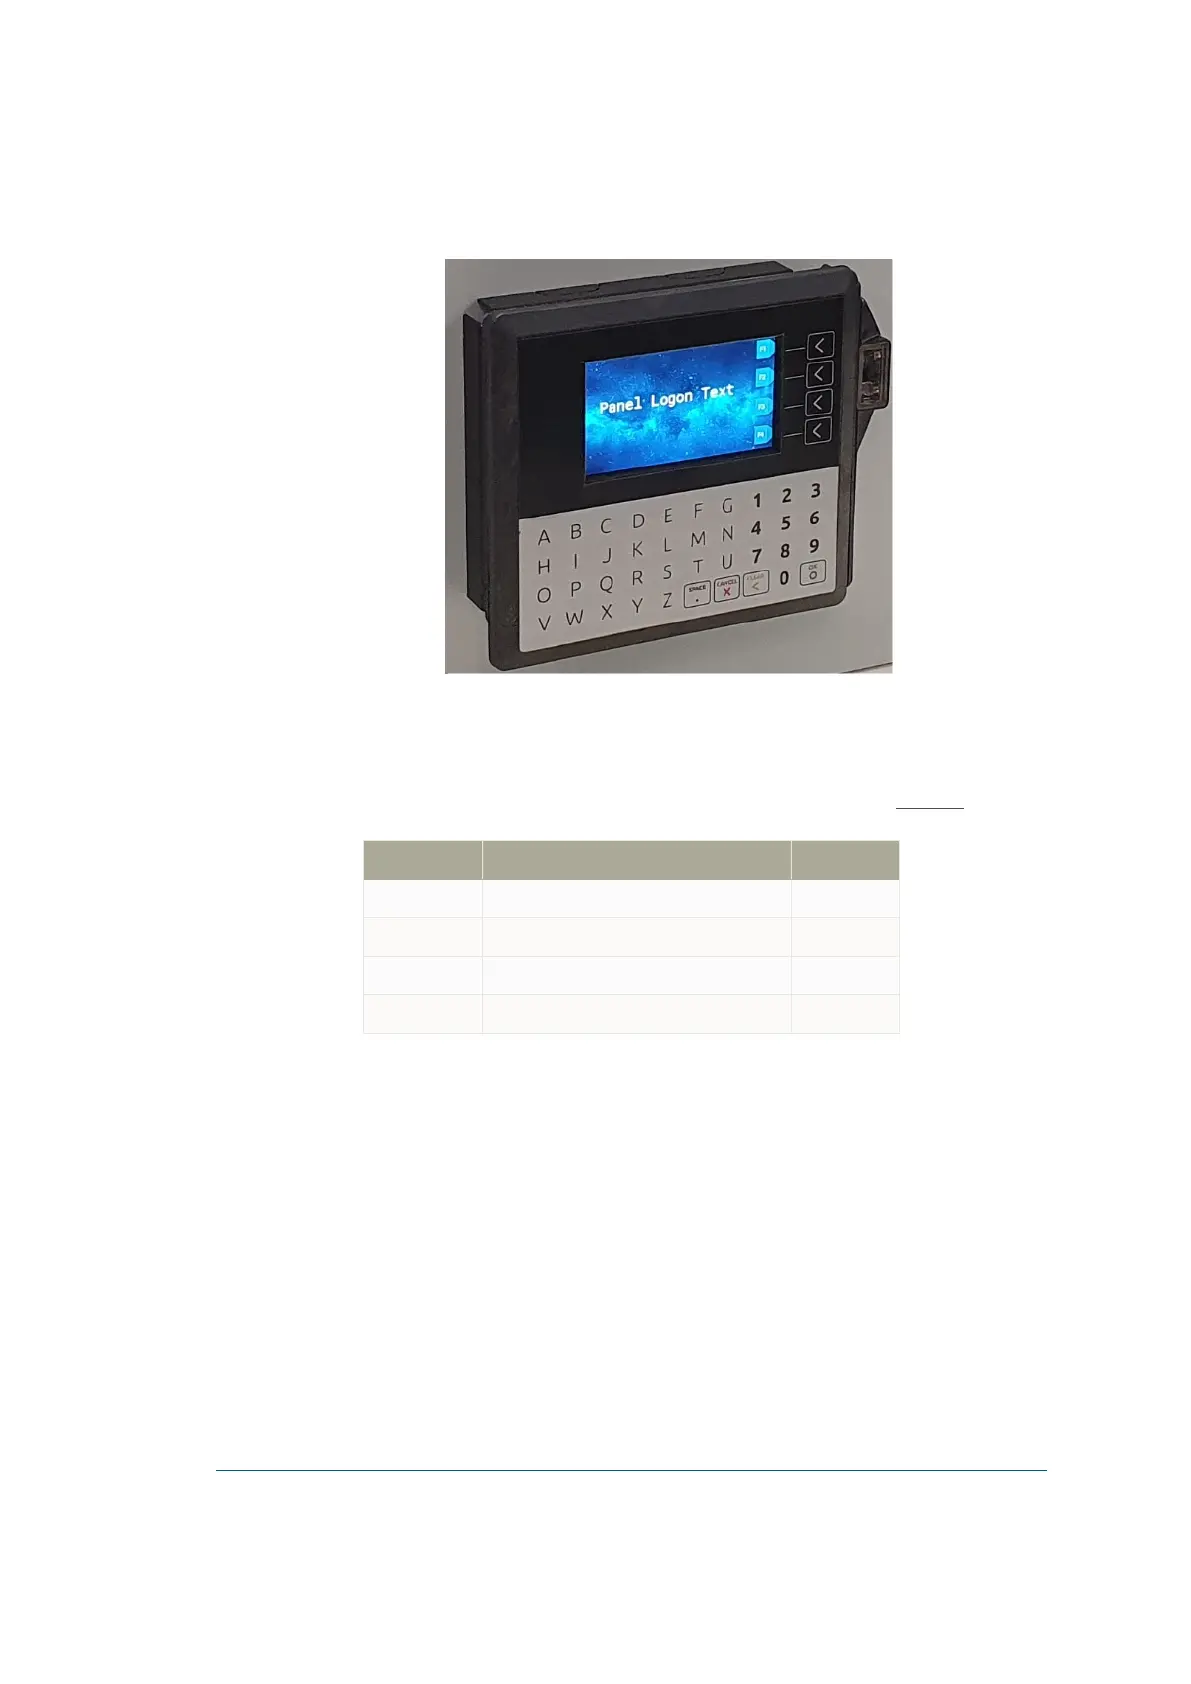
Figure 4-2 - OrPAY1000 on Pump
4.2.3. Installation with Bracket on Wall
The following table details the installation kit for installing the OrPAY1000 on the wall (see Table 4-2):
P/N Description Quantity
814127000 SEAL BACK
OrPAY1000
1
814329450 WALL MOUNTING HOLDER-
OrPAY1000
1
815228300 SCREW, M4 x 12 SST+2 WASHERS 4
815804000 CABLE TIE KSS CV-140B 150 x 4 mm 4
Table 4-2 - Wall Mounting Kit - P/N 819027893
To install the OrPAY1000 at any non-hazardous area on a wall near the pump, proceed as follows:
1. Shut down any power source at the installation and working area
2. Locate a non-hazardous area to install OrPAY1000
3. Identify the prescribed location of the OrPAY1000 on the fuel pump housing. Draw a horizontal
reference line to allow correct alignment of the lower edge of the drilling template
4. Use the drilling template (place the plate with the arrow up) and mark the five holes on the
mounting surface
5. Drill five 4 mm holes in accordance with the template
6. Drill the middle hole to the final diameter desired, based on communication and power cables used
7. Thoroughly clean burrs on the hole edges
8. Drill the four corner holes to the final diameter, 4 mm
OrPAY1000 Installation and Setup Manual 28

 Loading...