P/N Description Quantity
814329460 TOP MOUNTING HOLDER-
OrPAY1000
1
815228300 SCREW, M4x12 SST+2 WASHERS 2
815804000 CABLE TIE KSS CV-140B 150x4 mm 4
Table 4-3 - Top Mounting Kit - P/N 819027894
To install the OrPAY1000 with the L-bracket on top of the pump, proceed as follows:
1. Unpack the OrPAY1000 from its packing. There will be two M4 x 12 mm screws (2) for mounting the
OrPAY1000
2. Unlock and open the pump door
3. Hold the OrPAY1000 outside the pump, and locate at least one of the top mounting screws
4. Place several of the support screws around the OrPAY1000. Verify that the OrPAY1000 is aligned
with any features on the pump door, and then tighten the screws
5. Insert and tighten all remaining screws
6. Once the physical mounting is complete, proceed to insert the OrPAY1000 into the bracket
7. Using two SEMS screws M4 x 12 mm (P/N 815228300) attach and tighten the OrPAY1000 to the
bracket:
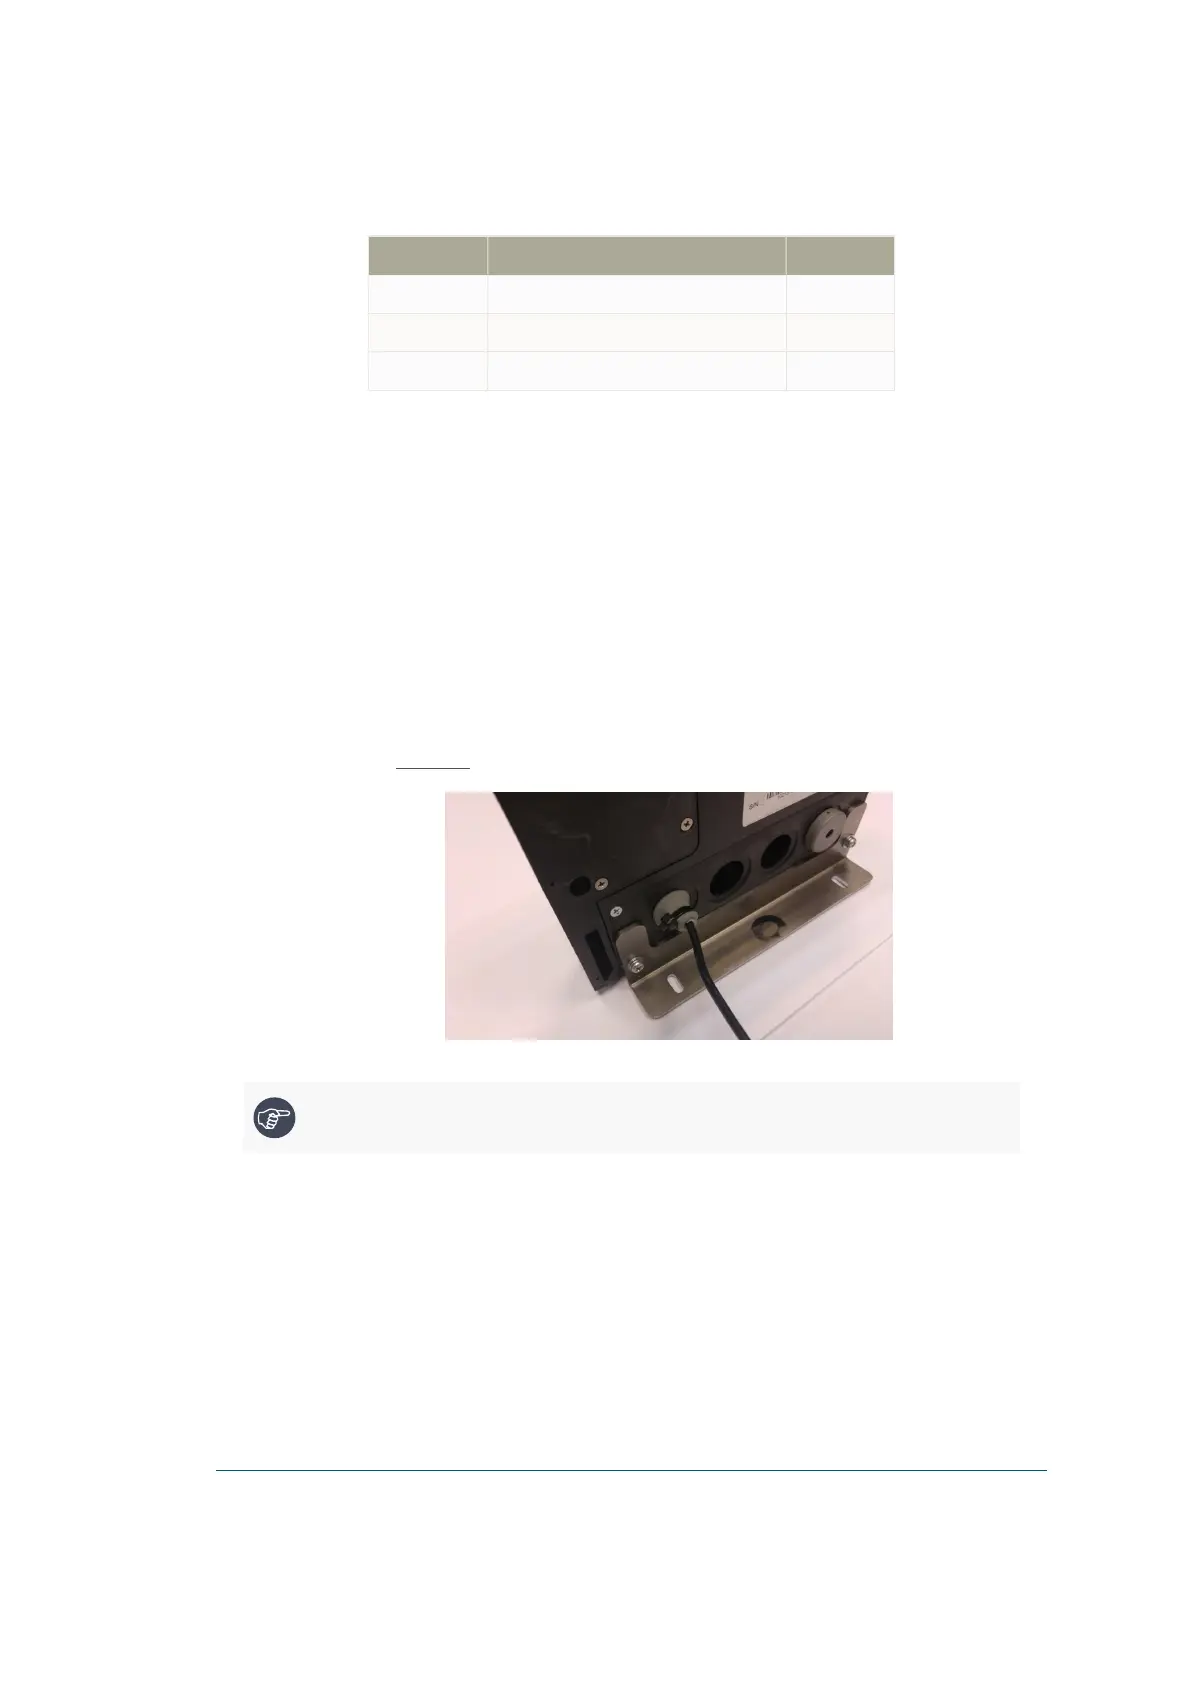
8. Once the screws are tightened, tighten a tie-wrap around the outgoing wire to avoid moisture from
getting in (see Figure 4-5):
Figure 4-5 - Tie-wrap around Wire
Note: When using the optional magnetic card reader, make sure to bring the unit to the front
so that your card will not touch the surface when swiping.
4.2.5. Installation for Pump Retrofit
To install the OrPAY1000 at any non-hazardous area of the fuel pump on a pump retrofit, proceed as
follows:
1. Shut down any power source at the installation and working area
2. Locate a non-hazardous area to install OrPAY1000
OrPAY1000 Installation and Setup Manual 30

 Loading...