-12-
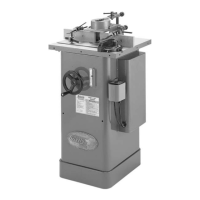
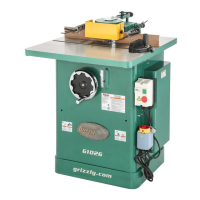
G1026 Heavy-Duty Shaper
Most of your Model G1026 Shaper has been
assembled at the factory, but some parts must
be assembled or installed after delivery. We
have organized the assembly process into steps.
Please follow along in the order presented here.
TOOLS REQUIRED: You will need a 12" to 18"
long straightedge, 12, 14, and 17mm open end
wrenches, 4 and 8mm hex wrenches, and a
Phillips and flat head screwdriver.
Beginning Assembly
Wear safety glasses dur-
ing the entire assembly
process. Failure to com
-
ply may result in serious
personal injury.
Some metal parts
may have sharp edges
on them after they are
formed. Please examine
the edges of all metal
parts before handling
them. Failure to do so
could result in injury.
Disconnect power from
the machine when per
-
forming any maintenance,
assembly or adjustments.
Failure to do this may
result in serious personal
injury.
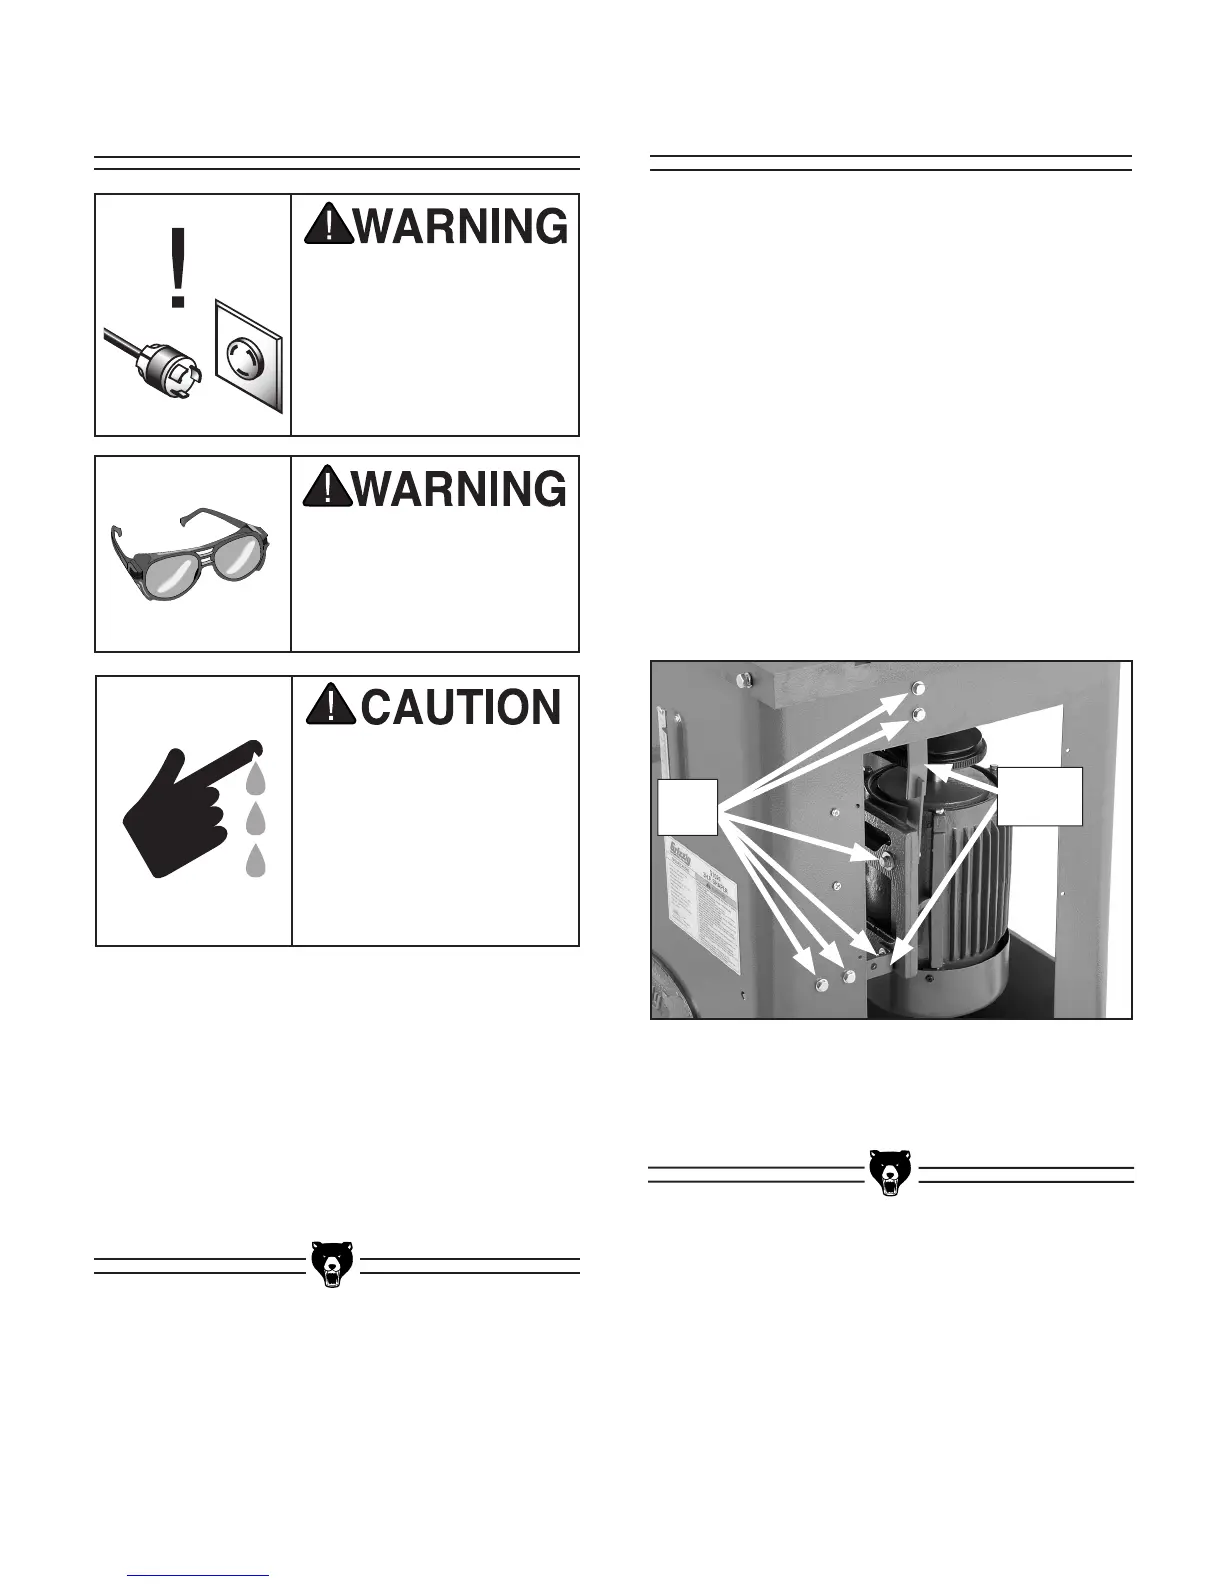
Motor Brace
The Model G1026 is equipped with motor braces
to prevent damage to the motor during shipping.
These braces are intended to be removed before
operation.
To remove the motor braces:
1. KEEP SHAPER DISCONNECTED FROM
POWER!
2. Remove the motor cover from the shaper
cabinet by removing six screws that hold it in
place.
3. Using a 12mm wrench, remove the six hex
bolts, hex nuts and flat washers and the two
motor braces shown in
Figure 3.
Figure 3. Motor braces and hex bolts.
4. Reinstall all the fasteners removed in Step
3.
Hex
Bolts
Motor
Braces
 Loading...