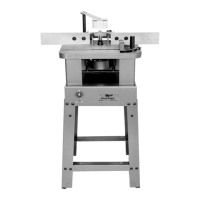
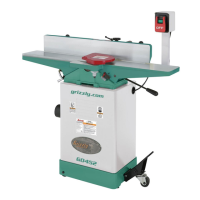
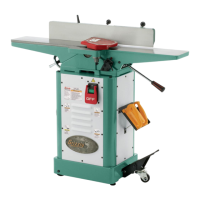
G1026 Heavy-Duty Shaper
-17-
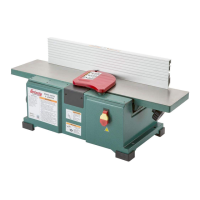
Fence Assembly
To install the fence assembly:
1. KEEP SHAPER DISCONNECTED FROM
POWER!
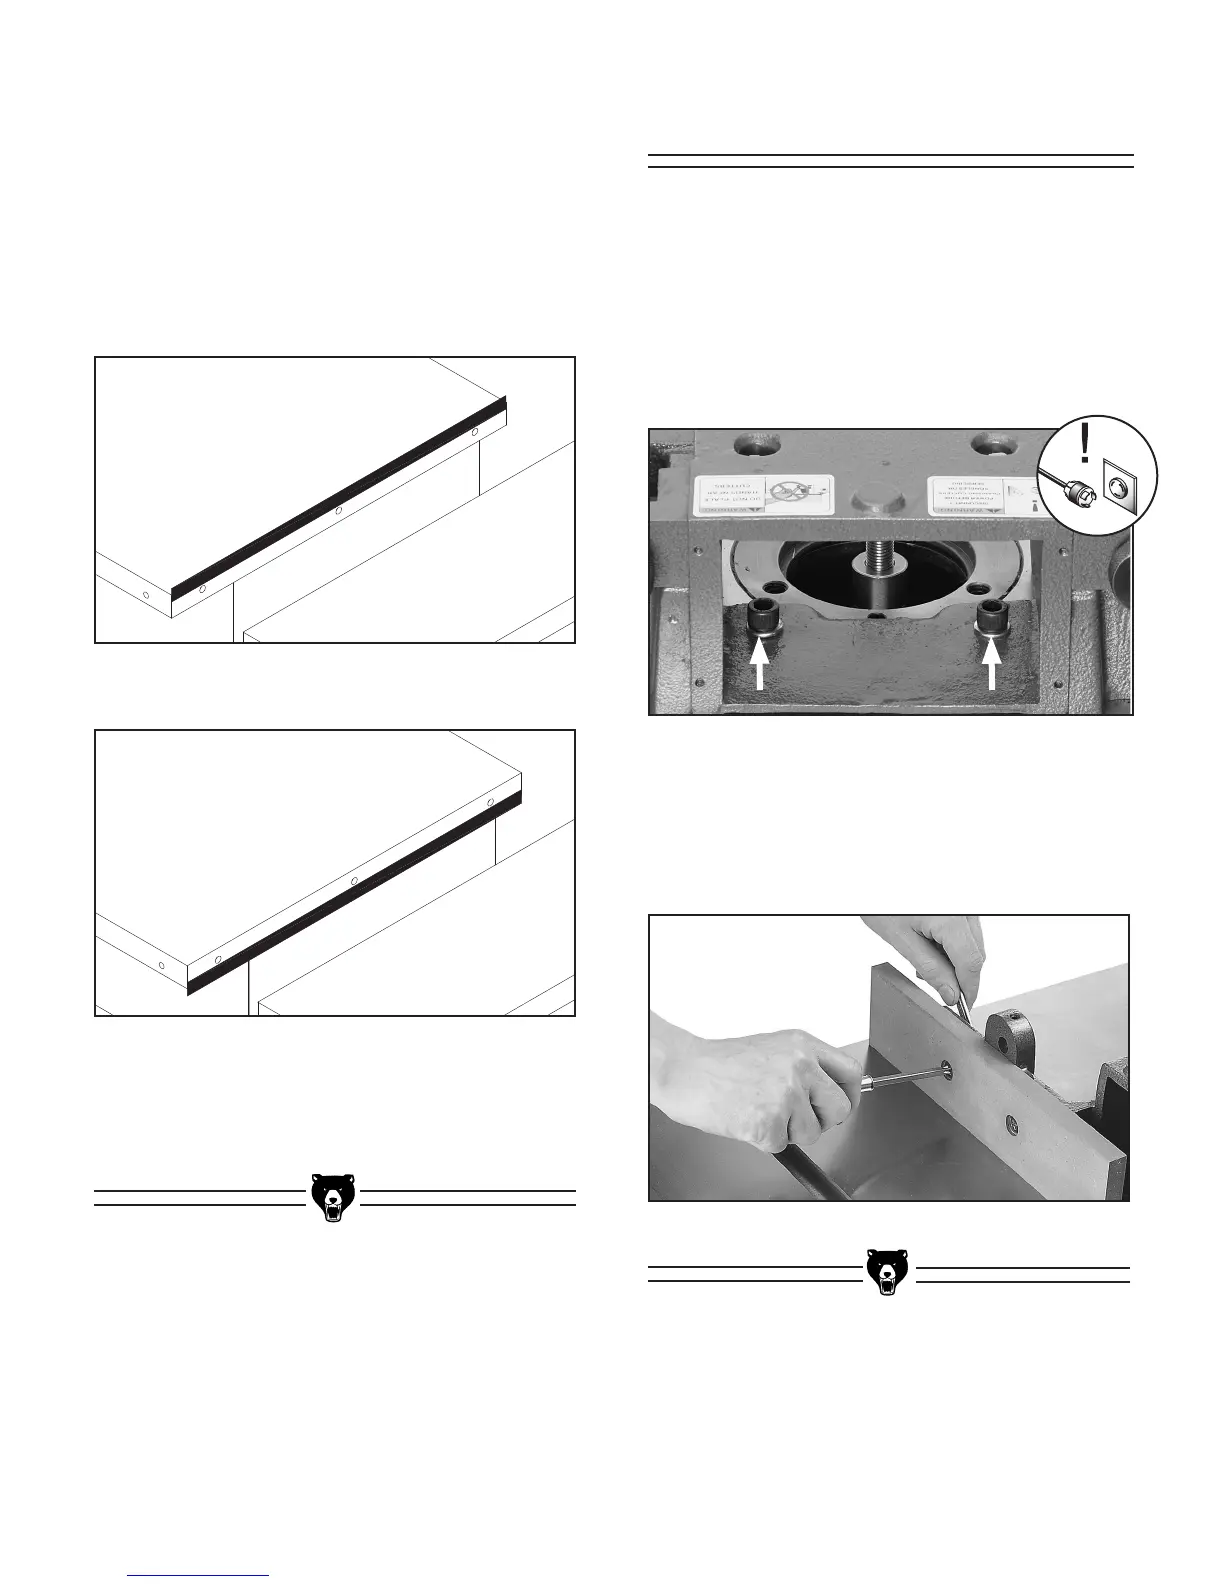
2. Attach the fence assembly to the table, as
shown in
Figure 18, with the cap screws and
lock washers already mounted to the table.
Figure 18. Fence assembly attachment location.
8. Inspect your results with a good-quality
straightedge.
9. If the wing is slightly tilted up or down, place
some masking tape along the whole length,
between the table and the wing. Place the
tape above the bolts to lower the wing
(Figure 16) or below the bolts (Figure 17) to
raise it.
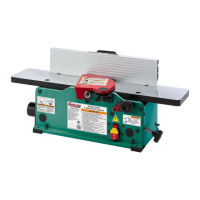
3. Secure the wooden fence pieces with the four
5
⁄16"-18 x 1
1
/2" flat head screws, flat washers
and hex nuts provided as shown in
Figure
19.
Figure 19. Attaching wooden fence assembly.
10. Following adjustments, tighten the hex bolts
in the sequence they were installed.
Figure 17. Masking tape location for raising
wing.
Figure 16. Masking tape location for lowering
wing.
 Loading...