G1026 Heavy-Duty Shaper
-29-
7. Connect the shaper to the power source.
8. Turn the shaper ON.
9. Make a sample cut on a piece of scrap
wood.
10. If everything is correct, feed your workpiece
along the cutter, using firm pressure to
keep your work against the rub collar. Feed
against the cutter rotation only.
11. Turn the shaper OFF.
Incorrectly feeding stock (feeding with the
rotation of the cutter) creates a potentially
uncontrollable feed situation that can pull
your hands into the spinning cutter or yank
stock from your hands. Follow the above
instruction at all times or serious personal
injury can occur.
For irregular shaping:
1. DISCONNECT SHAPER FROM POWER
SOURCE!
2. Remove the fence assembly.
3. Choose the appropriate cutter for your appli-
cation and lock it in place.
4. Check the rotation of the cutter.
5. Adjust the spindle height to align your
workpiece to the cutter.
Check that the rub
collar will contact the workpiece edge or pat
-
tern edge (if used).
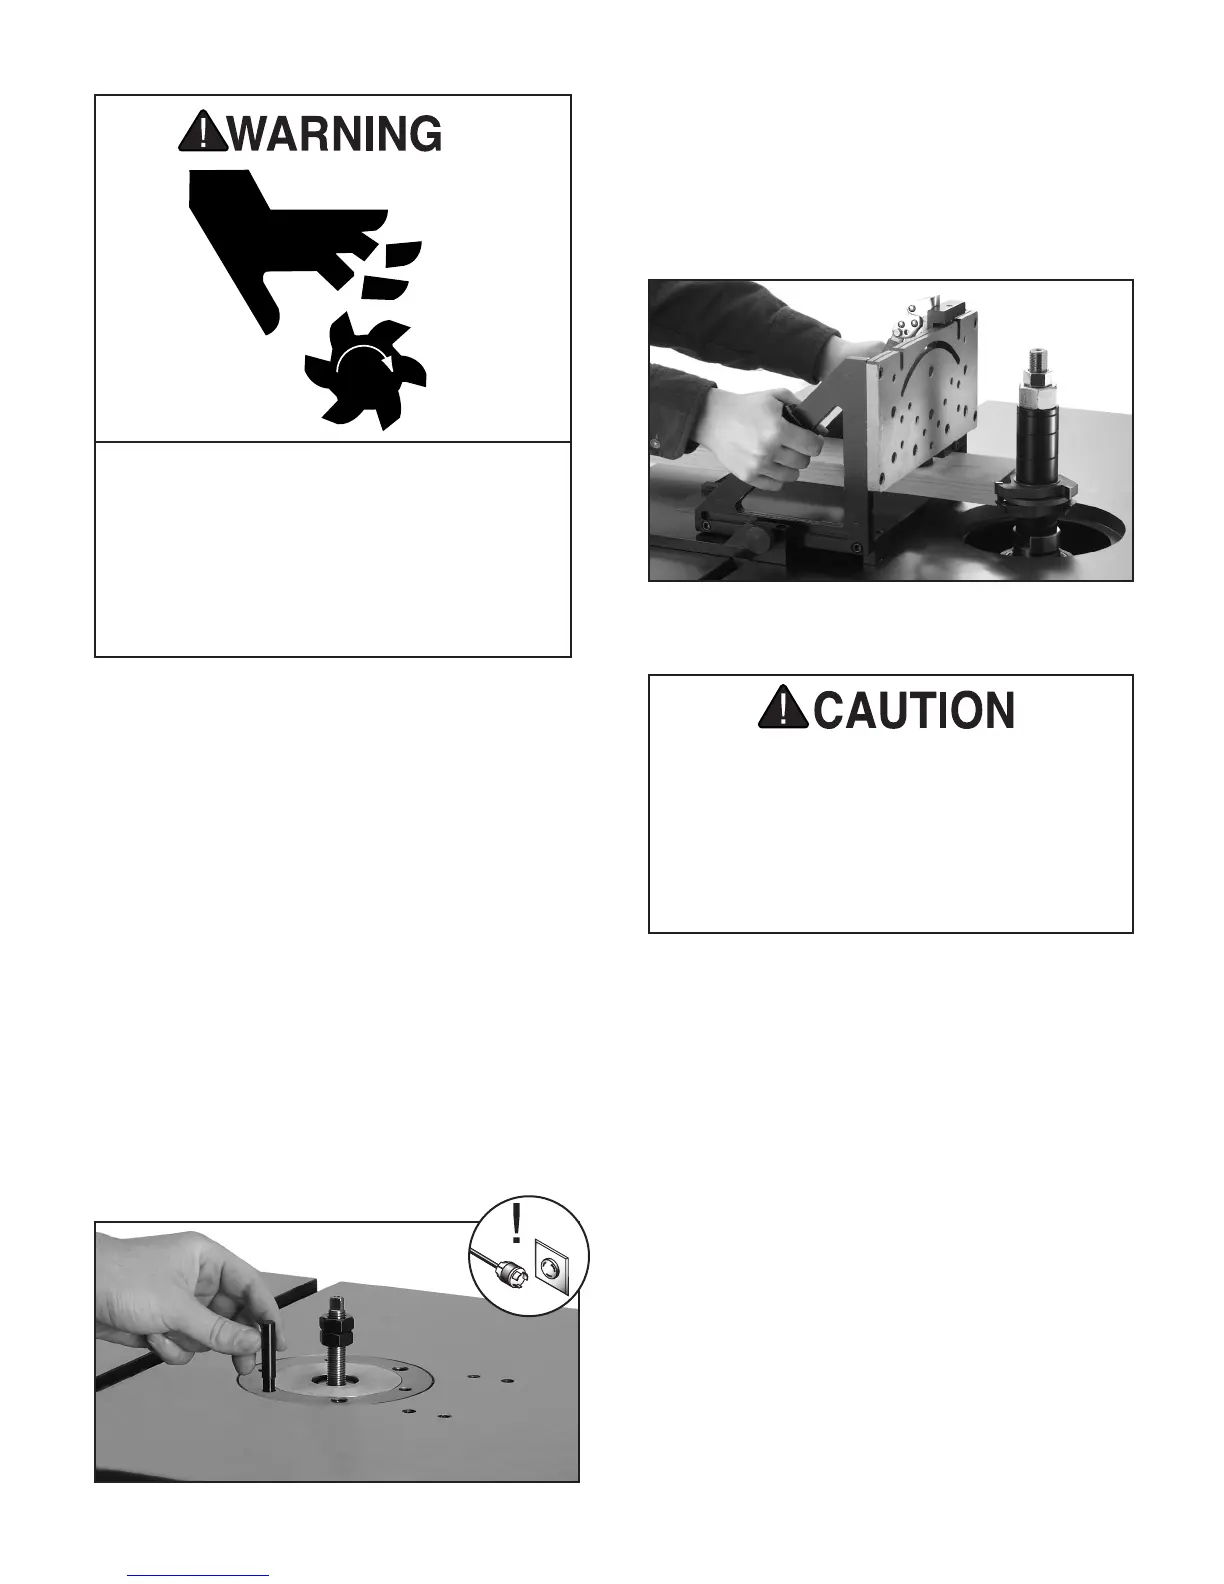
6. Insert a starting pin (Figure 42) into the table
surface, using the pin location that best sup
-
ports your work.
All guards MUST be installed on your shaper
before operating it. Shapers are dangerous
machines that can quickly cause serious
injury if some kind of guard is not used. To
protect yourself, read and follow the entire
instruction manual carefully and do addi-
tional research on shop made guards and
safety jigs.
Figure 43. Using safety fixtures while shaping
(guard removed for clarity).
When doing irregular work, use some type
of hold-down fixture and guard such as the
Grizzly Model G3642 Shop Fox
®
Right Angle
Jig (
Figure 43). A good shaper book will pro-
vide many different ideas for making jigs for
almost all shaping operations.
Figure 42. Inserting starting pin.
 Loading...