Slicer/Applicator
SS-10.DOC:1/26/2007 11:08 AM
Grote Company
14
5. Repeat the procedure on the other end of the blade guide. Snug these bolts also.
6. Repeat the above two steps until both ends of the blade guide are properly adjusted. Tighten
the blade guide bolts.
7. Check the blade tracking. If the blade is not tracking properly, the adjustment of the blade
guide was done incorrectly. If this happens, the blade guide must be moved away from the
blade and tracking must be corrected before the blade guide adjustment procedure can be
repeated.
8. Reinstall the water applicator pad, rotate the plow wipers into position, and replace the
guards on the machine.
(Opt) Quick Disc Blade Guide Adjustment -
All-Electric Slicers
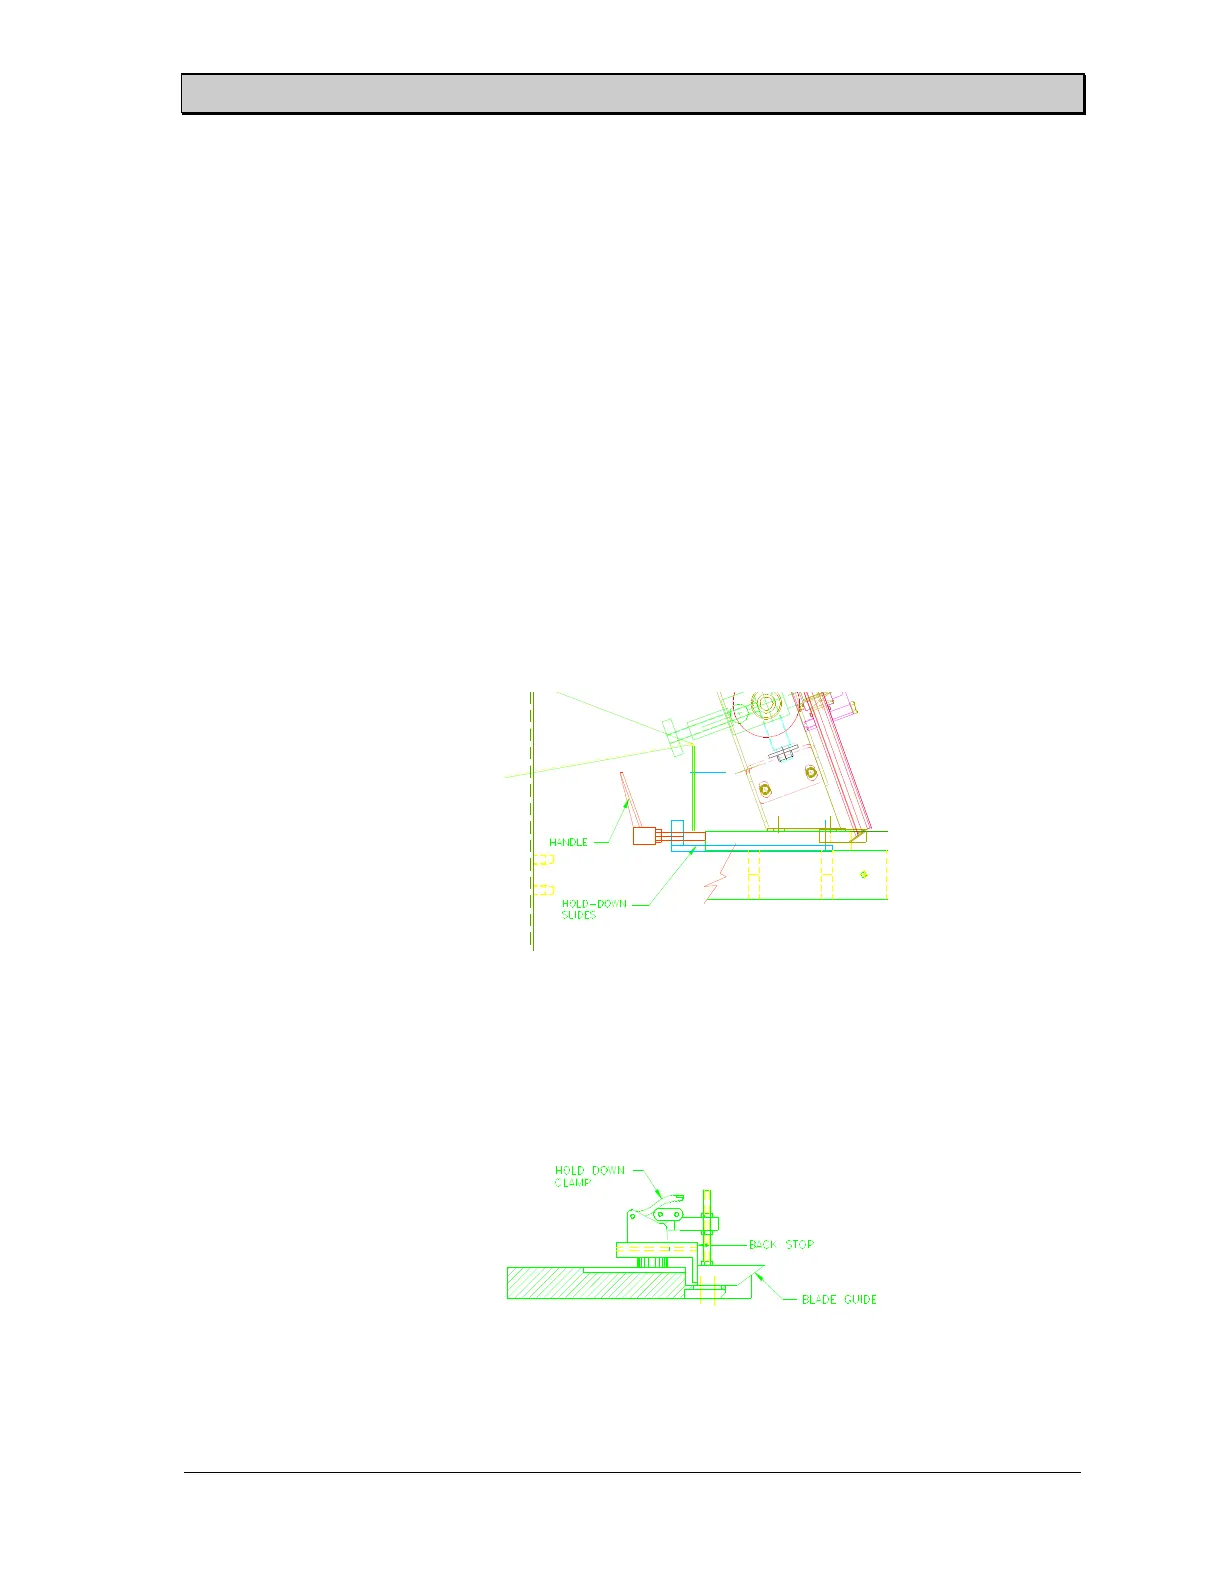
1. Loosen the two threaded handles located beneath the exit guard by turning them
counterclockwise (See Figure 10). Push the two handles forward towards the entry
side of the slicer to release the pins from the hold-down slides.
2. Loosen the two backstop bolts at each end of the blade guide. Release the two hold-
down clamps located at each end of the blade guide (See Figure 11).
Figure 10. Quick Disconnect Blade Guide.
Figure 11. Quick Disconnect Hold-Down Clamp.