Slicer/Applicator
SS-10.DOC:1/26/2007 11:08 AM
Grote Company
26
2. Blade pulley bearings - Replace the bearings in the drive side pulley if any free movement is
detected. If any movement is detected in the idle side drive pulley, replace the entire sealed
bearing assembly.
3. Blade guide - The blade guide must be clean and adjusted so that the blade does not touch
the back of the blade guide slot. Use the blade guide scraper regularly to ensure that the
blade guide slot stays clean.
If a new blade will not track properly and the above items have been checked, try a second blade
before replacing the pulleys.
Idle Side Blade Tracking
NOTE: Always check the blade tracking with the blade rotating in the proper direction.
Blade travel is from the idle side through the blade guide to the drive side.
1. Rotate the pulley by hand. The blade should track to the back lip of the pulleys and
seat into the blade guide slot.
2. The blade will lightly touch the back lip of the pulleys when it is tracking properly.
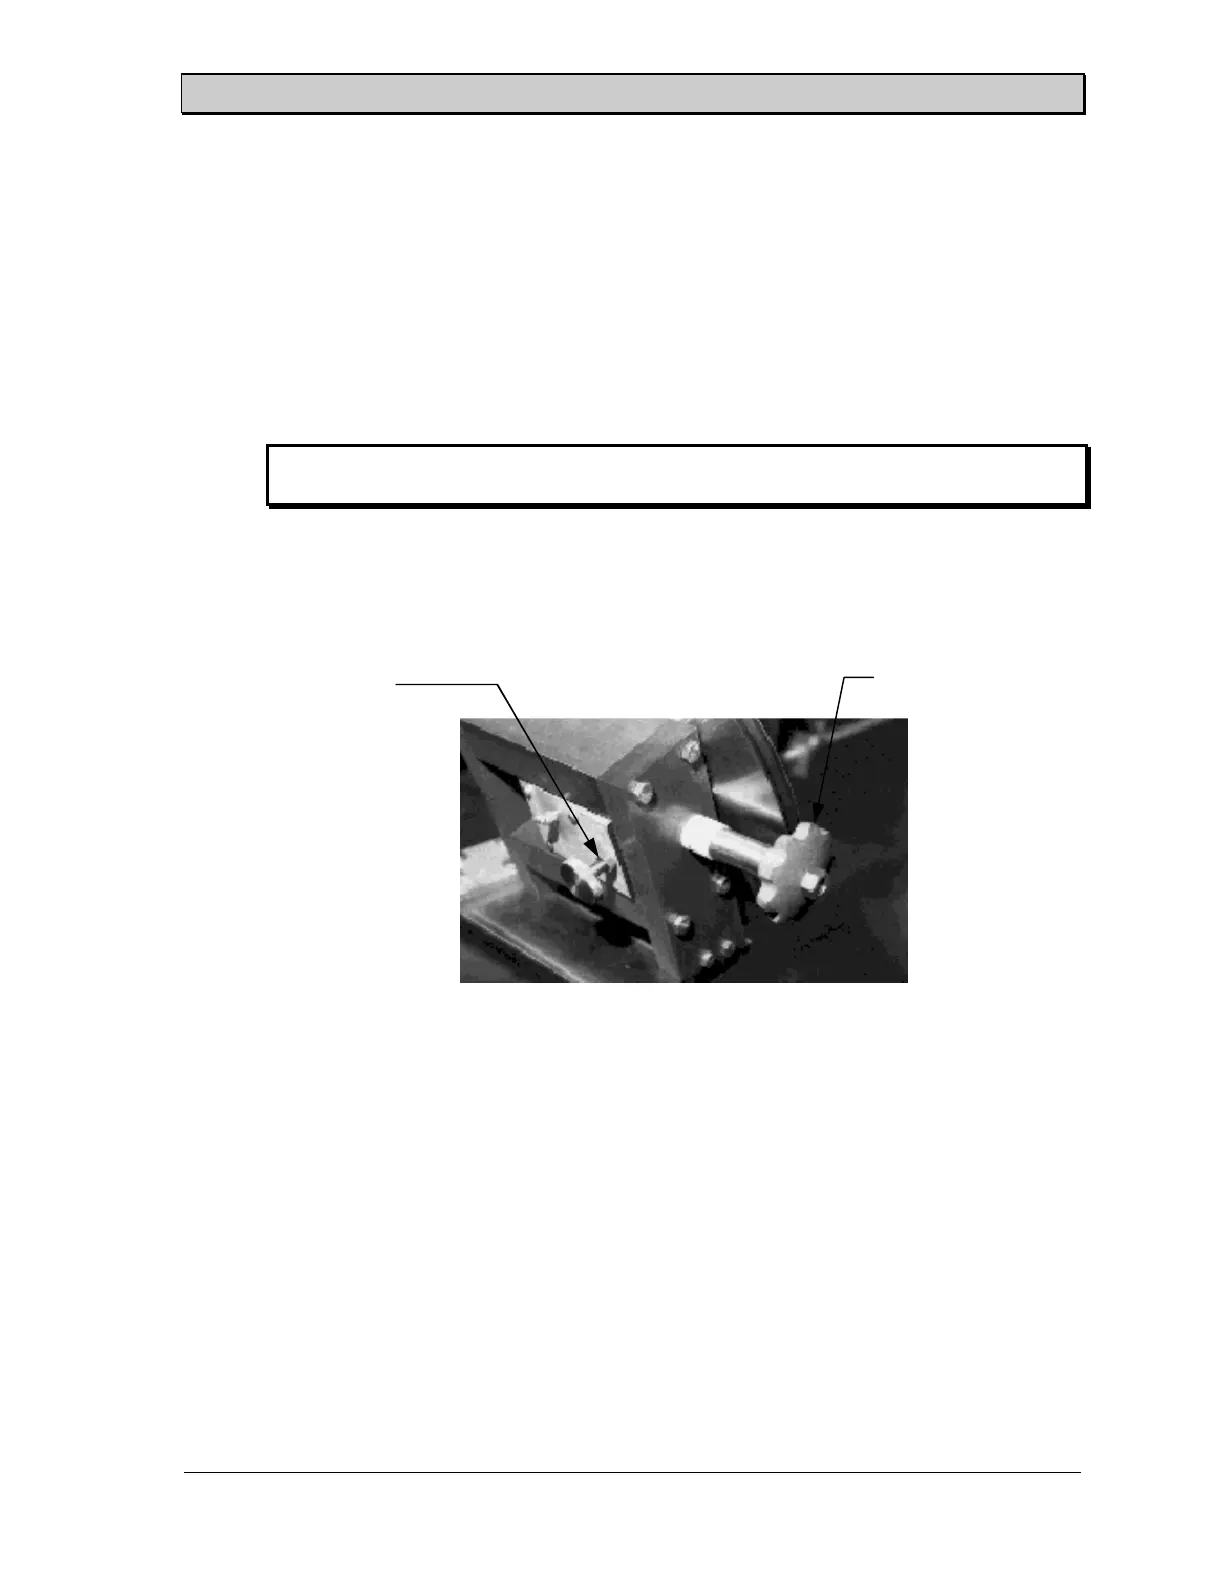
3. Loosen the jam nut and rotate the adjusting screw until the blade is tracking properly.
Tighten the jam nut when the tracking adjustment is complete. Figure 20 shows the
location of the jam nut and the adjusting screw on the back of the idle side bearing
block assembly.
Drive Side Band Blade Tracking -
Hydraulic Slicers
The drive side blade pulley is preset at the factory and only needs to be reset if the pulley
assembly has been off the slicer or if the pulleys have worn significantly. The following
procedure details the adjustment of drive side tracking.
1. Remove the blade guide and back tray.
2. Install blade.
Figure 18. Idle Side Tracking Adjustments(Non-Sealed Bearings).
Jam Nut
Adjusting Screw