r
e
= 100 × (SR ÷ LR)
Where:
SR = suitability response of the analyzer defined as (r
ss
– r
w
)
LR = limit response of the analyzer defined as (r
s
– r
w
).
r
e
= response efficiency of the PAT700
r
w
= average TOC response for the blank
r
s
= average TOC response for the sucrose standard
r
ss
= average TOC response for the benzoquinone standard
8. When the suitability test is completed, the results are shown. If a printer is attached, the report
prints automatically. Select the necessary action to complete the validation.
•
Push CHECK to accept the system suitability test and to remove the bottles. This option will
not show if the Autoaccept setting is enabled.
• Push CANCEL to repeat the system suitability test and discard the results.
• Push EXPORT to send the data to the supplied USB flash drive.
Measure a grab sample
Use the grab sample test to measure samples taken from other locations. Grab samples do not need
bottles with RFID tags.
1. Push << to show the sliding menu.
2. Select BOTTLE MODE, then GRAB SAMPLE.
3. Obey the screen prompts to enter the values.
Note: To save the new settings as the default, push SAVE AS DEFAULT.
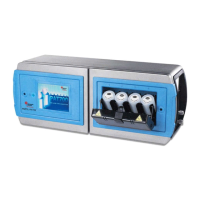
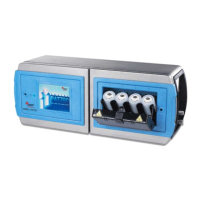
4. Install the standards in the order shown. If the bottle bay door closes too soon, push UNLOCK to
open the door.
5. Set the volume of each sample bottle.
6. Set an ID for each bottle.
7. Push START.
Note: When the measurement is complete, the results show on the screen. If a printer is attached, the report
prints automatically.
8. Select the necessary action to complete the calibration.
• Push CHECK to accept the measurement and remove the bottles. This option does not show if
the autoaccept setting is enabled.
• Push CANCEL to repeat the measurement and discard the results.
• Push EXPORT to send the data to the supplied USB flash drive.
Manage measurement data
Measurement data can be reviewed on the instrument, printed, exported and filtered.
1. Push << to show the sliding menu.
2. Select DATA REVIEW. The data review window shows. Icon command options show on the
bottom of the screen.
Set the data filter
Data can be filtered by test type, date range or special ranges.
1. Push << to open the sliding menu.
2. Select DATA REVIEW, then FILTER.
26 English