111Surgical Implant and Explant of the HVAD® Pump
10
9
8
7
6
5
4
3
2
1
Appendix
Reference
Guides
Alarms and
Emergencies
Patient
Management
Surgical
Implant and
Explant
Monitor
Peripherals
and
Accessories
HVAD
®
PumpOverviewIntroduction
6.2 Programming HVAD
®
Controllers (continued)
13. Place the controller in the carrying case and position the case close to the head of the OR
table so the driveline can be connected to the controller after tunneling.
WARNING! Keep power connected to the controller after setting up the primary controller to minimize
the risk of air embolus during implant. Disconnecting and then reconnecting power will result in the
controller starting the pump as soon as the driveline is connected.
NOTE: Any changes to the primary controller should also be made to the back-up controller.
6.3 HVAD
®
Pump Pre-Implant Test and Pump Assembly
1. Examine the HVAD
®
Pump implant kit package and other component packaging. They must
be unopened and without any visible damage including abrasion, delamination or punctures.
WARNING!
2. Set up a sterile back table to prepare and test the HVAD
®
Pump.
3.
sponge and set on sterile back table. Dispose of sponge and change gloves.
NOTE: The driveline extension cable should only be used during the pre-implant test. It should not be
used after the VAD is implanted.
4. Grasp the Tyvek
®
lid of the HVAD
®
Pump implant kit package at the point indicated and peel
back, taking care not to contaminate the inner sterile tray.
5. Pass the HVAD
®
all components, including the surgical tools, for damage, corrosion or any abnormalities that
might affect the safety or functionality of the tools.
If any abnormalities are noted please use the
appropriate back-up supplies.
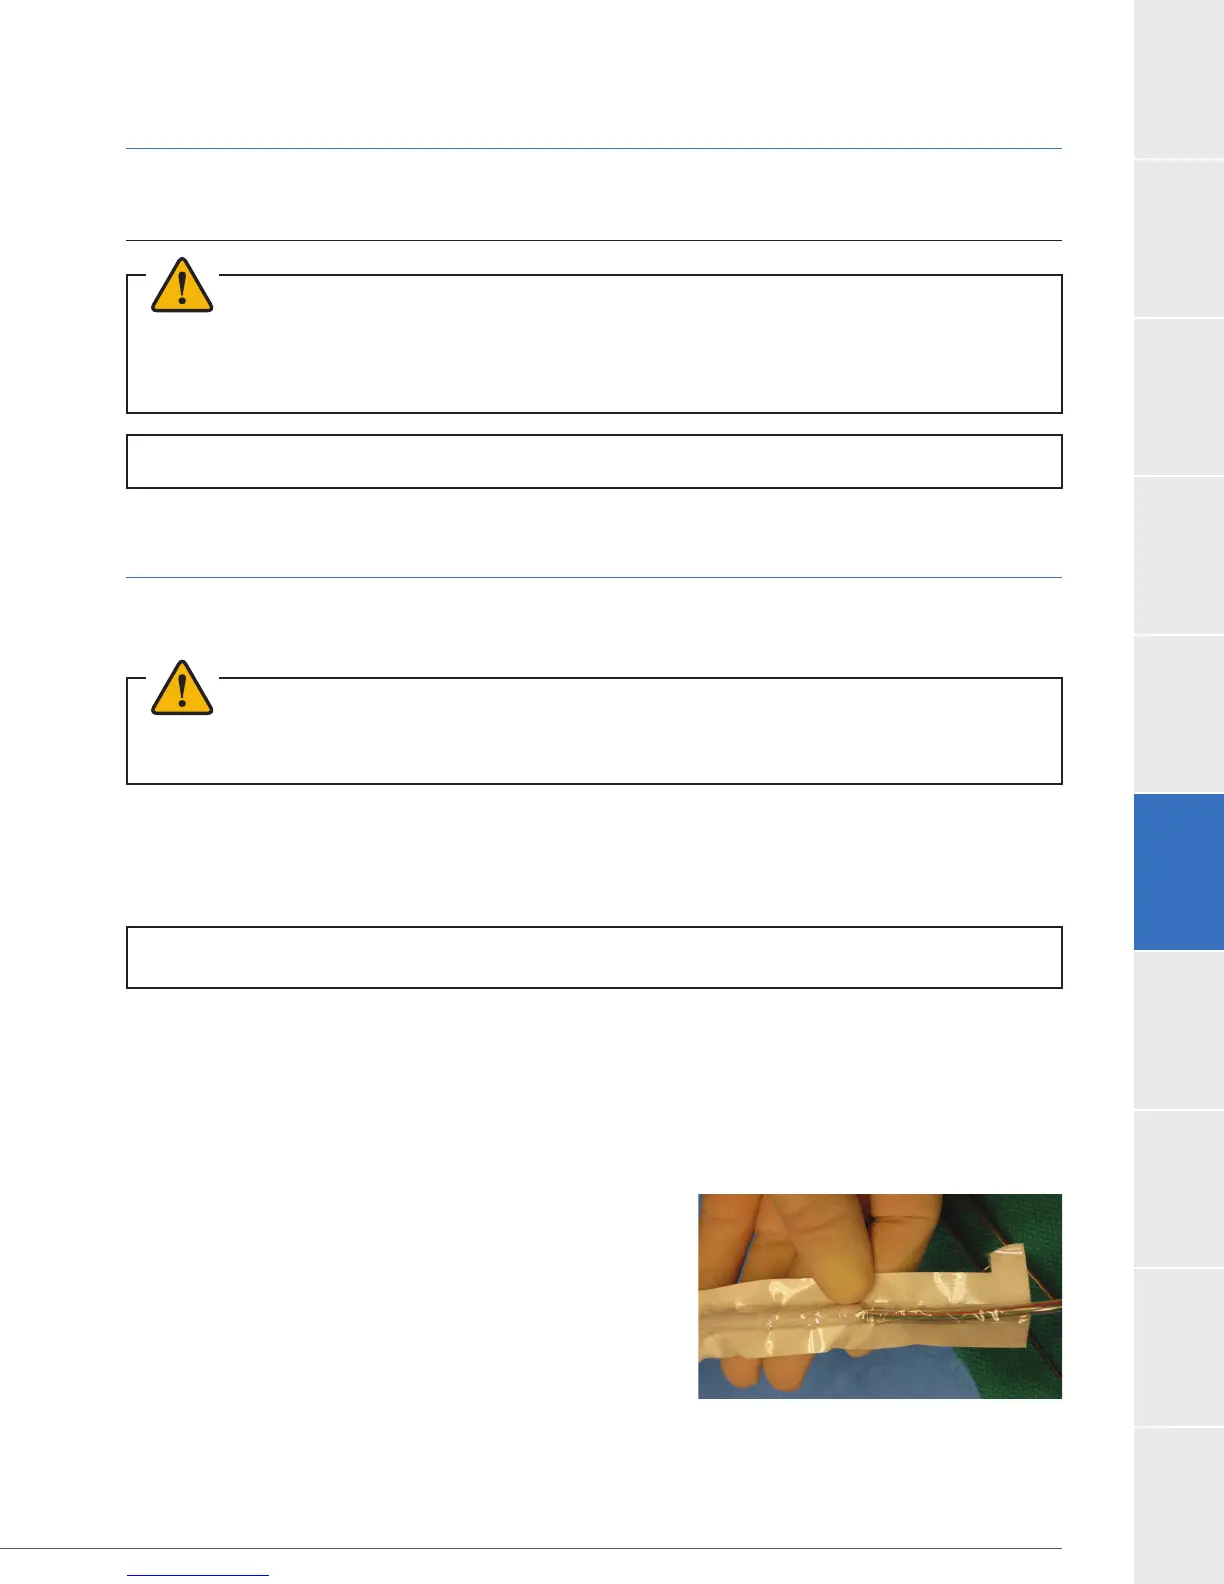
6. Cover the HVAD
®
Pump with a sterile towel. With the
driveline extended on the back table, remove the
Tyvek
®
sleeve (peel off by hand) covering the polyester
covered portion of the driveline (Figure 99). Wipe
the driveline with a lap sponge moistened with
antibiotic irrigation and discard the sponge.
Figure 99: Tyvek
®
sleeve covering
polyester on driveline