Closing the lid
Removing the rotor with a
clamping nut
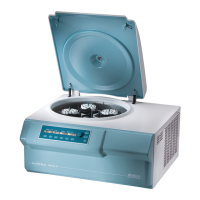
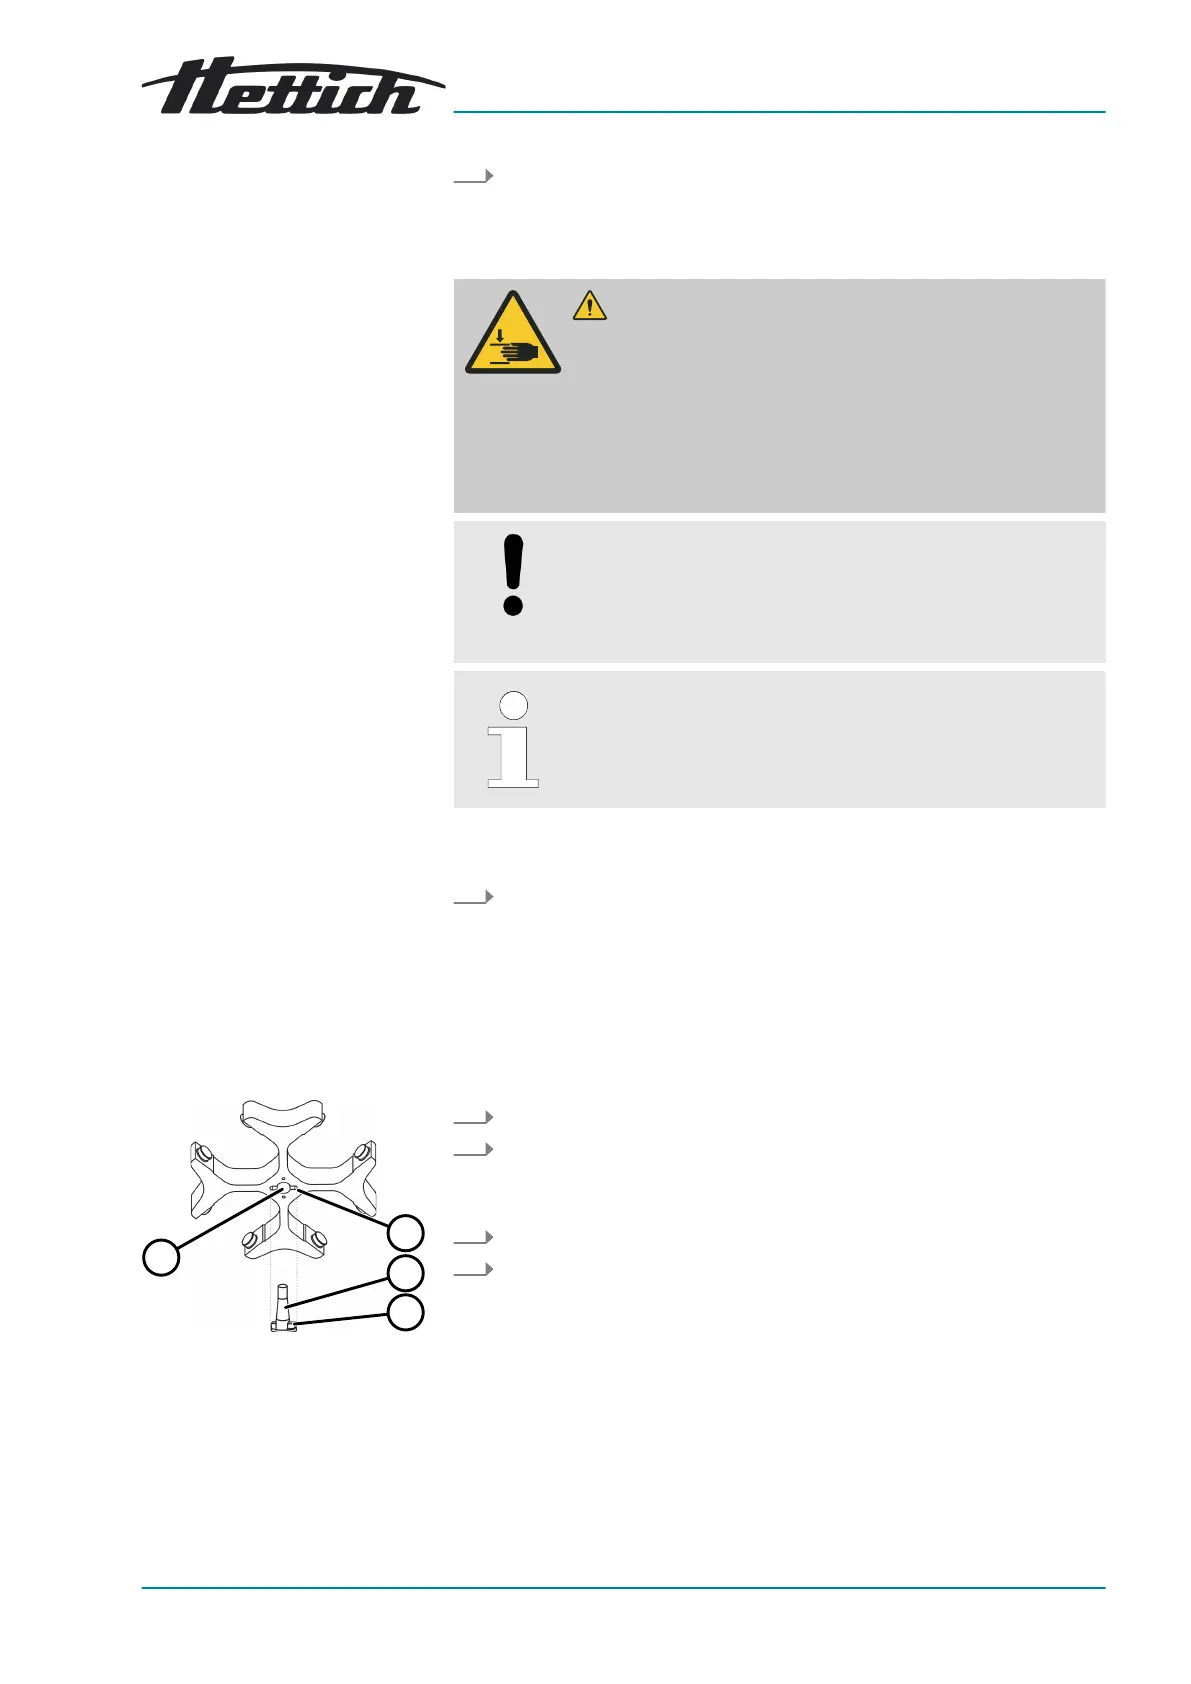
Fig. 22: Rotor installation and
removal
1 Groove
2 Motor shaft
3 Driver
4 Hole
Press the
[STOP/OPEN]
button.
🡆 The lid unlocks by means of a motor.
The light on the left side of the
[STOP/OPEN]
button goes out.
CAUTION
Danger of crushing when closing the lid.
Danger of crushing ngers when the closing motor pulls the
lid against the seal.
− No parts of the body should be in the hazard zone of the
lid when closing the lid.
−
To close the lid, press on the lid from above.
NOTICE
Damage to the device caused by the lid slamming.
− Close the lid slowly.
−
Do not slam the lid.
When the left side of the [STOP/OPEN] button ashes,
press the [STOP/OPEN] button so that the motorised lid
lock assumes the home position (open).
Personnel:
■
Trained user
Close the lid and press the front edge of the lid down gently.
🡆 The lid locks using a motor.
The left side of the
[STOP/OPEN]
button lights up.
6.2
Removing and installing the rotor
Personnel:
■ Trained user
1.
Open the lid.
2.
Loosen the rotor clamping nut using the supplied spanner.
🡆
After passing the working point for lifting the rotor, the rotor
detaches from the cone of the motor shaft (
2
).
3.
Turn the clamping nut until the rotor can be lifted off the motor shaft.
4.
Remove the rotor.