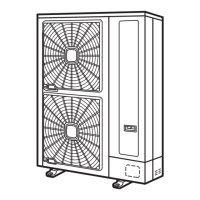
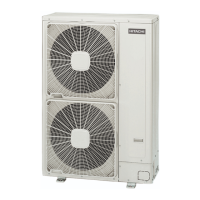
Wiring System
[Connection (Connection of Terminals)] for
RAS-(2-6)HVRN(1)(S)(E)
[Connection (Connection of Terminals)] for
RAS-(8/10)HRNSE
Power Supply
DC inverter
[O.U.-O.U.(L1-L1, N-N)] [O.U.-O.U.(L1-L1, L2-L2, L3-L3, N-N)]
Operating [O.U.-I.U., I.U.-I.U.(1-1, 2-2)] [O.U.-I.U., I.U.-I.U.(1-1, 2-2)]
Remote Control [I.U.-I.U.(A-A, B-B)] [I.U.-I.U.(A-A, B-B)]
N O T E
• O.U: Outdoor Unit
• I.U: Indoor Unit
3 Connect the wires between the outdoor unit and the indoor unit to the terminals 1 and 2 on the terminal board.
4 Do not run the wires in front of the fixing screw of the service access panel. If you do so, you will not be able to remove
the fixing screw.
1: Power wires
2: Signal wires
4.3.2 Setting the DIP switches for the outdoor unit
Quantity and position of DIP switches
The PCB1 (see the electrical wiring diagram - plane a) in the outdoor unit is operated with 6 types of dip switches, one
rotary switch and 3 types of push switch.

 Loading...
