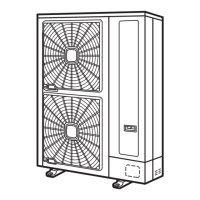
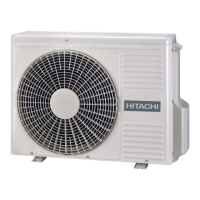
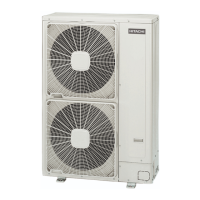
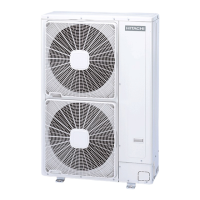
10.3 Servicing for ES Series
10.3.1 Outdoor Units RAS-(2/2.5)HVRN1(E) and RAS-3HVRNS
¿ Removing pipe cover
Follow the procedure below to remove main parts and components. For mounting, follow the reverse procedure of removal.
Do not expose the refrigerant cycle to the atmosphere for a long period to avoid moisture or dust entering into the cycle.
Be sure to replace parts immediately after removing. Seal the refrigerant cycle when left unattached for a long period.
1 Remove pipe cover downward after removing one (1) screw.
1. Pipe cover.
¿ Removing front cover
1 Remove the pipe cover following Removing pipe cover, see on page 395.
2 Remove three (3) fixing screws and remove the upper cover.
3 To remove the front cover, remove eight (8) fixing screws and three (3) left nails.
1. Upper cover.
1. Front cover.
2. Nails.
¿ Removing outdoor fan
1 Remove the pipe cover following Removing pipe cover, see on page 395.
2 Remove three (3) fixing screws and remove the upper cover.
3 Remove the front cover following Removing front cover, see on page 395.
4 To remove the propeller fan, remove the cap nut which fixes the propeller fan onto the motor shaft.
N O T E
• Use a puller when the propeller fan and motor shaft are fixed too tightly.
• The cap nut is left thread. For removal, turn to the reverse direction to the propeller fan.

 Loading...
