FAXITRON PATH USER MANUAL | HOLOGIC | REVISION 024
ECTION
ISION
oftware
5
5-5
• When X-Ray exposure is complete, click on the Estimate/Calculate button.
• Record the calculated exposure time "Time [s]" reading.
• Enter the calculated exposure time reading in the "Test Exposure" time box once again.
• Click on the Accept Settings button.
• Perform a standard calibration procedure, as described in the "Camera Calibration Overview"
section.
Experienced users may wish to set the "X-Ray Cal (Flat-Field)" and "Manual Image" "Exposure
Settings" independently or "Both" (Flat-Field and Manual Image) as previously described. By
selecting the "Flat Field" radio button, the system will determine the optimum exposure time fo
acquiring Flat Field images at the desired ADU level. Accordingly, the selection of "Manual
Image" will determine the optimum exposure time for the system with an object which will
attenuate the X-Ray signal. For best results, the entire imaging area of the detector must be
covered by the object.
fter the selection of either "X-Ray Cal (Flat-Field)" and "Manual Image" and the ADU level has
been set, select the Acquire button. For the "Manual Image" selection, it is desired to have the
object or X-Ray attenuator in the X-Ray beam. Press the Acquire button to generate X-Rays and
obtain an image. When X-Ray exposure is complete, click on the Estimate/Calculate button.
The system calculates optimum time and the number is greyed out. Click the Accept Setting
button to save the "Exposure Settings" to the system's configuration file. Note: Only the
settings for the selected radio button are saved. Next perform a standard calibration
procedure, as described in the "Camera Calibration Overview" section.
5.2.1 Cont.
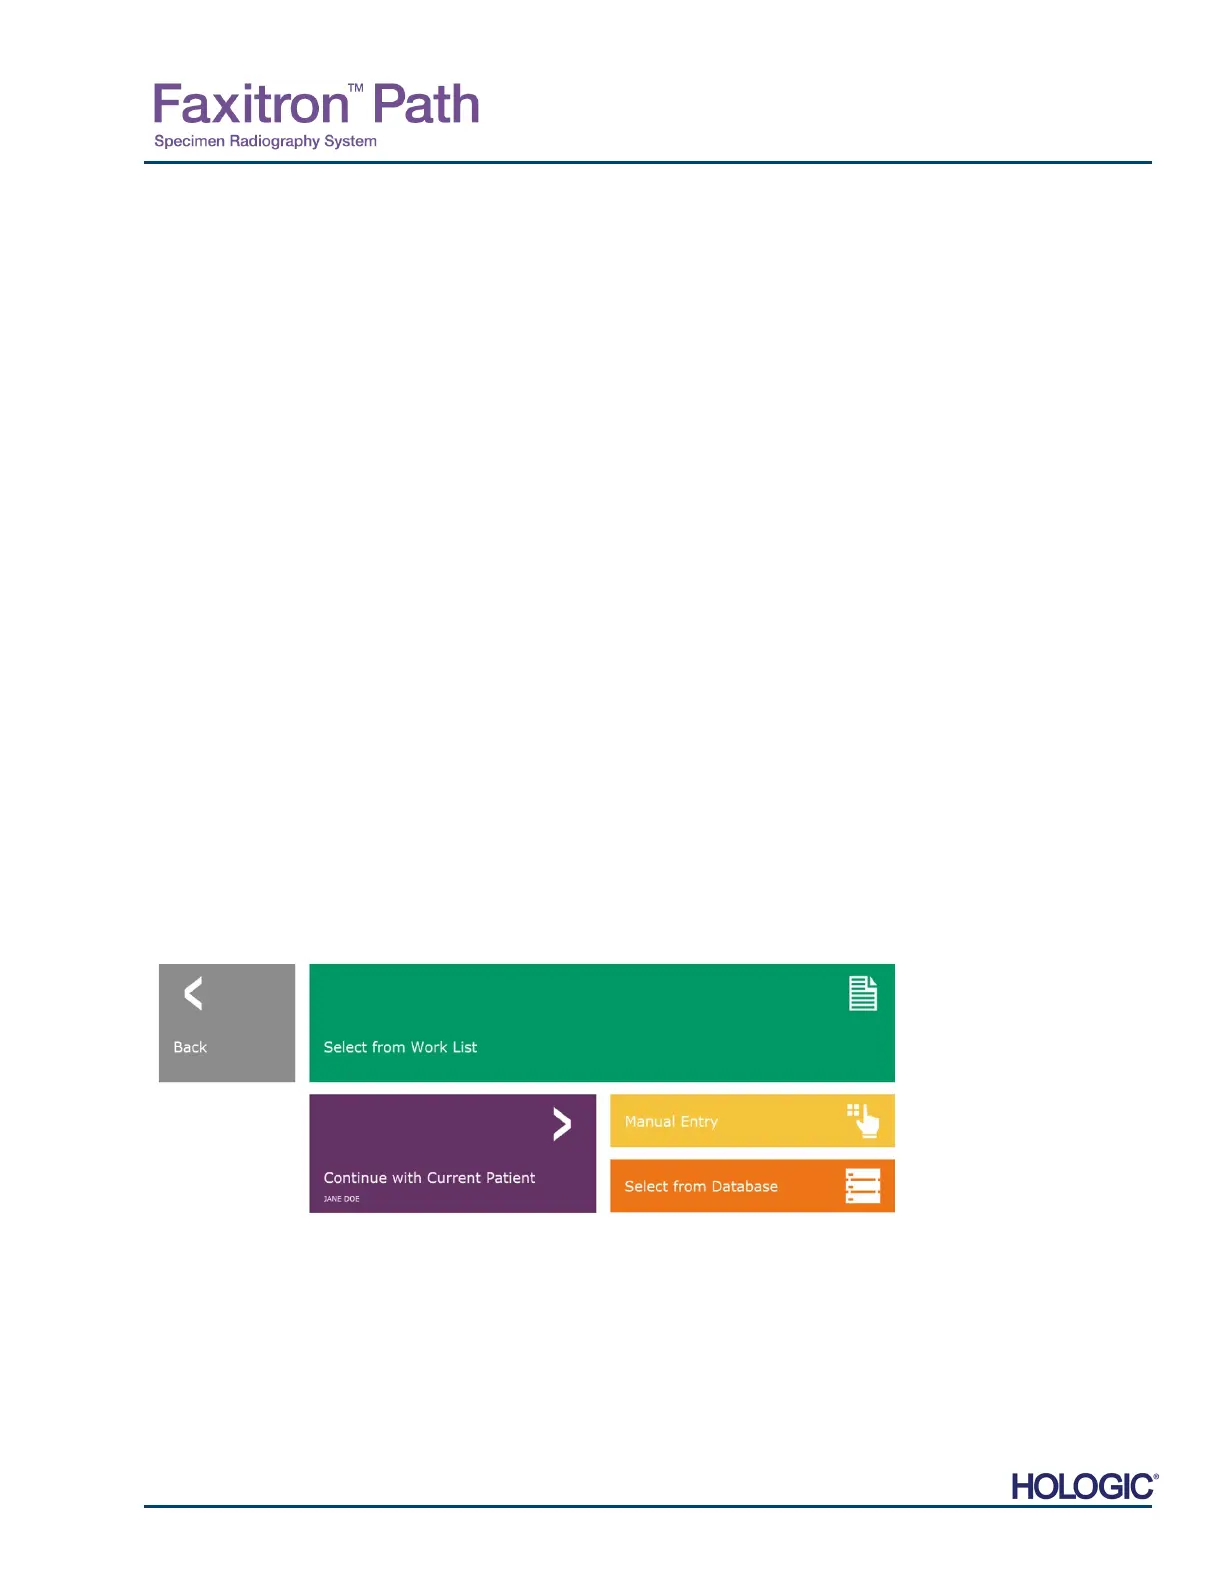
The Start Procedure button,(see Figure 5.0.1), takes the user to the Patient Data Entry page
which provides methods to enter patient data. If a Work List has not been configured, the option
will be greyed out and only the Continue with current patient, Manual Entry, and Select
from Database options will be accessible. The options are explained in the next sections.
5.3.0
Patient Data
Figure 5.3.1
Patient Data Entry screen