FAXITRON PATH USER MANUAL | HOLOGIC | REVISION 024
ECTION
ISION
oftware
5
5-9
If the user wishes to change or view the information after it has been input, but
before an image has been taken, they may press the Patient Data icon in the top
left corner. See Figure 5.3.5.
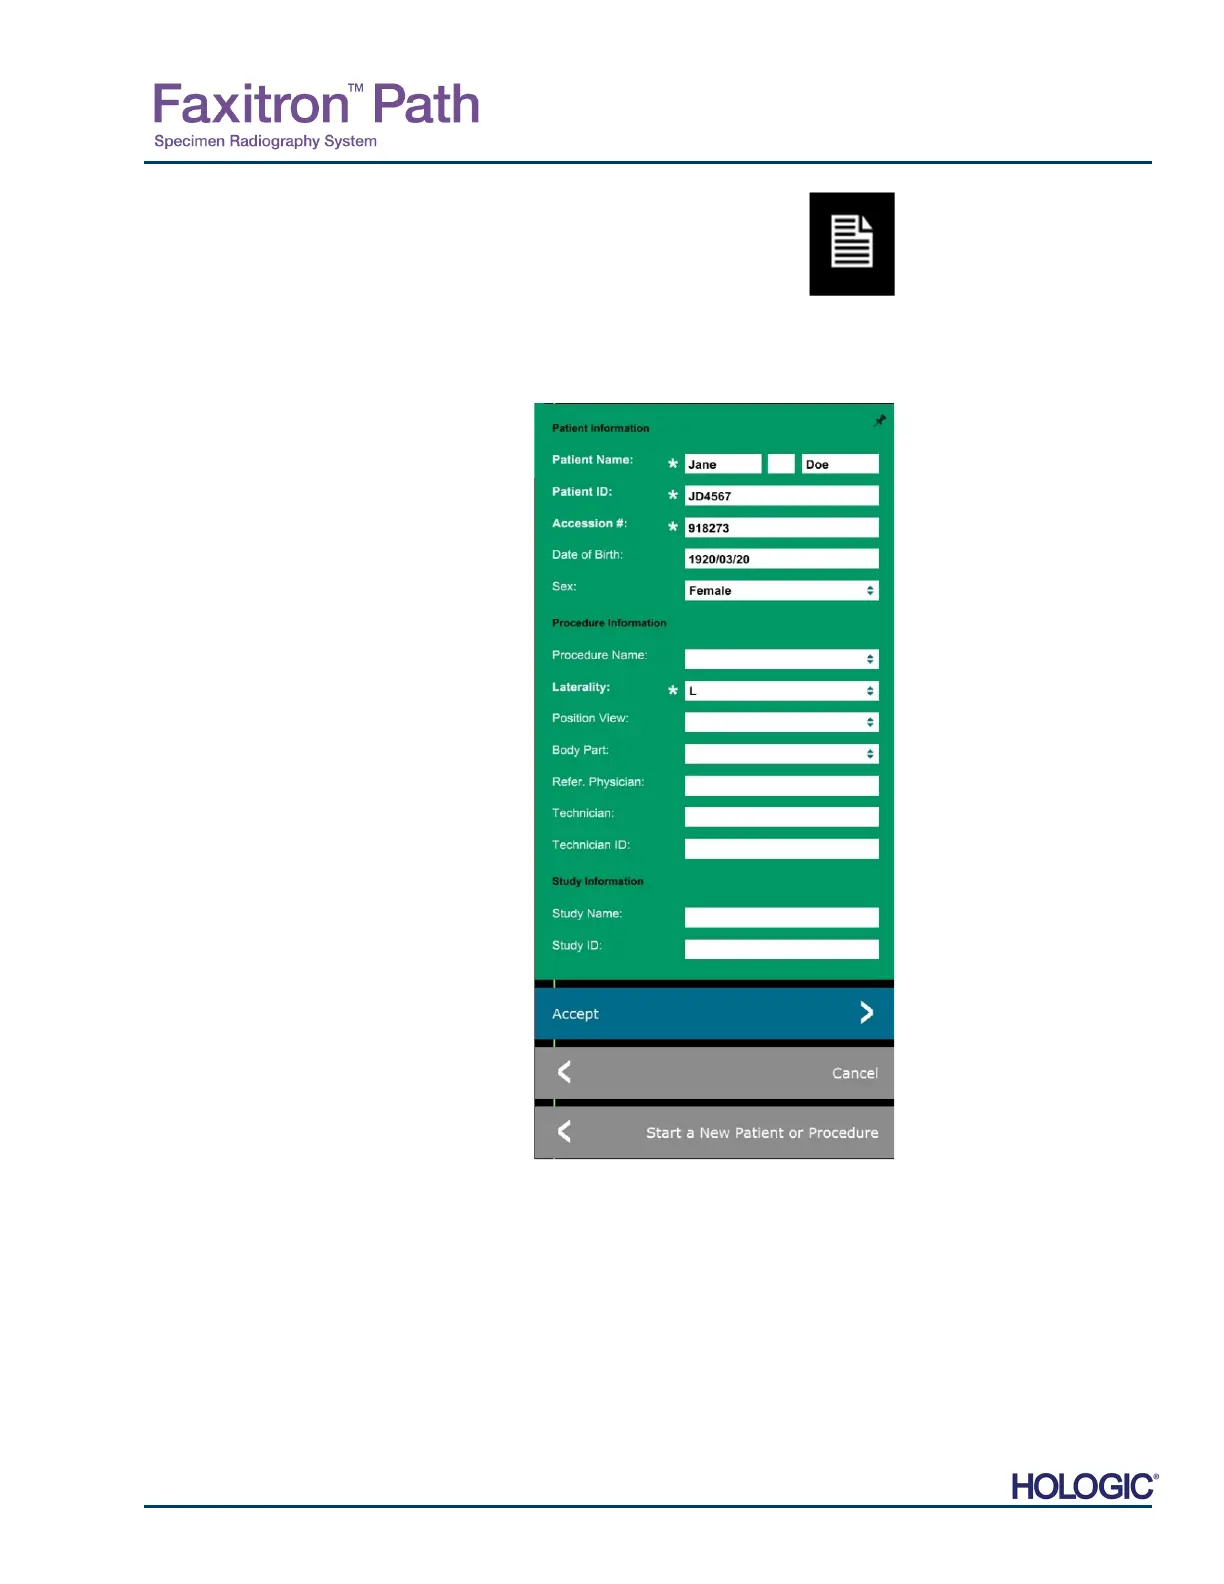
The Patient/Imaging Information Editing window will open. This editing window will be populated
with all the information that was previously entered/selected. See figure 5.3.6. Note: The Editing
window will now include a Cancel button.
The user can change or add information as
desired then click on:
The Accept button to save the changes and
continue to image acquisition.
The Cancel button to cancel changes and
continue to image acquisition. The software
will revert to the original patient information
entered, or
The Start a New Patient or Procedure
button which will return the user to the Patient
Data Entry Screen. See Figure 5.3.1.
Once the user clicks the Accept button the system is ready for image acquisition/x-rays.
X-rays are started by pressing the green Start button on the front of the Faxitron Path cabinet
or clicking on the Start X-Ray button in the lower right corner of the screen. See Section 4.2.0,
Image Acqusition. The system will take a short “sample” x-ray, or pre-shot (which is explained
in Section 5.4.4) followed by a longer exposure to acquire the image. The software will process
the image before it is displayed on the monitor screen. Once the image is displayed, buttons on
the left and right side of the scree, covered throughout this section, will be enabled.
5.3.5
Patient Data Icon
Figure 5.3.5
Patient Data Icon
Figure 5.3.6
Image Properties dialog