EN
Removing Assemblies
6-35
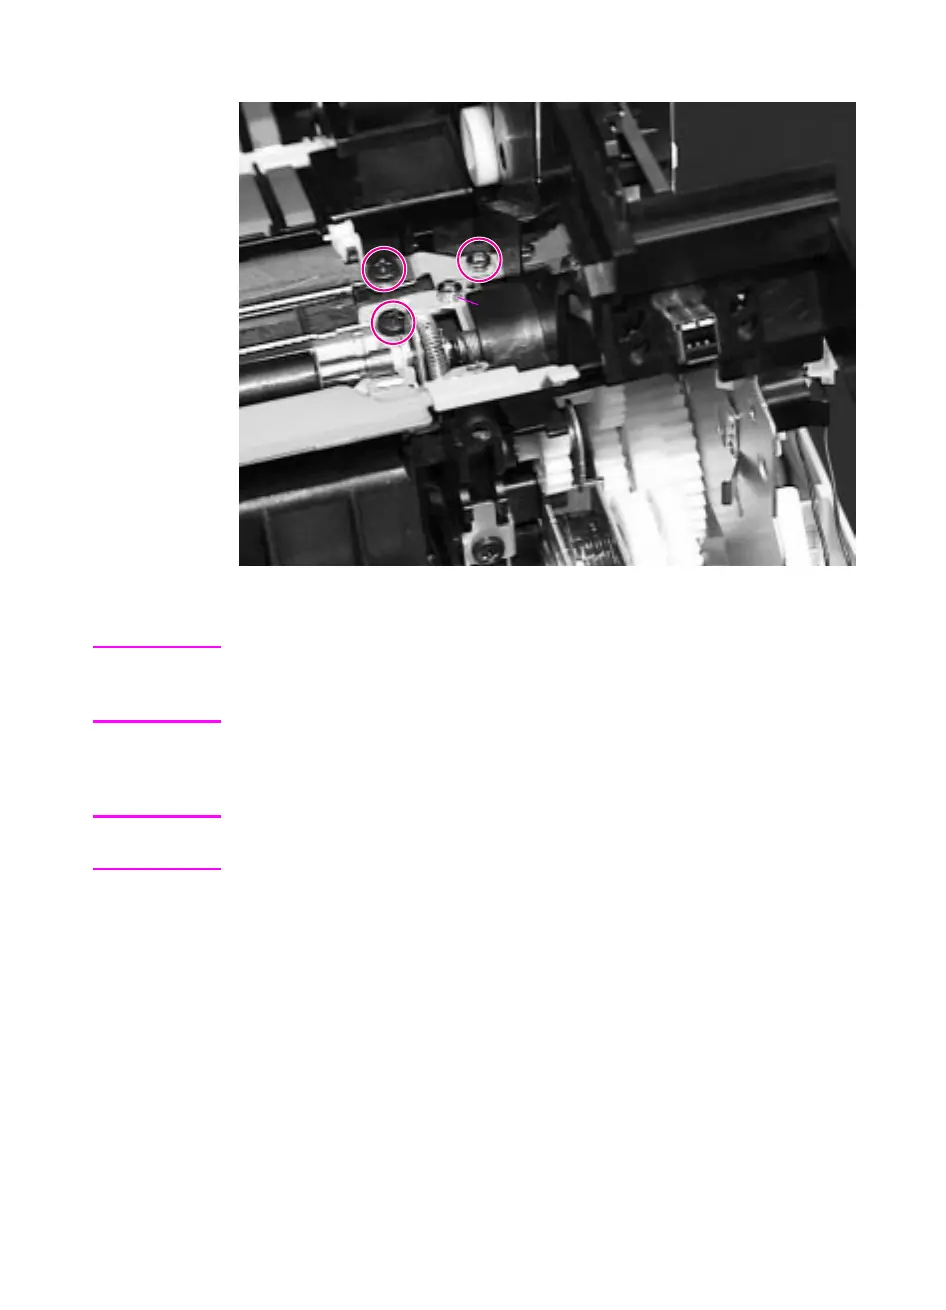
Figure 6-32
Detail of Screws for the Registration Assembly
CAUTION
Do not remove the silver screw closest to the Registration Assembly!
It holds the spring in place. Take out the silver screw farther from the
Registration Assembly, the one that is under the green handle.
3. Lift the green handle. Remove the 2 black self-tapping screws
and the rearmost silver screw shown. See the Caution above.
Hint
If the anti-static bar becomes displaced, reinstall it with the left end in
the slot, or paper may jam in this area.
DO NOT REMOVE!
 Loading...