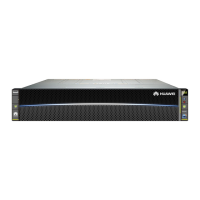
Step 5 Remove the ground cable and mounting ears from the data switch, as shown in
Figure 7-96.
1. Use the Phillips screwdriver to remove the ground cable from the data switch.
2. Use the Phillips screwdriver to remove the mounting ears from both sides of
the data switch.
Figure 7-96 Removing the ground cable and mounting ears
Step 6 Take the spare part out of its ESD bag and place it on the ESD table.
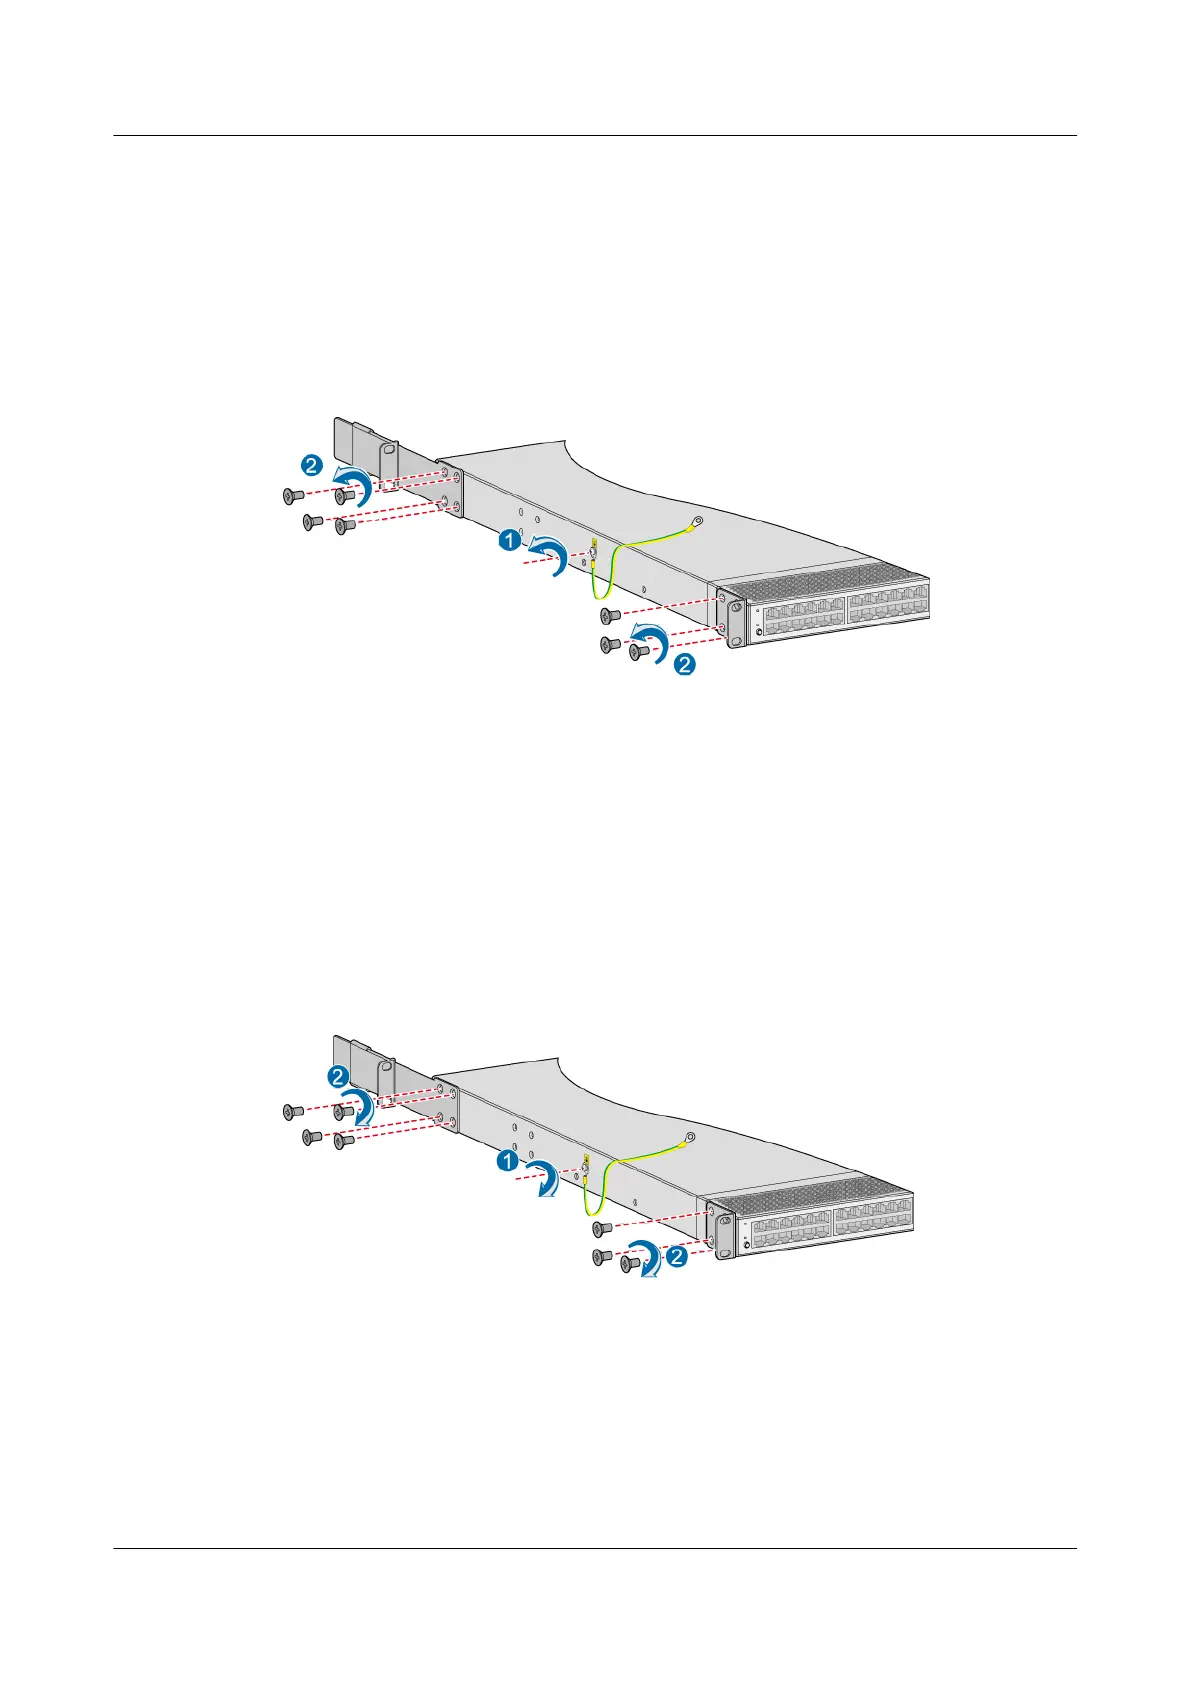
Step 7 Install the ground cable and mounting ears on the spare part, as shown in Figure
7-97.
1. Use the Phillips screwdriver to install the ground cable on a side of the data
switch.
2. Use the Phillips screwdriver to install the mounting ears on both sides of the
data switch.
Figure 7-97 Installing the ground cable and mounting ears
Step 8 Place the data switch to be installed in the cabinet, as shown in Figure 7-98.
1. Slide the data switch into the cabinet along the guide rails.
2. Use M6 screws to secure the data switch in the cabinet.
3. Verify that the data switch is horizontally installed and
rmly secured.
OceanStor V5 Series
Parts Replacement 7 Replacing FRUs
Issue 15 (2019-12-30) Copyright © Huawei Technologies Co., Ltd. 246

 Loading...