RMS-SNMP01A SNMP Card
User Manual
3 Installation and Basic Settings
Copyright © Huawei Technologies Co., Ltd.
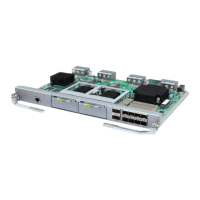
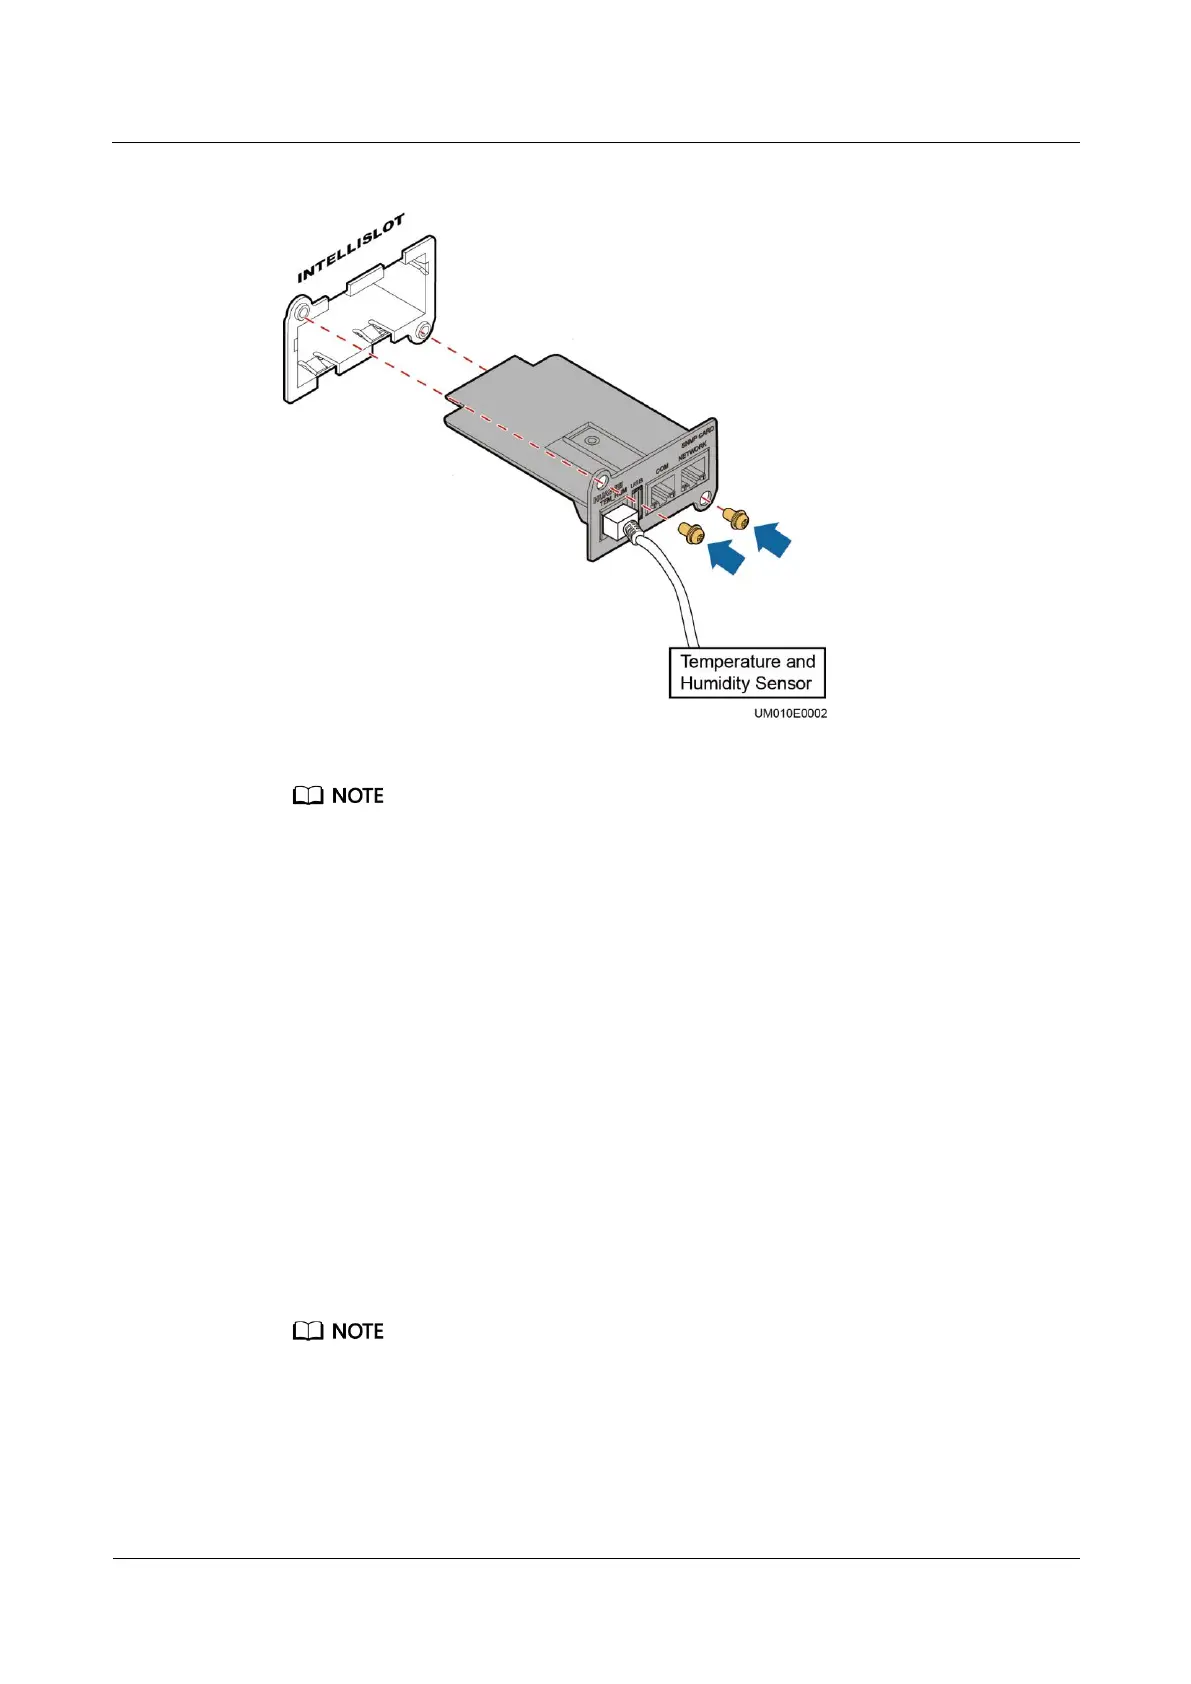
Figure 3-2 Inserting the SNMP card into the slot
The optional card uses M3 screws. The recommended torque is 0.5 N·m.
Step 3 (Optional) If there is a temperature and humidity sensor, connect it to the TEM_HUM port
on the SNMP card. For the method about how to connect the other end of the cable, see the
user manual related to the temperature and humidity sensor.
Step 4 Connect one end of the network cable to the NETWORK port on the SNMP card and the
other end to an Ethernet port. If the green indicator turns on and the yellow indicator blinks,
the SNMP card is successfully installed and is properly communicating with the Ethernet.
----End
3.4 Setting an IP Address for the SNMP Card
The factory settings are as follows:
IP address: 192.168.0.10
Sub mask: 255.255.255.0
Gateway: 192.168.0.1
The preceding are the default values of IP address, Sub mask, and Gateway. Modify the settings based
on the network segment that the UPS belongs to.
After the SNMP card is installed, you can set the SNMP card IP address on the LCD of the
UPS2000-G. The LCD of the UPS2000-A does not support settings of monitoring parameters
for the SNMP card. Set the parameters on the WebUI. For details, see 4.6.1 Comm. Config
Page.
 Loading...