74
9. Maintenance and Inspection
9.10 Replacing the Motor
9.10.1 Motor Coupling Type
SA5C, SA6C
[Items Required for Replacement]
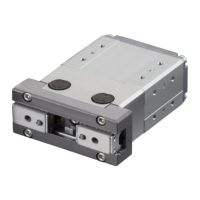
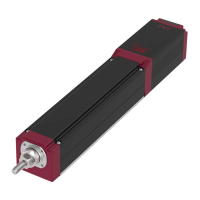
• Replacement motor M-P2SA5C-IAP42N-MB-CO (for SA5C)
M-P2SA6C-IAP42N-MB-CO (for SA6C)
(with a coupling on the motor shaft: see the photograph at the right)
• Allen wrench set
• Phillips screwdriver
• Grease (Kyodo Yushi’s Multemp LRL3 or equivalent)
[Procedure]
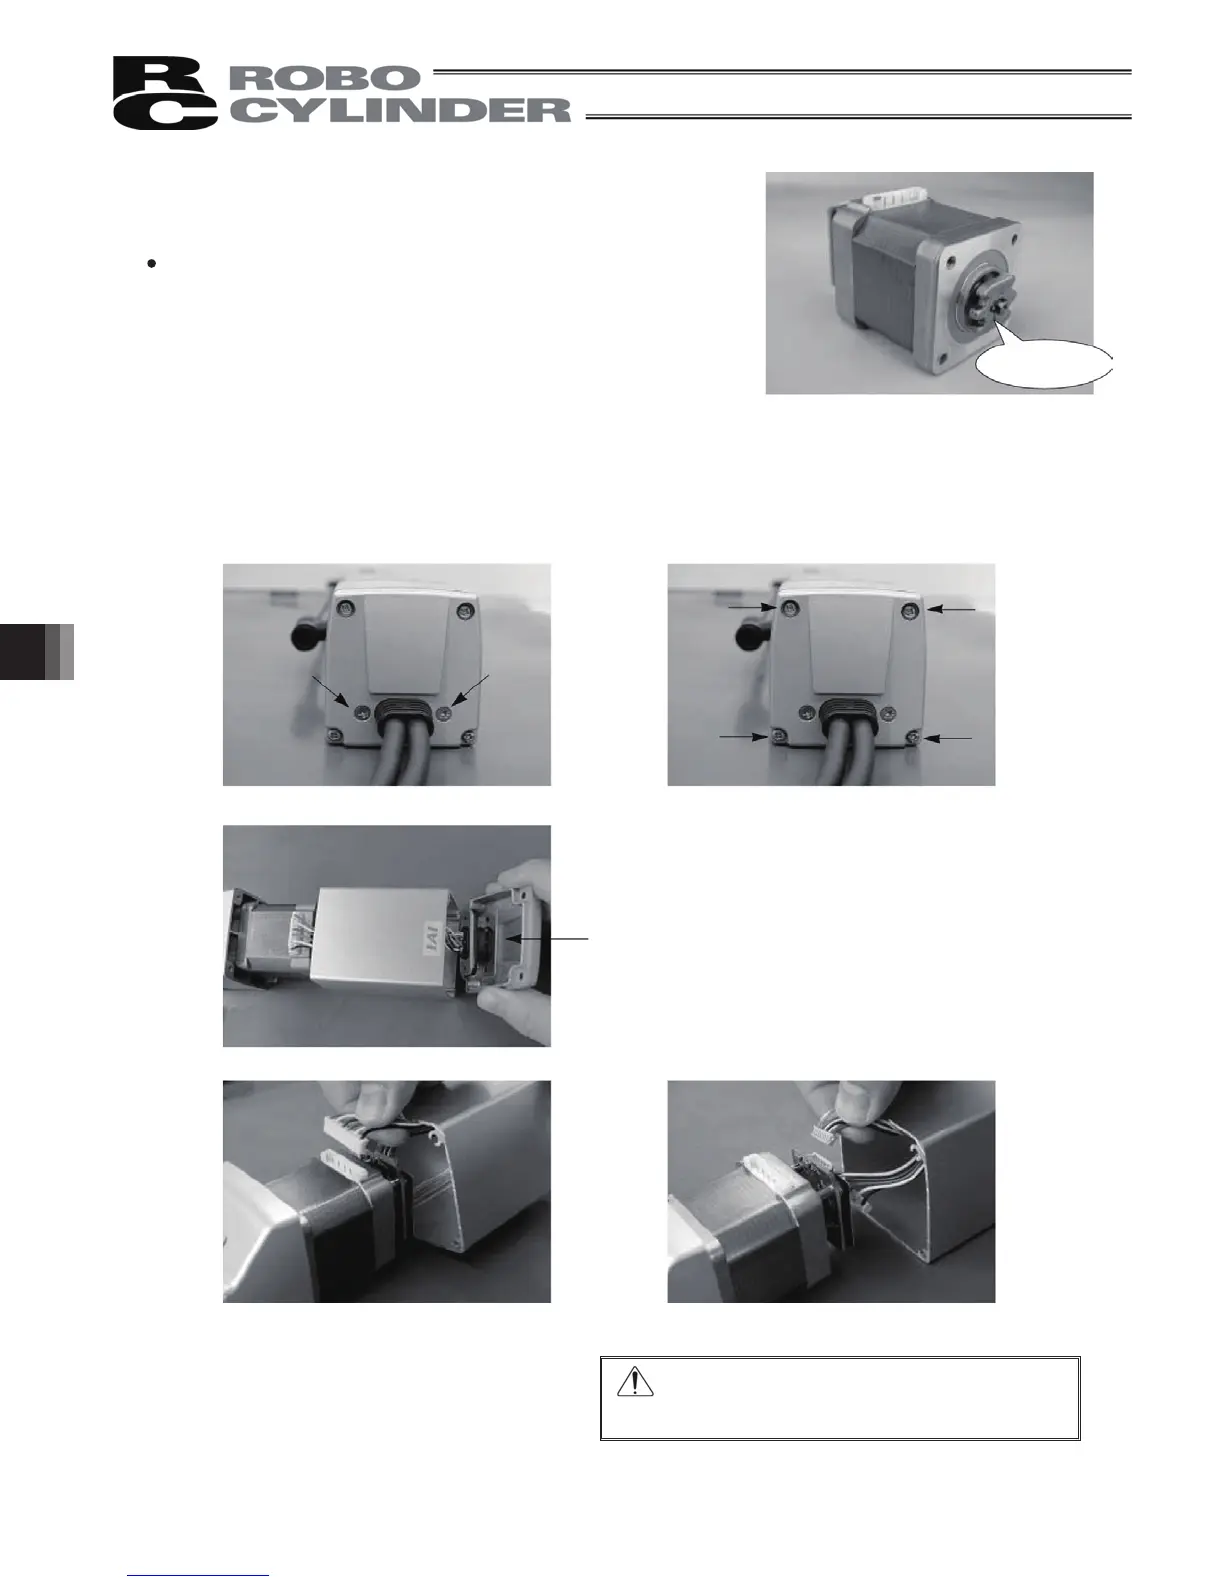
1) After removing the flat countersunk-head screws (M3 × 8, 2 pcs.) affixing the cable ends on the motor-end cap,
remove the pan-head screws affixing the motor-end cap.
.
Caution: Do not apply a force to the encoder
by touching it directly..
• Pan-head screws (M3 × 80, 4 pcs.)
• Flat countersunk-head screws (M3 × 8, 2 pcs.)
3) Pull out the motor connector. 4) Pull out the encoder connector.
Coupling
2) Push in the cable-end molding to create a slack along the inner cable
Push in the molding as far as possible
 Loading...