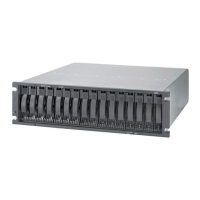
a. Open the two release levers as shown in the illustration. The controller
moves out of the bay approximately 0.6 cm (0.25 inch).
b. Pull the controller out of the bay.
c. Place the controller on a level surface.
Attention: The DS3500 replacement controller ships with a temporary filler.
Place the temporary filler in the controller chassis bay after the failed controller
is removed, to maintain proper airflow and cooling.
11. Remove the cover (see “Removing and installing a cover” on page 94).
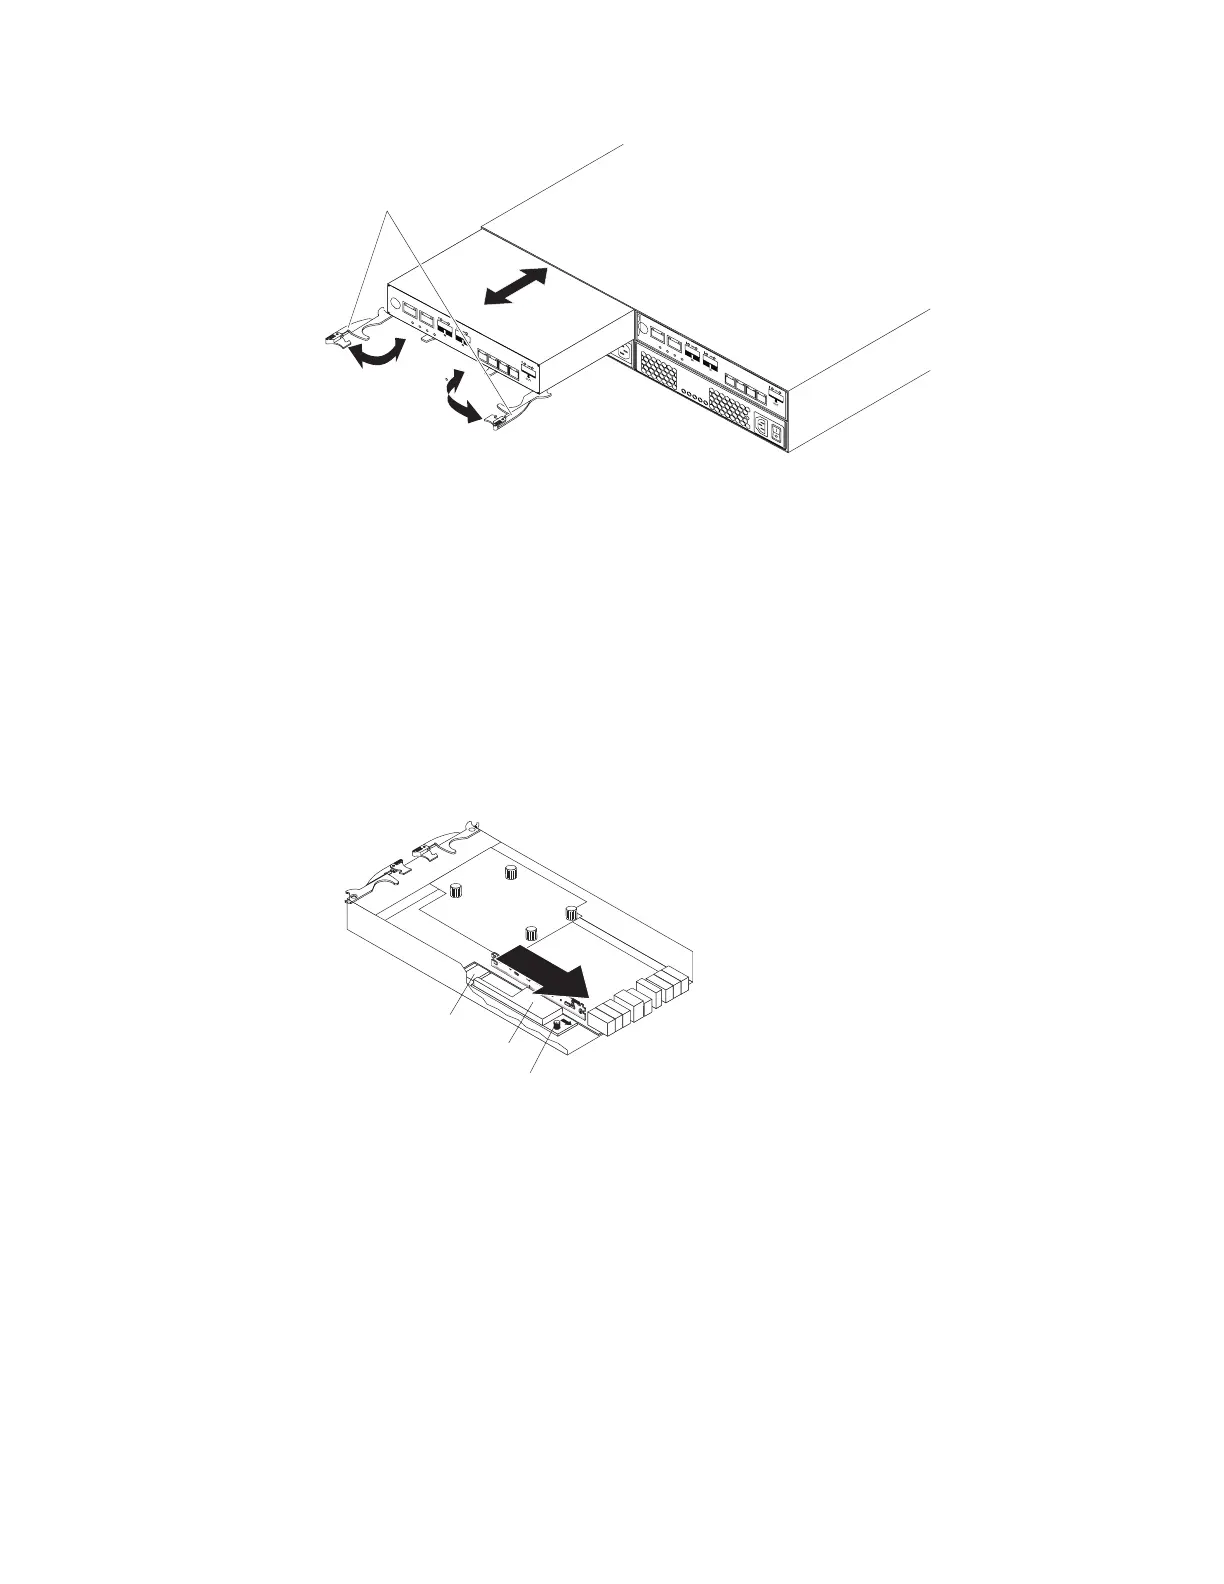
12. Remove the battery from the failed controller.
a. Loosen the blue captive fastener until the battery can move in the direction
that is indicated by the arrow.
b. Slide the battery unit out of the controller in the direction that is indicated
by the arrow.
c. Set the battery aside.
13. If the capacity of the DIMM in the controller that you removed is greater than
1024 MB, complete the following steps to transfer the DIMM to the new
controller:
a. Remove the 1024 MB DIMM from the new controller and set it aside (see
“Replacing the memory cache DIMM” on page 120).
b. Insert the DIMM into the new controller (see “Installing the DIMM” on page
121 for instructions).
Release
levers
Figure 79. Removing and replacing a controller
Battery connector
Captive fastener
Memory cache battery
Figure 80. Removing the battery unit from the controller
98 System Storage DS3500 and EXP3500: Installation, User’s, and Maintenance Guide

 Loading...