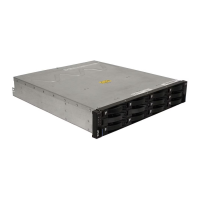
9. Turn off the power switch and disconnect the power cord from the failed power
supply.
10. Remove the power supply from the bay:
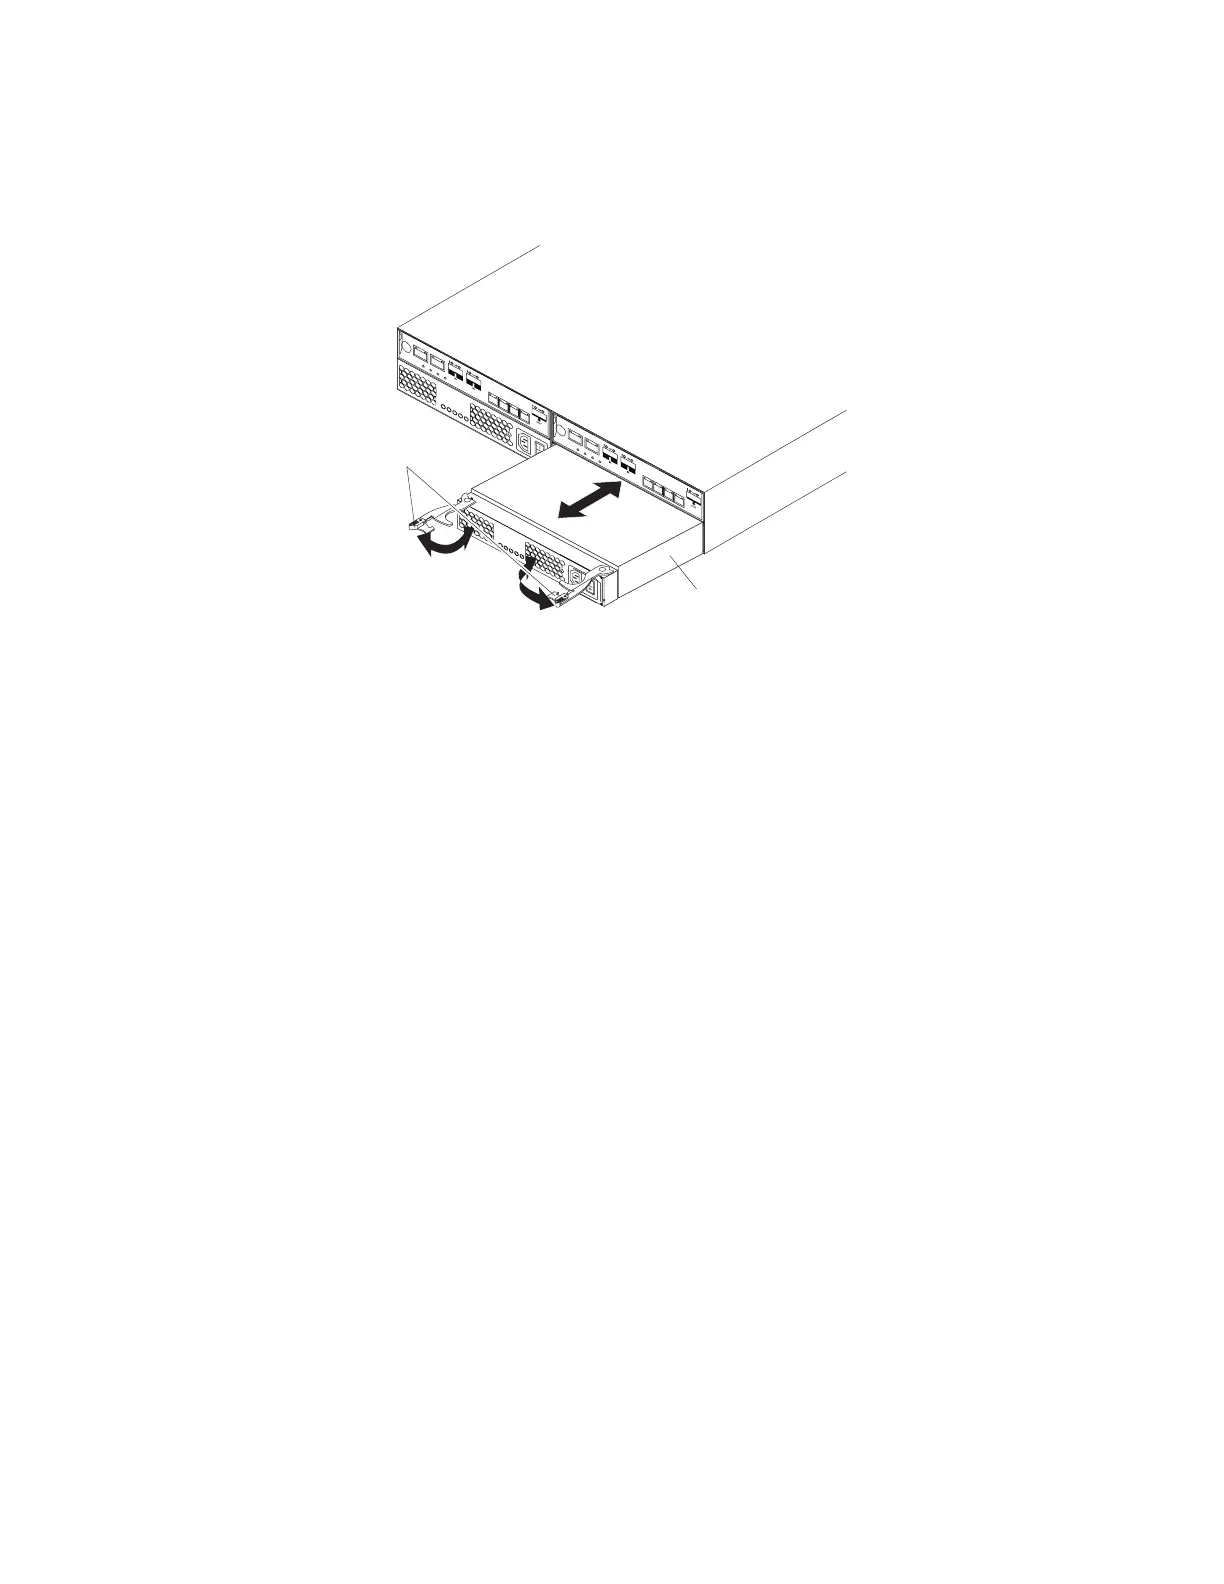
a. Open the two release levers as shown in the illustration. The controller
moves out of the bay approximately 0.6 cm (0.25 inch).
b. Slide the power supply out of the bay and set it aside.
11. Place the replacement power supply on a level surface.
12. Make sure that the release levers on the power supply are in the open
position.
13. Slide the power supply into the bay until it stops.
14. Push the release levers to the closed position.
15. Connect the power cord and turn on the power.
16. Check the power and fault LEDs on the new unit.
17. According to the status of the power and fault LEDs, use one of the following
procedures:
v The fault LED is lit and the ac and dc power LEDs are off: The new unit
might be installed incorrectly. The power-supply switch might not be turned
on. The power cord connector might not be fully inserted into the power
receptacle or the power-supply ac socket. There might not be any power to
the receptacle that the power supply is connected to. The power cord might
be faulty. Go to step 18.
v The fault and ac power LEDs are lit but the dc power LED is off: The
power supply is faulty. Turn off the power switch and contact your IBM
technical-support representative for a replacement power supply.
v The ac and dc power LEDs are lit but the fault LED is off: Go to step 19
on page 118.
18. Perform the following task or tasks to solve the problem:
v Make sure that the power switch is turned to the on position.
v Make sure that there is power at the ac outlet and no circuit breaker has
tripped.
v Make sure that the power cord is working and fully seated into the electrical
receptacle and the power supply ac connector.
Power supply
Release
levers
Figure 90. Replacing a power supply
Chapter 5. Replacing components 117

 Loading...