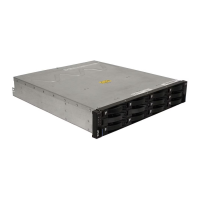
5. Slide the ESM into the bay until it stops.
6. Push the release levers to the closed position.
7. Connect the SAS cable or cables to the ESM. See Chapter 3, “Cabling the
storage subsystem and expansion enclosure,” on page 23 for more information.
Replacing an ESM
If you are replacing the only ESM in the EXP3500 expansion enclosure, you must
turn off power to the expansion enclosure before you replace the ESM. See
“Turning off the expansion enclosure” on page 89 or see the documentation that
comes with your RAID controller for additional information and instructions.
To replace an ESM, complete the following steps:
1. Read the safety information that begins on page xiii and “Best practices
guidelines” on page 5.
2. If the EXP3500 expansion enclosure contains only one ESM, turn off the
power to the expansion enclosure. See “Turning off the expansion enclosure”
on page 89 or see the documentation that comes with your RAID controller for
additional information and instructions.
3. Disconnect the cable from the ESM.
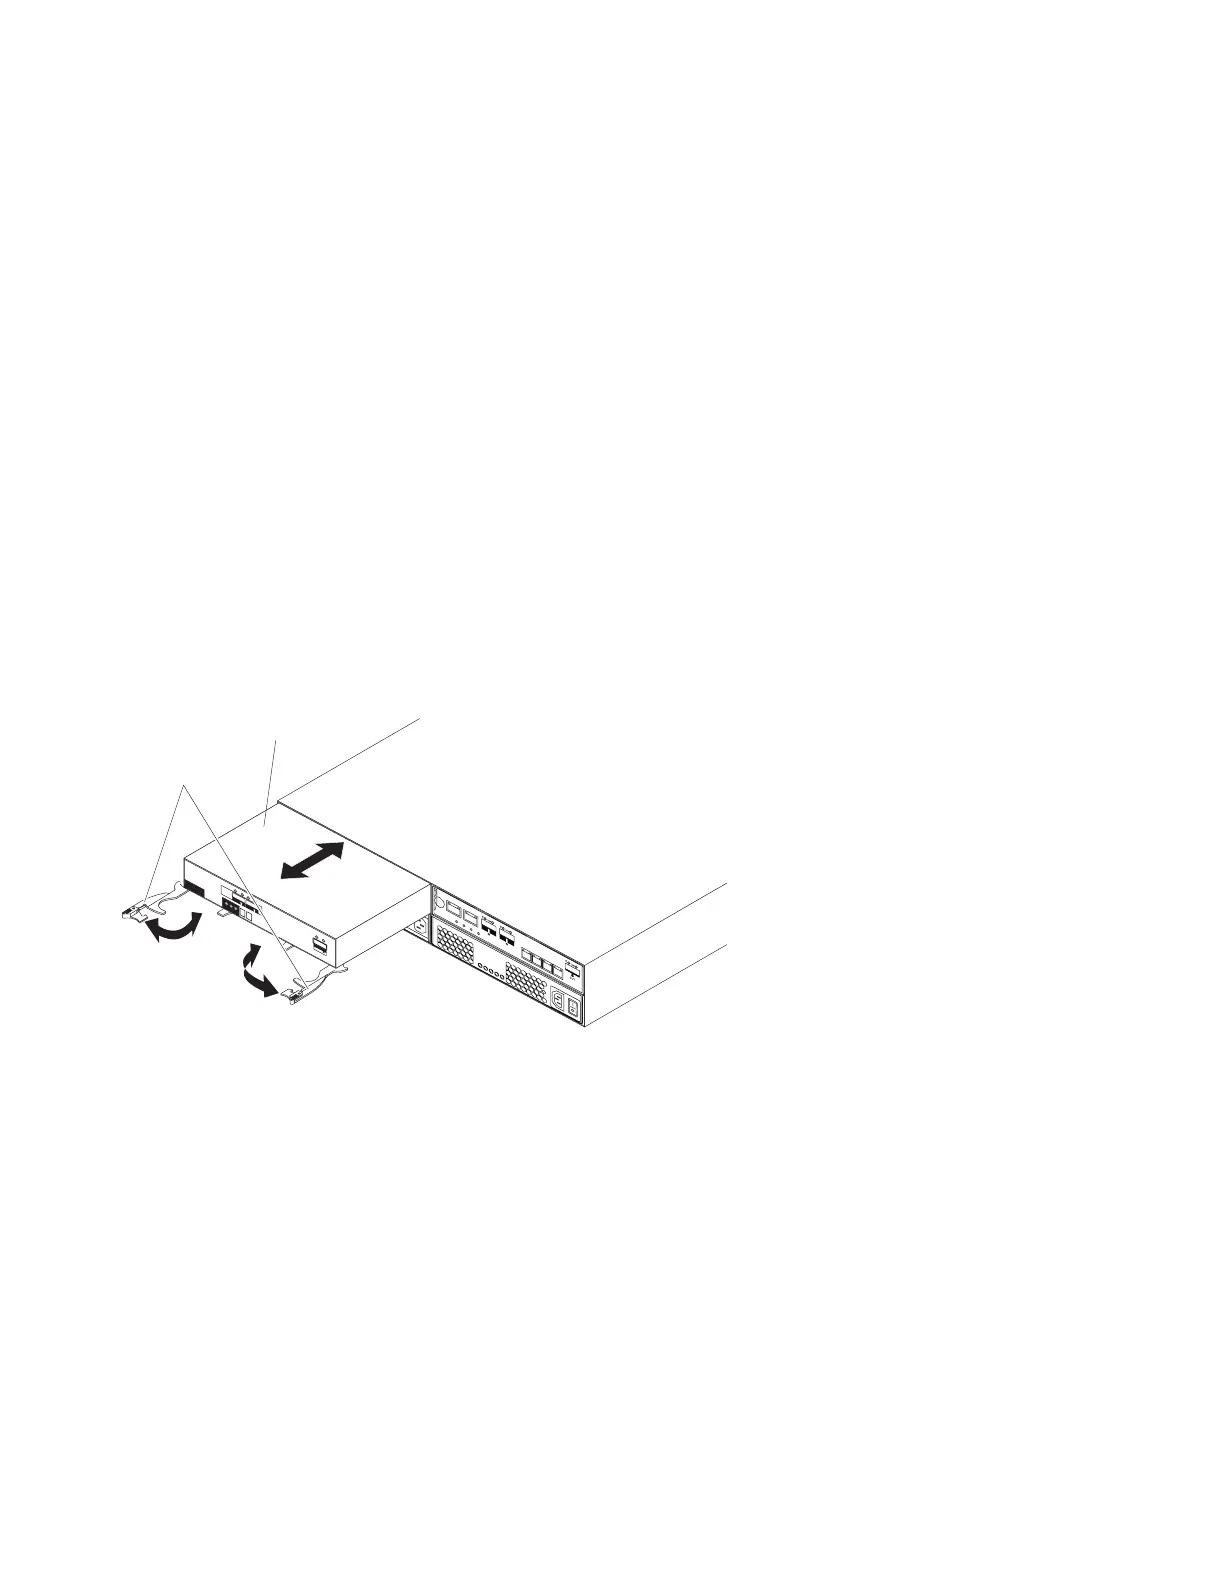
4. Open the two release levers. The ESM moves out of the bay approximately
0.6 cm (0.25 inch).
5. Slide the ESM out of the bay and set it aside.
6. Make sure that the release levers on the ESM are in the open position.
7. Slide the ESM into the bay until it stops.
8. Push the release levers to the closed position.
9. Connect the cable to the ESM.
10. Turn on the power. For more information, see “Turning on the expansion
enclosure” on page 88.
11. Go to http://www.ibm.com/servers/storage/support/ to check for ESM code
updates. For more information, see the download instructions on page 1.
Release
levers
ESM
1
2
ESM
Figure 98. Removing an environmental service module
124 System Storage DS3500 and EXP3500: Installation, User’s, and Maintenance Guide

 Loading...