65
9
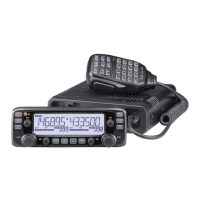
INSTALLATION AND CONNECTIONS
New2001 New2001
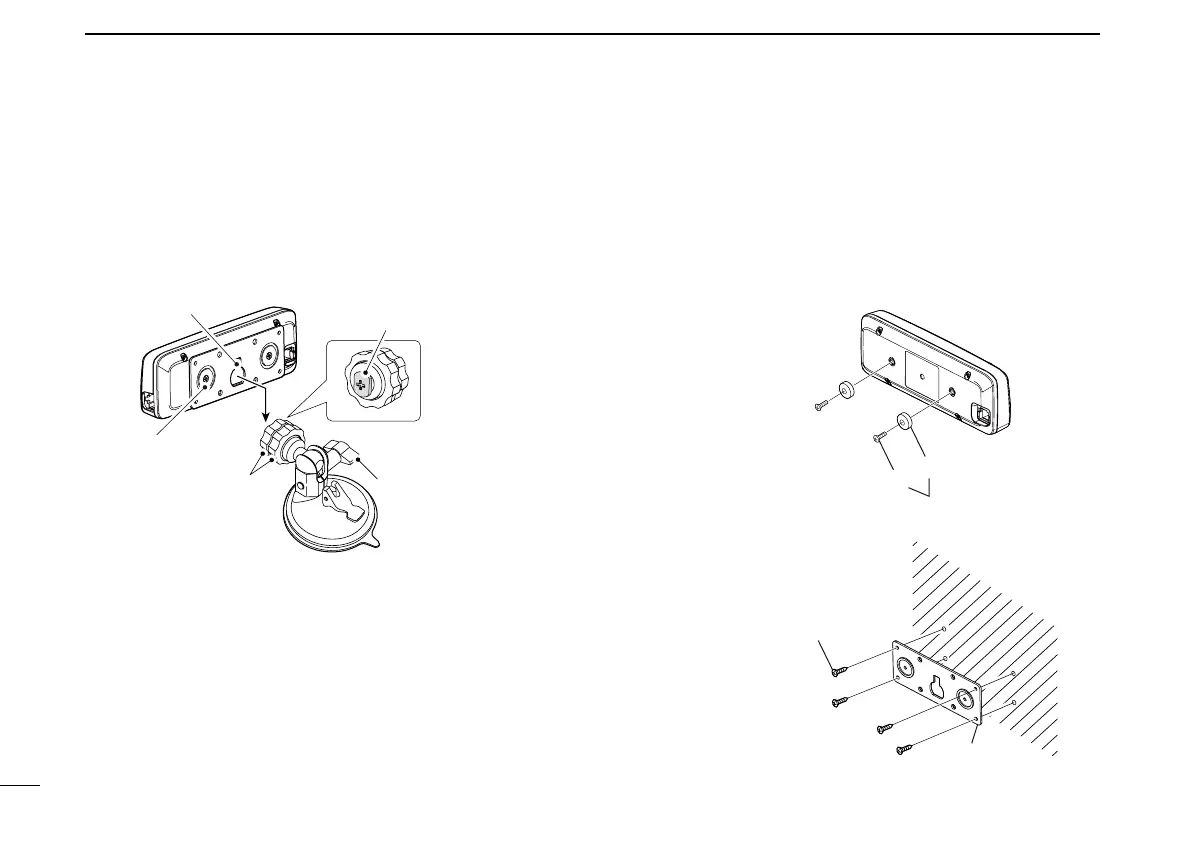
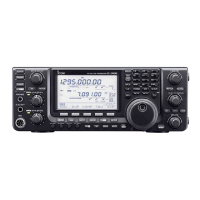
Installing the controller (Continued) ■
Slide the MBA-5 e ’s guide down over the MBF-1’s locking
head, as shown below.
•Besurethelockingheadtsintotheslotatthetopoftheguide.
Tighten the lock knob to securely attach the Controller. r
Adjust the viewing angle of the remote controller, then t
tighten the adjustment knob.
MBA-5
Lock knob
Adjustment knob
Locking head
(MBF-1)
Guide
D Attaching to a flat surface
You can install the controller on a flat surface with the optional
MBA-5*
1
c o n t r o l l e r b r a c k e t .
When attaching the bracket to a wall, use a self-tapping
screw*
2
(3 mm(d)).
*
1
MBA-5 may be supplied, depending on the transceiver’s version.
*
2
Purchase separately
Magnet
Screw
Supplied with the MBA-5
Attach the magnet to the
Controller bracket
Self-tapping screw (3 mm(d))
Purchase separately
MBA-5
Attaching the bracket
to a wall