2
1
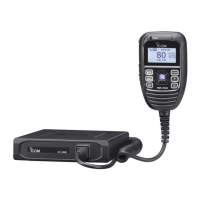
ACCESSORIES AND CONNECTION
ï Installation methods
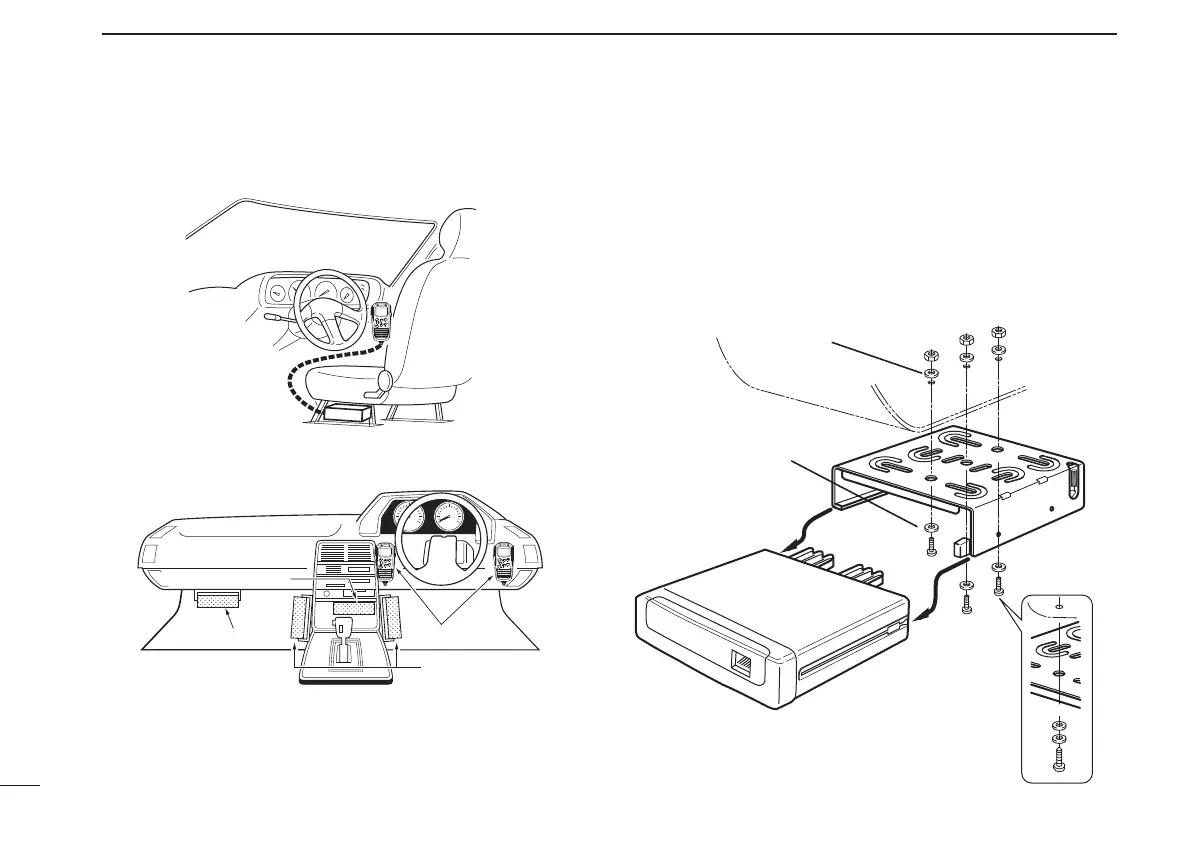
<Sample 1: IC-440 is installed under a driver’s seat.>
<Sample 2: IC-440 is installed under a dash box, etc.>
D Using the mounting bracket
q Drill 3 holes where the mounting bracket is to be installed.
• Approx. 5.5–6 mm (
1
⁄
4
´´) when using nuts; approx. 2–3 mm
(
1
⁄
8
´´) when using self-tapping screws.
w Insert the supplied screws, nuts and washers through the
mounting bracket and tighten.
e Insert the mounting bracket’s rail to the transceiver’s slot,
then slide the transceiver to attach with the mounting bracket.
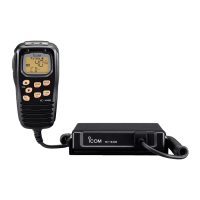
Microphone
Main unit
Main unit
Main unit
Flat washer
Spring washer
When using
self-tapping screws
IC-440-1.indd2IC-440-1.indd2 2008/06/2515:59:292008/06/2515:59:29