The StellarMate Plus Manual
244 / 341
In the calibration phase, you need to capture an image, select a guide star, and
click Guide to begin the calibration process. If calibration was already completed
successfully before, then the autoguiding process shall begin immediately,
otherwise, it would start the calibration process. If Auto Star is checked, then you
are only required to click Capture and Ekos will automatically select the best-fit
guide star in the image and continues the calibration process automatically.
If Auto Star is disabled, Ekos will try to automatically highlight the best guide star
in the field. You need to confirm or change the selection before you can start the
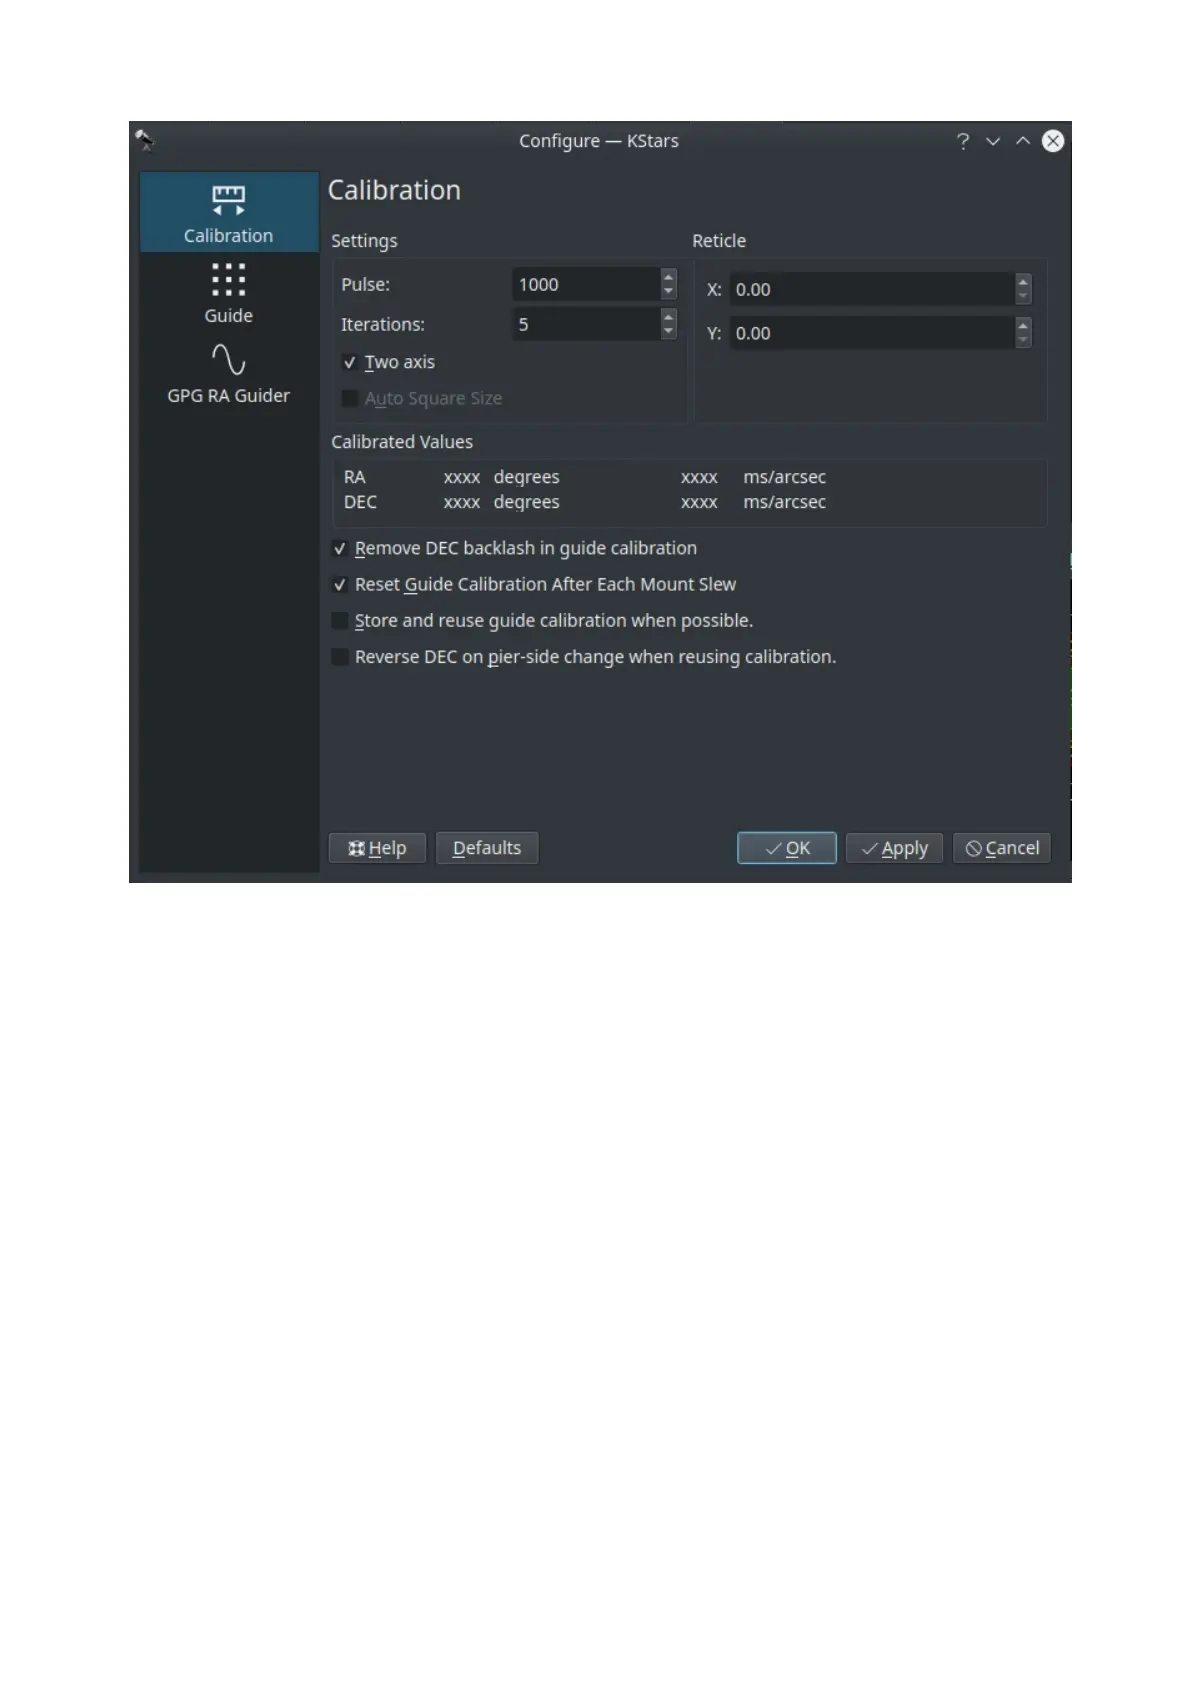
calibration process. The calibration options are:
· Pulse: The duration of pulses in milliseconds to be sent to the mount. This
value should be large enough to cause a noticeable movement in the guide
star. If you increase the value and you do not notice any movement of the
guide star, then this suggests possible mount issues such as jamming or
connection issues via the ST4 cable.
· Two axis: Check if you want the calibration process makes calibration in both
RA & DEC. If unchecked, the calibration is only performed in RA.
· Auto Star: If checked, Ekos will attempt to select the best guide star in the
frame and begins the calibration process automatically.
The reticle position is the guide star position selected by you (or by the auto
selection) in the captured guider image. You should select a star that is not close


 To Next Page