30
2.6 Operation during working procedure
- Move the cutter drive carefully into manhole! Do not kink the hose! If the manhole is
narrow, you can take off the strain relief during insertion and put it back on afterwards.
- Attach the manhole deflection(s)! The hose mustn´t be pulled over edges.
- Turn up the light until the manhole is well illuminated!
- Right-hand function switch to F3 / (automatic mode)!
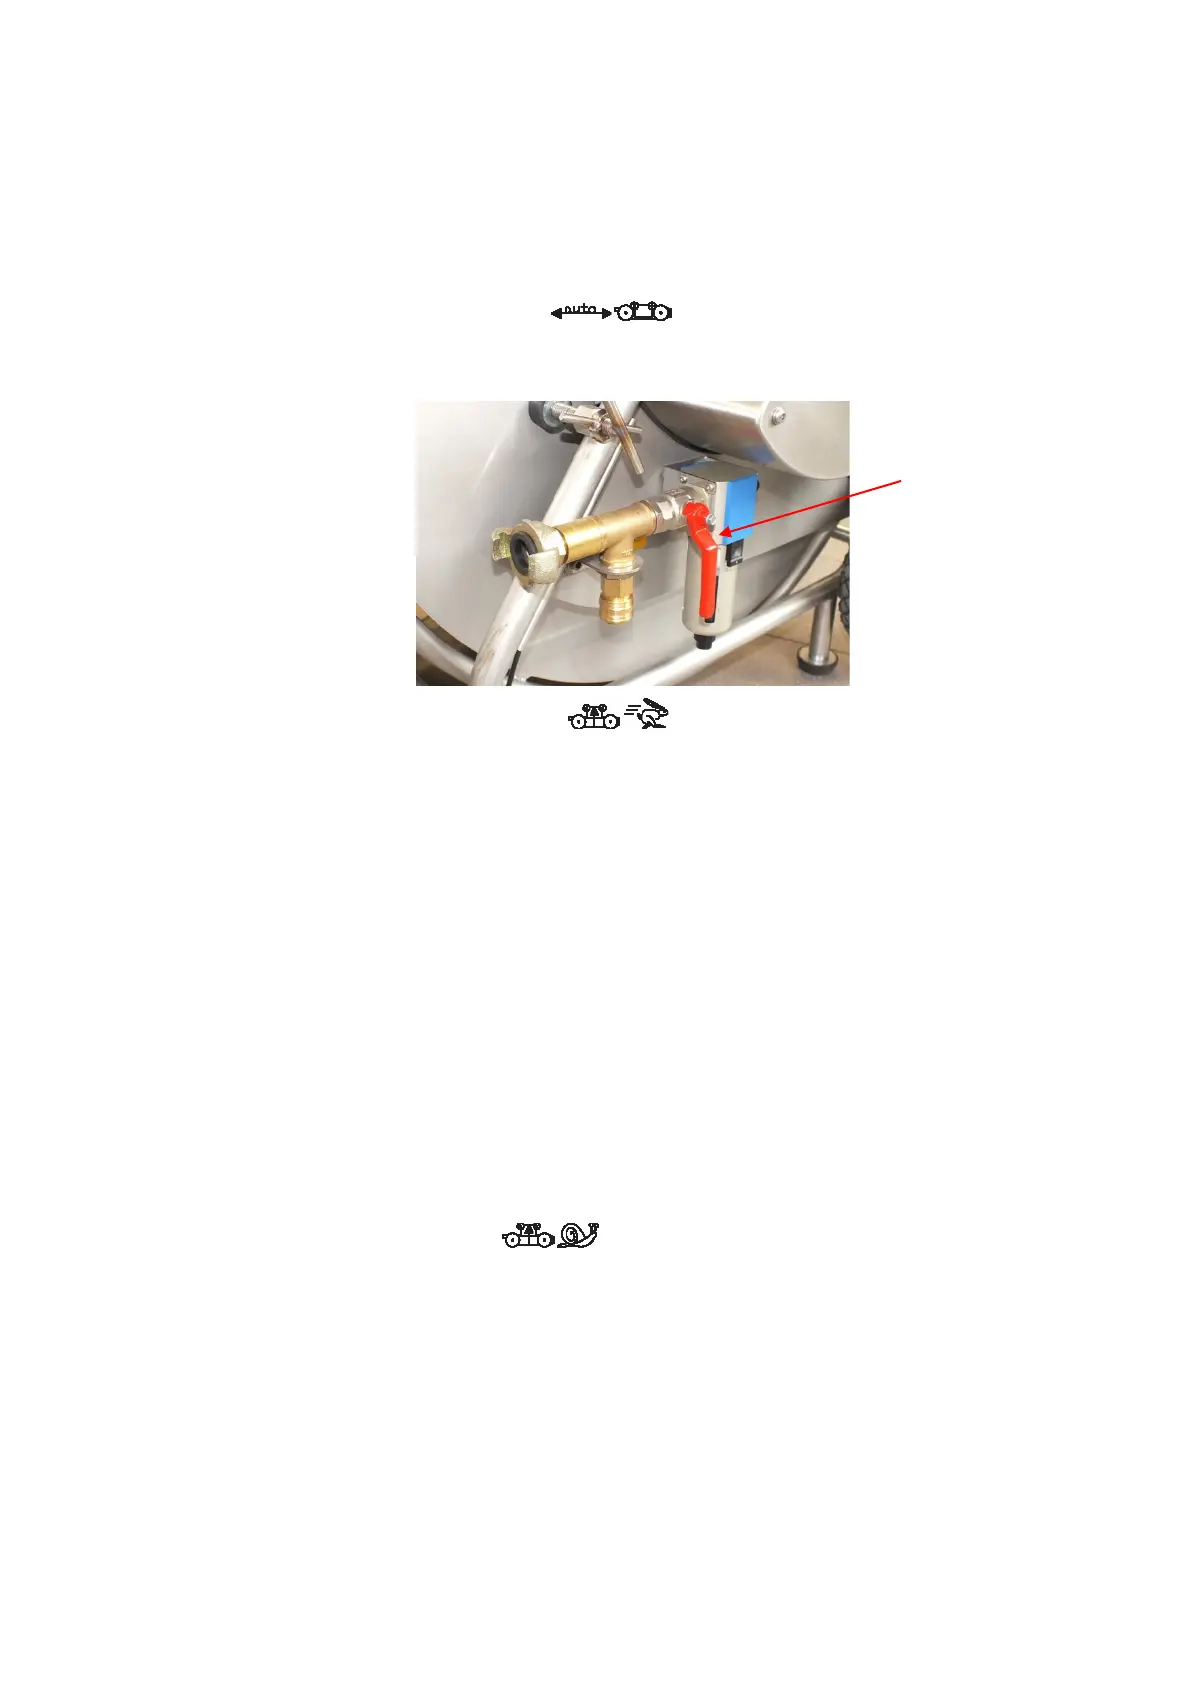
- If the pressure rail and the lifting unit are to be used, open the air shutoff valve on the
frame.
- Set left-hand function switch to F1 / to enter the manhole with pressure rail
or leave switch to 0 to enter without the pressure rail (Attention: Danger of tipping over!).
- Move the left-hand joystick up to drive in using automatic mode! Steering down will stop
the cutter drive again.
- Select the speed for unreeling the hose so, that the hose is never pulled tight!
Otherwise the wheels of the cutter drive are turning on the spot! (only with option 030
11 600 “Automatic reeling with brake”)
- If you are driving in using the pressure rail and no further progress can be made, this
may be because of joint displacements or projecting obstacles. It may be possible to
drive past these by switching of the pressure rail. Take care, however: it is better to
remove these obstacles, since problems may otherwise occur when backing out of the
manhole again.
- By turning the cutter arm (steer the right-hand joystick to the left or right), you can view
the relevant part of the manhole. Since you cannot view the entire manhole, you must
make a camera run using a TV camera before entering the manhole with the robot.
This will identify the presence of e.g. missing pipe wall floor sections, which could cause
the robot to become stuck fast.
- Once at the cutting face, choose creep mode plus pressure rail. To do so, set the left-
hand function switch to F2 / , the right-hand switch to “0” and position the
cutter drive without pipe contact. If the right-hand function switch is in “0” position, the
robot will now move forwards or backwards to match the movement of the left-hand
joystick in either of these directions.
- Slowly steer the stroke, turning and driving functions to cut away the material which
has to be removed.
- Observe light indications during cutting work: They must not blink – watch for > 30
seconds. Otherwise, stop cutting immediately and carry out maintenance!
(see 5.2 Pressure monitoring)
- While the cutting procedure, the camera is permanently cleaned by air. Additionally,
the camera can be cleaned by distilled water! (Option “Water equipment”)