User Guide - v7 37
► For information about using a 9-22mm lens, see "Using a 9-22mm lens" on page 41
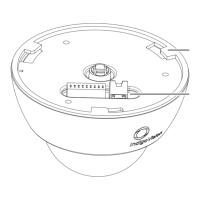
Installing the Environmental Vandal Resistant variant
If installing the camera in temperatures below - 10°C please read the section “Low
Temperature Start-Up” before continuing.
Once you have configured your camera's IP settings, you are ready to install it in its final
position.
The exit collar MUST be used when installing the Environmental Vandal Resistant variant.
There are five stages to installing the Environmental Vandal Resistant variant:
1. Run the cabling to the access point
2. Fit the exit collar to the wall/ceiling
3. Connect the heater power supply
4. Fit the camera to the exit collar
5. Set up the sensor
Run the cabling to the access point
When the wall or ceiling has been prepared, run the required cables up to the cable access
hole.
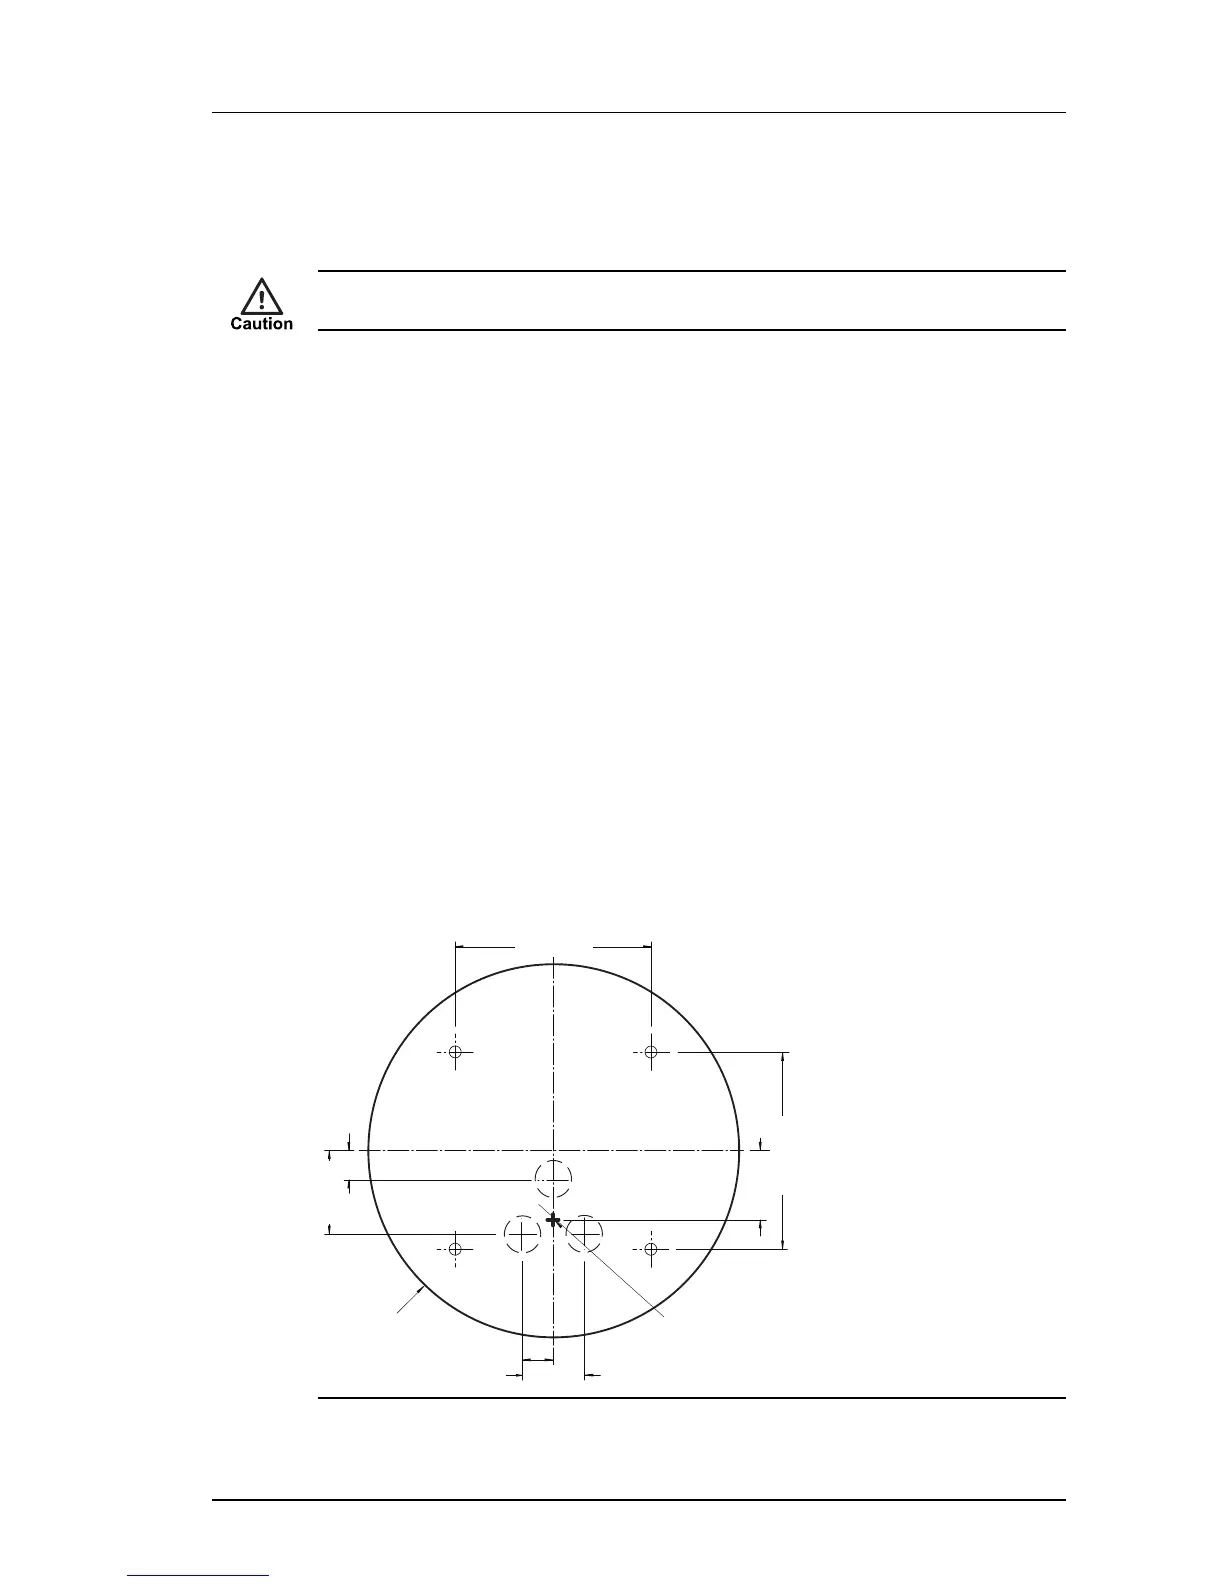
Fit the Exit Collar
The Exit Collar has cable exit holes on the side and top. Before fitting the Exit Collar, ensure
the exit holes which are not being used are sealed using the blanking plug or grommets
provided.
Figure 28: Exit Collar wall/ceiling fixing points and access hole
Enhanced SDFixed Dome - 9000 Range 4 Installation