21
Operating
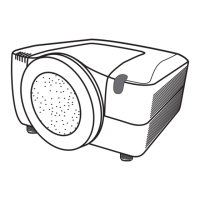
Using the functions for the lens
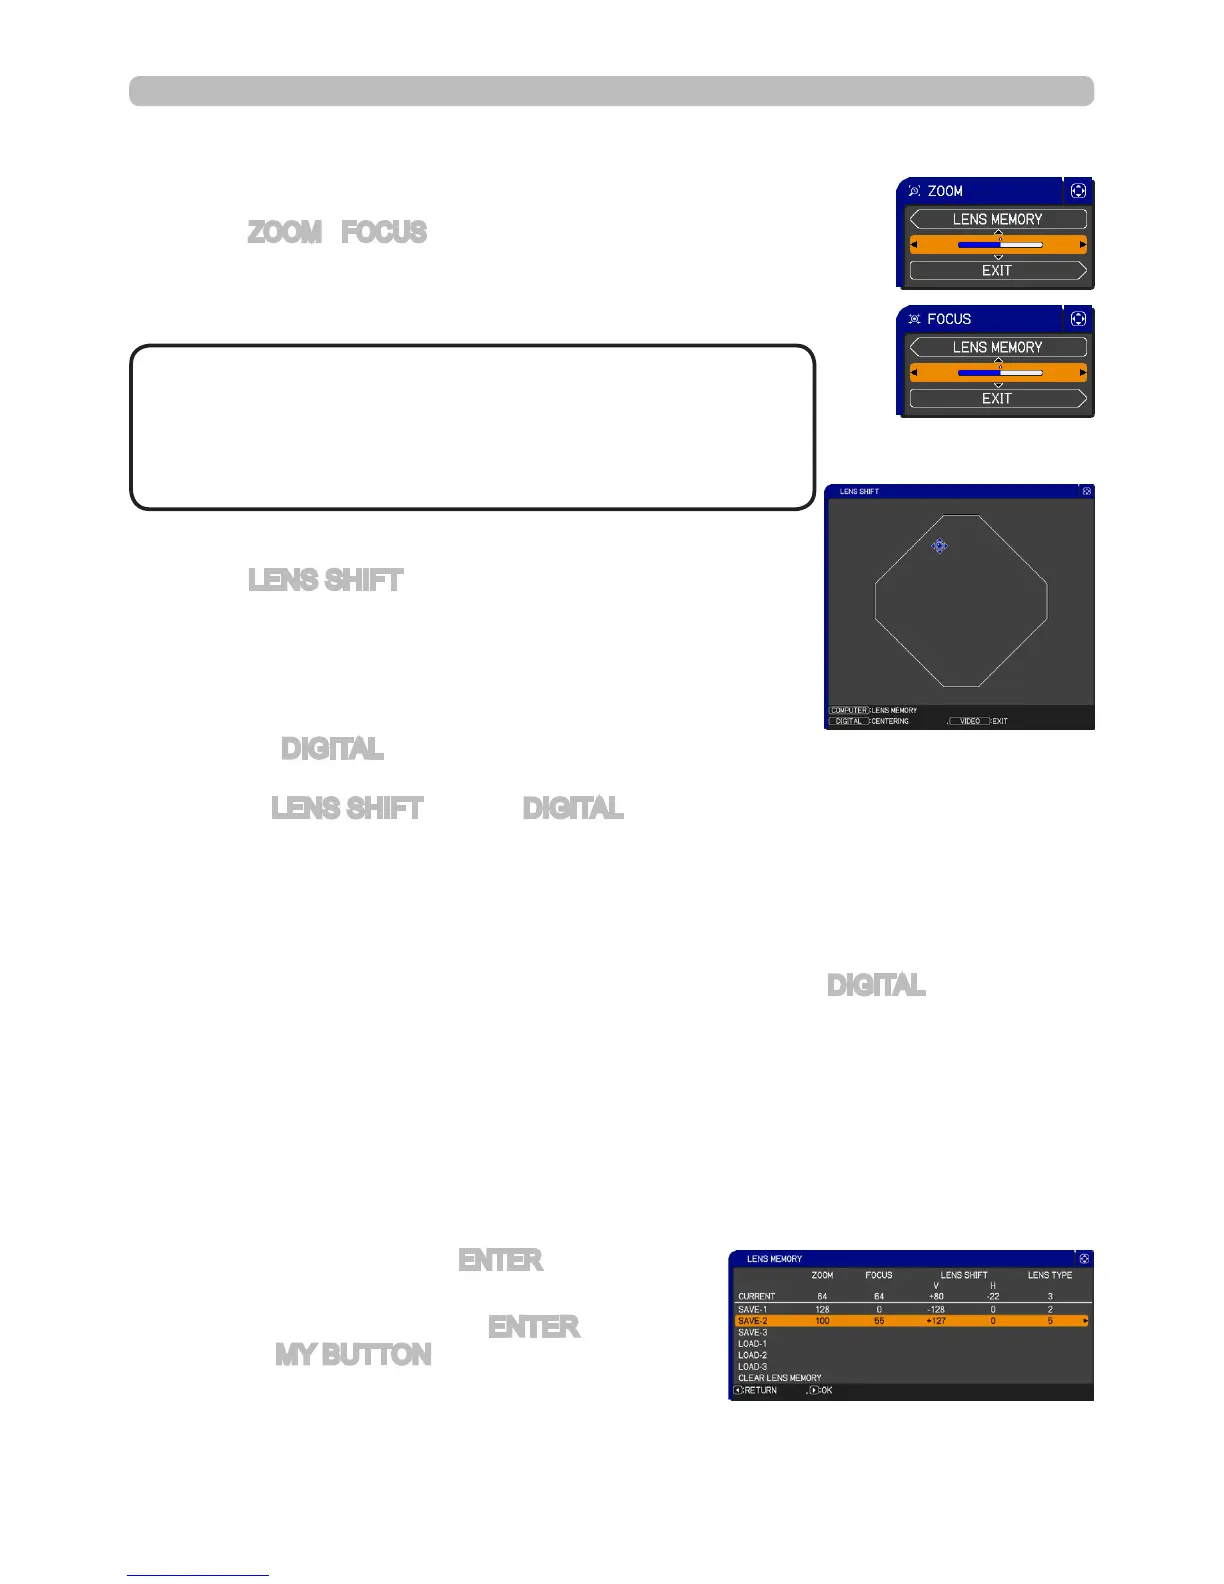
ZOOM / FOCUS
Press the
ZOOM / FOCUS
button. The ZOOM / FOCUS dialog
will appear. Adjust the zoom / focus using the ◄/► button while
the dialog is displayed. Press the ▼ button to select "EXIT" on
the dialog. It closes the OSD menu.
LENS SHIFT
Press the LENS SHIFT button. The LENS SHIFT dialog
will appear. Using the ▲/▼/◄/► buttons, while the dialog
is displayed, shifts the lens.
In the LENS SHIFT dialog:
Press the DIGITAL button.
In the standby mode:
Press the LENS SHIFT and the DIGITAL buttons for 3 seconds simultaneously.
CENTERING
● While the lens is shifting, the menu will disappear and an hourglass icon will
appear on screen. Lens shifting may take up to one minute.
● The LENS SHIFT indicator lights up or blinks green while the lens is shifting.
Then the indicator will stop blinking and light for 3 seconds in a solid green after
lens is centered.
●
When the lens is located in the center already, pressing the DIGITAL button in
the LENS SHIFT dialog causes the LENS SHIFT indicator to be solid green for 3
seconds.
LENS MEMORY SAVE / LOAD / CLEAR
This projector is equipped with memory functions for the lens adjustments (zoom,
focus and shift).
To display the LENS MEMORY dialog, select the LENS MEMORY on the ZOOM,
FOCUS or LENS SHIFT dialog. Then the LENS MEMORY dialog will appear.
SAVE:
To save the current lens adjustment, select
SAVE-(1-3) and press ► or ENTER button.
LOAD:
To load a saved adjustment, select the
LOAD-(1-3) and press ► or ENTER button.
When the MY BUTTON button is allocated to
the LOAD-(1-3) the memory can be loaded
without the LENS MEMORY dialog.
CLEAR:
Selecting the CLEAR LENS MEMORY in the LENS MEMORY dialog
displays the CLEAR LENS MEMORY dialog. Select the number to be cleared
using ▲/▼ buttons and press the ► button. A confirmation dialog will display.
Then press the ► button again in the dialog.
• The adjustable range of ZOOM and FOCUS
varies depending on the lens unit mounted on the
projector to maintain picture quality. Therefore ZOOM or
FOCUS adjustments may not reach the end of the bar
indicators in the dialog. This is not a defect.
NOTE