4
Introduction
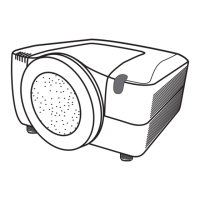
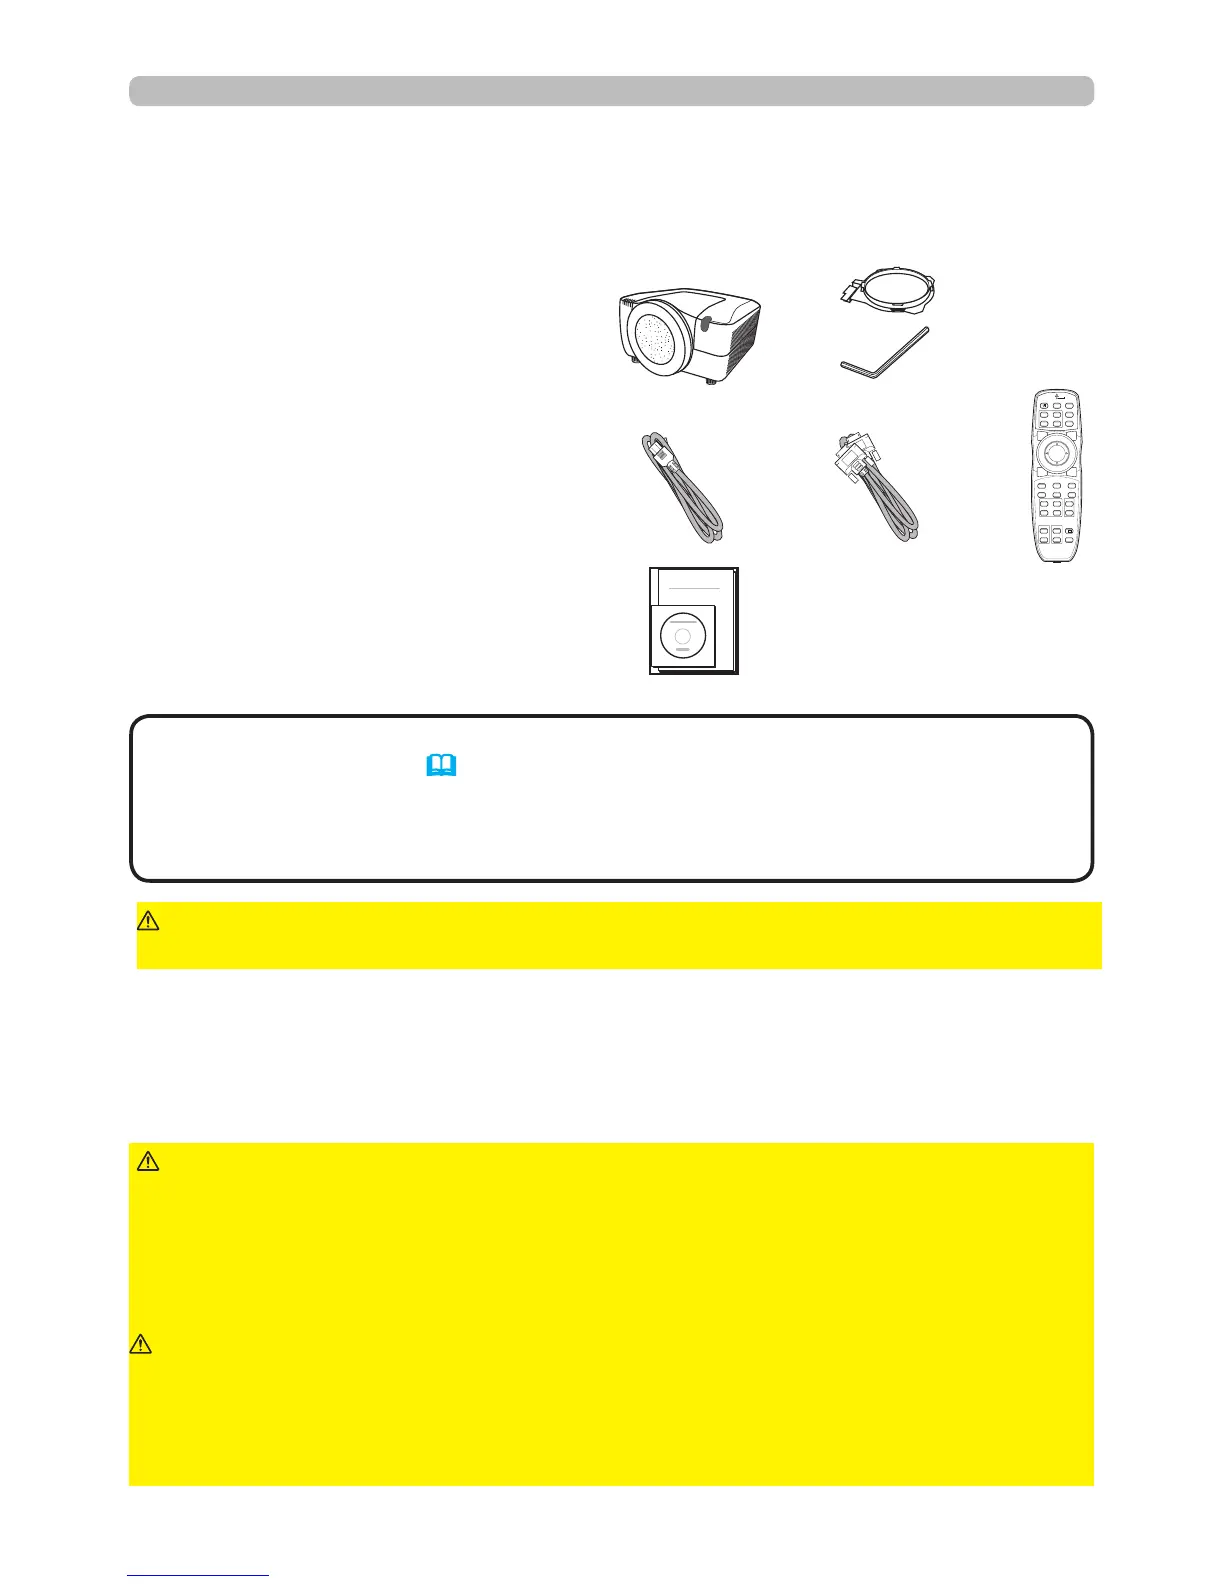
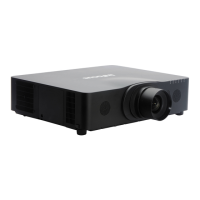
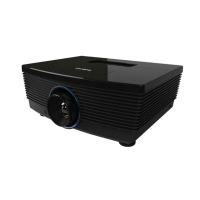
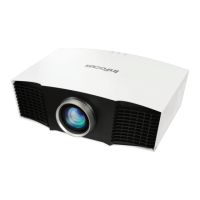
(1) Projector
(2) Lens adapter
(3) Hexagon wrench (for installation of
the optional lens unit)
(4) Power cord
(5) Computer cable
(6) Remote control
(batteries not included)
(7) User’s documentation
Soon after purchasing this product, verify that all the following items are included in
the package. If any items are missing, contact your dealer immediately.
►Only use the lens unit specied by the manufacturer.
►Removing and attaching the lens unit should only be accomplished by
authorized service personnel.
►Read and keep the user’s manual of the lens unit.
►Be extremely cautious and do not drop or hit the lens against anything.
►Do not transport the projector with the lens attached.
WARNING
Keep the original packing materials for the lens unit, and use
them correctly when transporting or storing the lens unit.
CAUTION
►Do not touch the lens surface directly.
► Keep the projector's dust protector, and use it when no lens is attached to the
projector.
NOTICE
• This product is supplied without a lens unit so that you can choose
from a range of lenses (77) that can meet your requirements. Ask your dealer
for details, and purchase one or more lenses with this product.
• Some additional accessories or services may be required for your application.
We recommend that you consult your dealer beforehand.
NOTE
►Keep the original packing materials, and use them correctly
when transporting or storing the product.
CAUTION
Ask your dealer to help you with lens installation. Removing and attaching the lens
unit should only be accomplished by authorized service personnel.
(1)
(2)
(3)
(4)
(7)
(6)(5)
BLANK LASER
FREEZE
LASER
INDICATOR
DIGITAL
STANDBY/ON COMPUTER
LENS SHIFT
KEYSTONE
ID 3
ID 4
ID 2
ID 1
VIDEO
AUTO
ASPECT
RESET
MENU
MAGNIFY
ON
OFF
3
4
ENTER
FOCUS
+
-
POSITION
PbyP
ZOOM
+
-
1
2
MY BUTTON
MY SOURCE
SHUTTER
Checking the contents of package
Attaching the lens unit