EonStor CS Installation Guide
page 62 / 165
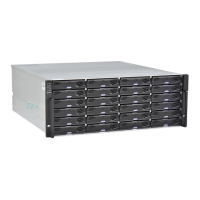
3.5” Drive Tray Model (4U 60-bay)
1. When the faulty hard drive is located, open the top cover of the enclosure. Look for the defective hard
drive, pull up the handle plate (A) and remove the drive and tray (B).
2. Push the release button to the left, move the lever tray to the left to unlock the sides and pull both sides
to widen the tray. Take out the defective hard drive from the tray. Insert the replaced hard drive, close
the tray, and push down the clip. Install the assembly back to the system.

 Loading...