- 58 - - 59 -
Connecting the PC Connecting the PC
AppendixPrinting
3
Setting Up
2
Before use
1
Basic Device Operations
4
Index
AppendixPrinting
3
Setting Up
2
Before use
1
Basic Device Operations
4
Index
Installer Printer Drivers
(Windows)
Network Connections
To connect the Windows PC and device to the
network, fi rst set the device IP address. Next,
install the printer drivers on the PC.
If there are no DHCP or BOOTP servers on the
network, it is necessary to set the IP address on
the PC and device manually.
Further, it is also necessary to set the IP address
in the PC and device manually if instructed to
set a specifi c IP address determined by the in-
house network administrator, provider, or router
manufacturer.
Setup Flow
Turning ON the device power supply
Setting the IP address in the device
Turning ON the PC power supply
Setting the IP address, etc., in the PC
Installing the printer drivers
Note
�
If the IP address is incorrect, the network may go
down, or internet connections be disabled. Check the IP
addresses that can be set in the device with your in-house
network administrator or internet service provider.
�
The server on the network (DHCP, etc.) depends on the
network environment in use. Check with your in-house
network administrator, internet service provider, or router
manufacturer.
�
Setup requires computer administrator privileges.
�
In "Setting Up", the operating procedure described is for
Windows 7 unless otherwise specifi ed. The screens and
operating procedure may differ depending on the OS.
Setting the IP Address in the
Device Using the Control Panel
Memo
�
If confi guring using a small scale network that connects
the device to a single PC, set the following IP address
(conforming to RFC1918).
�
PC
-
IP address: Any from 192.168.0.1 to 254
-
Subnet mask: 255.255.255.0
-
Default gateway: Not used
-
DNS server: Not used
�
Device
-
IP address setup: Manual from 192.168.0.1 to 254
(Select a different value fom the PC.)
-
Subnet mask: 255.255.255.0
-
Default gateway: 0.0.0.0
-
Network size: Small scale
This section explains the following settings as an
example.
IP address: 192.168.0.3 (PC)
192.168.0.2 (Device)
Subnet mask: 255.255.255.0
Gateway address: 192.168.0.1
1
Press either the scroll button or
on the control panel to display the
"Functions" screen.
2
Press the scroll button several times
to select [Admin Setup], and then press
the [OK] button.
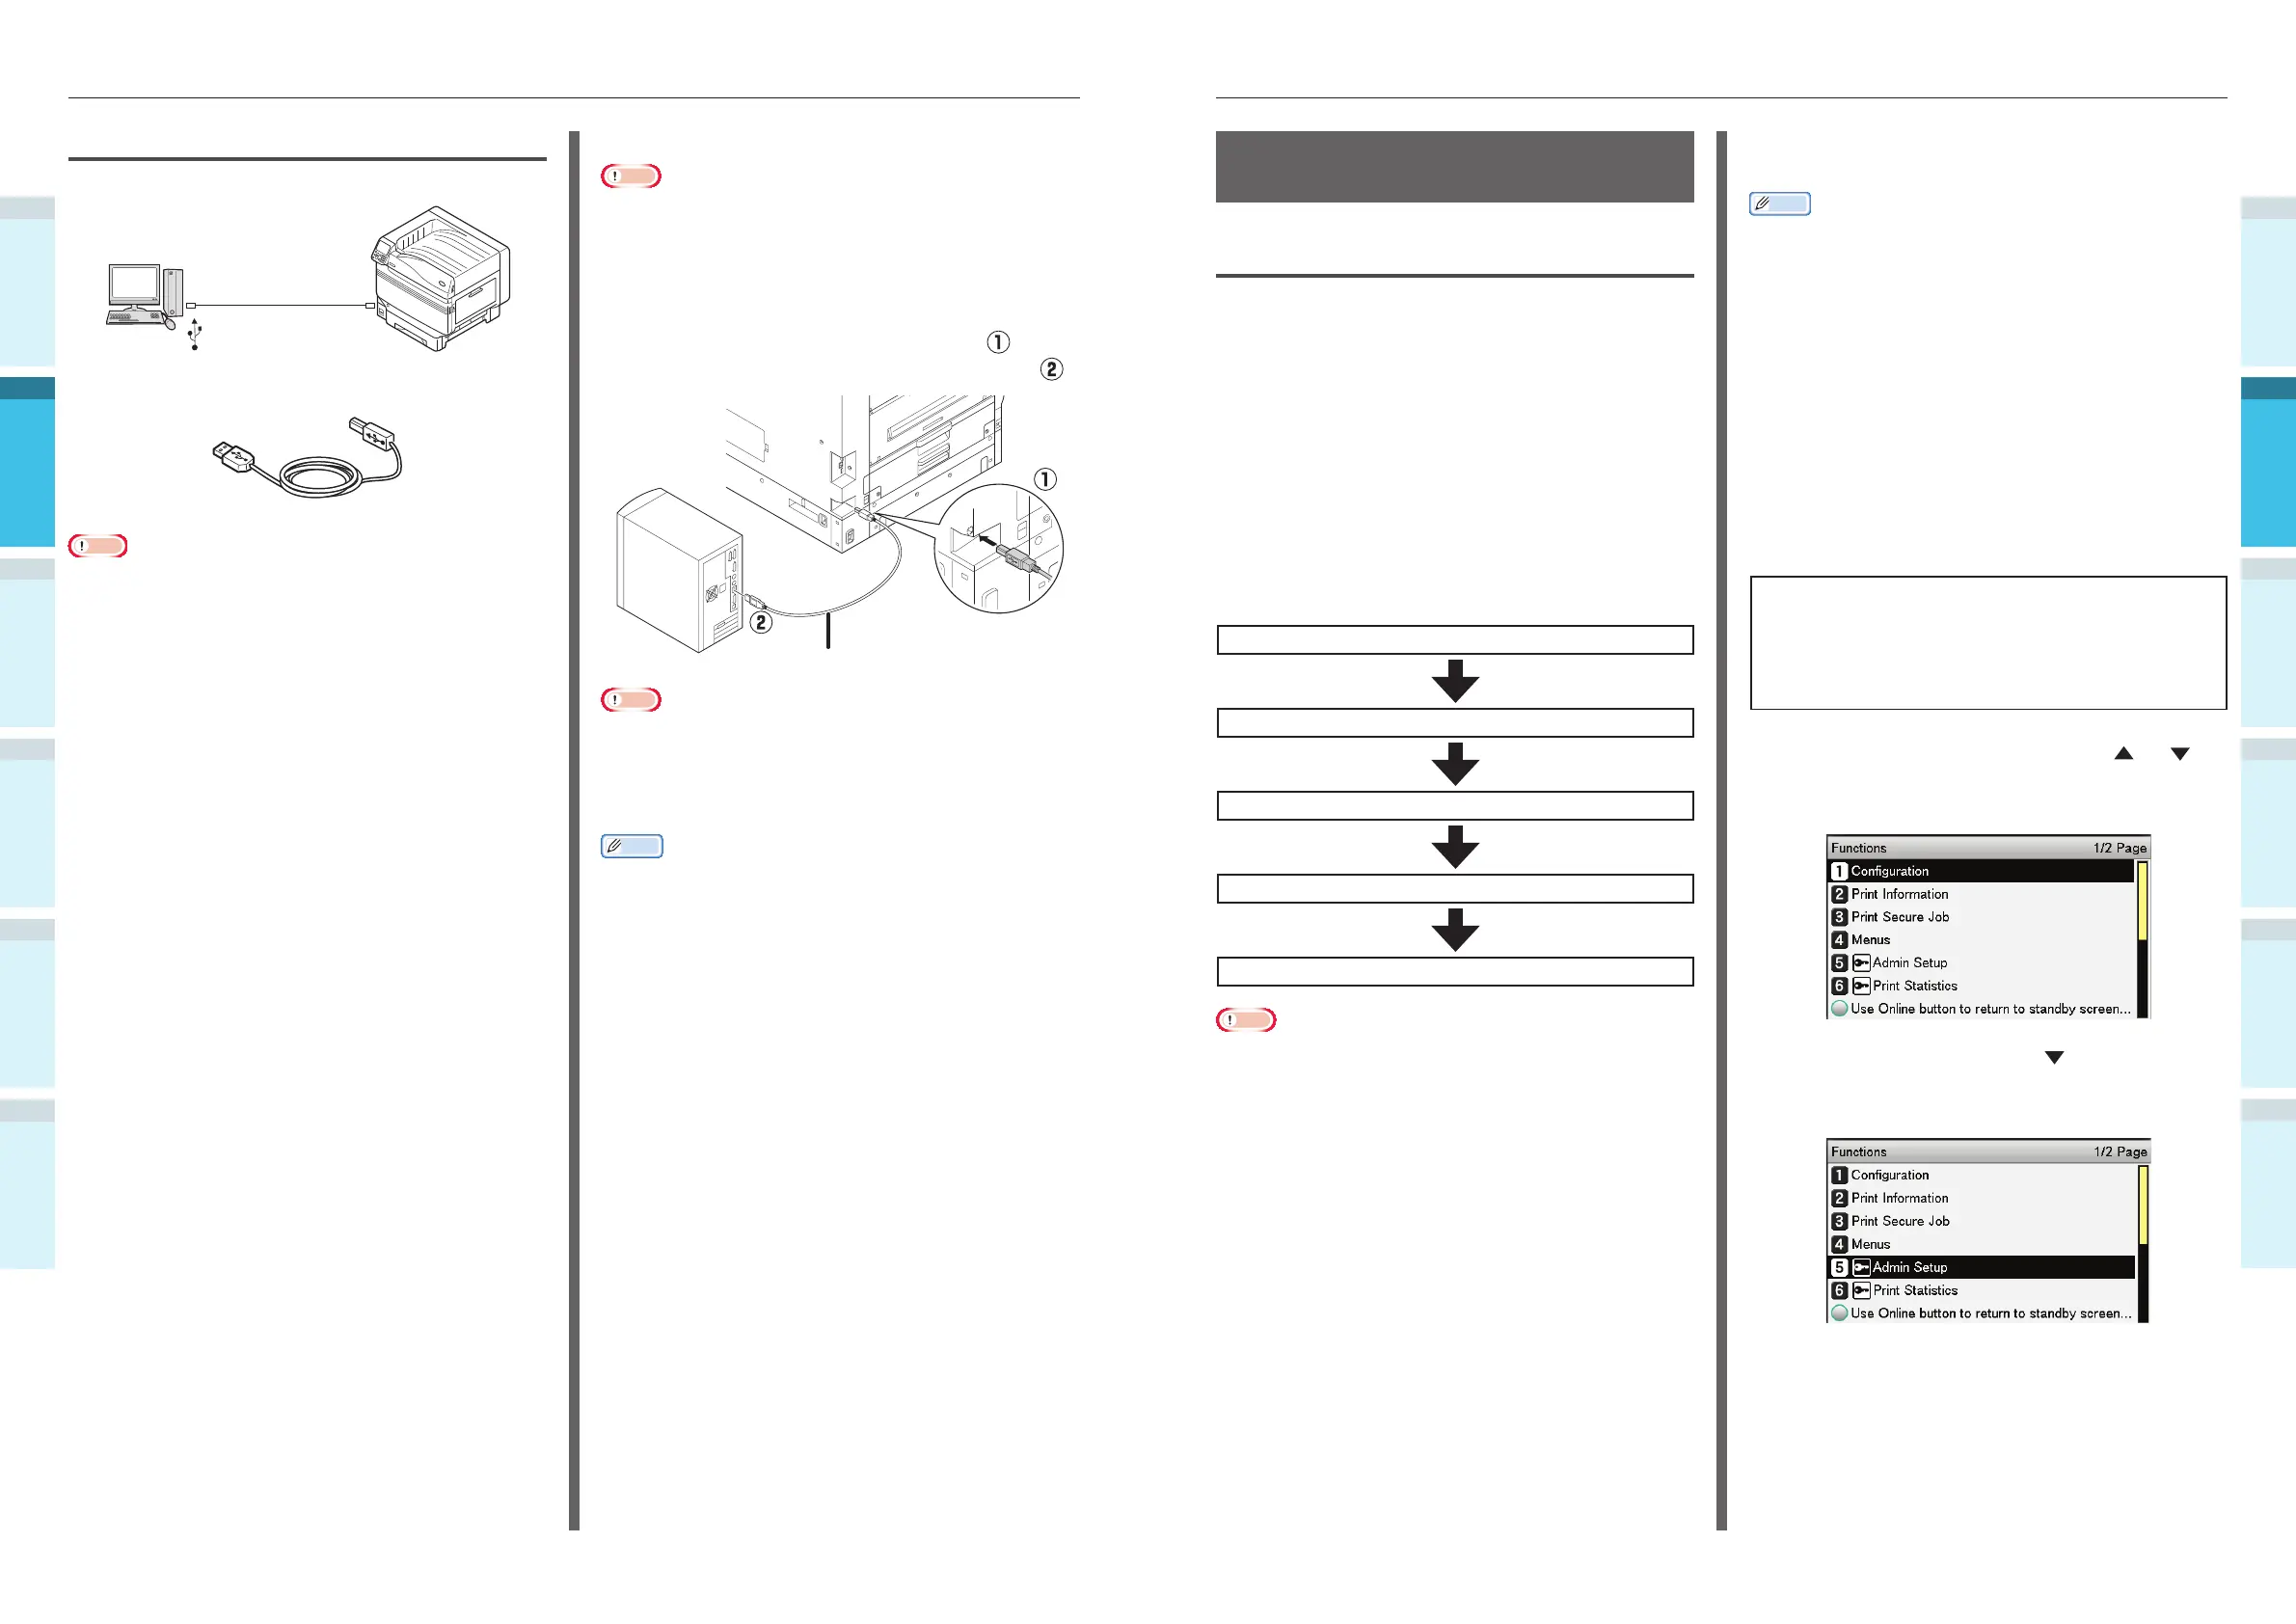
Connecting Using USB Cables
Connect the device and PC using USB cables.
USB cable
Preparations
USB cable
Note
�
USB cables are not enclosed with the device. Prepare USB
cables with USB2.0 specifi cations, length 2m max. as
necessary.
�
If connecting using USB2.0 Hi-Speed mode, use a USB
cable with Hi-Speed USB2.0 specifi cations.
Connecting USB Cables
Note
�
If the printer drivers are not installed on the PC, remove
the USB cable fromthe PC, and fi rst install the printer
drivers. (page 66)
1
Pay attention to the connector
orientation, and connect the square end
of the USB cable to the Printer (
).
Connect the other, fl at end to the PC (
).
USB cable
USB interface
connector
USB port
Note
�
Be careful not to insert the USB cable into the LAN
(network) interface connector. Doing so may cause a
printer malfunction.
�
Do not insert the USB cable when the PC or device power
supply is ON. Doing so may cause a printer malfunction.
Memo
�
Set the device USB baud rate using the control panel
according to the USB port baud rate (speed) mounted
to the PC. For the control panel, see “Control Panel
Appearance” (P.25).