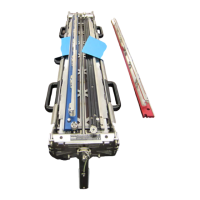
3 SET UP THE SPLICING SYSTEM
Belt Splicing System v.2.0
3-1
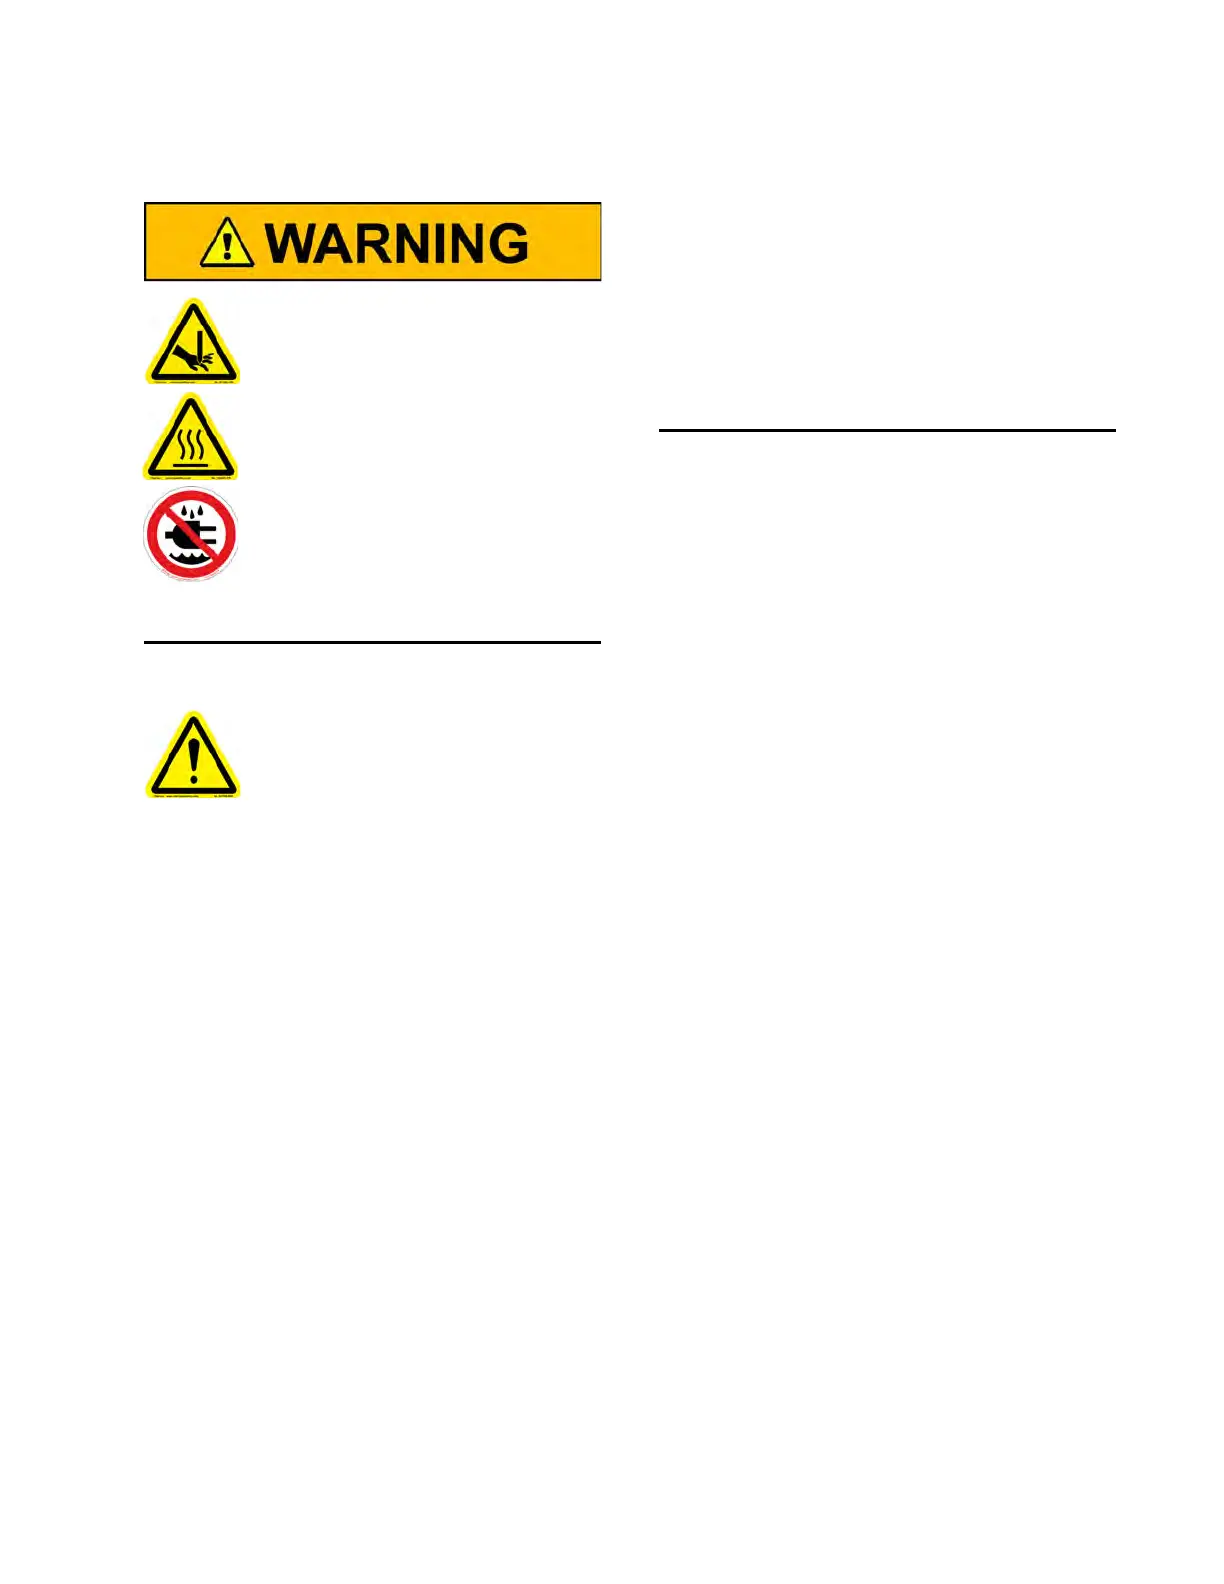
Avoid Injury.
Use caution when handling knives and
trim tools.
Contact with hot Heat Wand or stand
will cause skin burns; use caution.
Do NOT submerge equipment or
expose it to direct spray.
Always use ground fault protection/
residual current protection when
operating in damp or wet conditions.
Collect Needed Supplies
1. Bring Splicing System storage case and these
shop items to the conveyor.
• heat-resistant gloves and sleeves (rated
for continuous use up to 500°F (260ºC)
• safety glasses and cut-resistant gloves
• tape measure
• soft, clean, dry, oil-free cloths or paper
towels
• detergent (without ammonia or bleaches)
to remove used belt dirt and residue
• alcohol to sanitize and dry belt
• multiple F- or C-clamps
• spare two (2)-sided utility knife blades
2. Unload the Splicing System storage case
contents near required electric power and the
belt to be spliced.
3. Collect new sprockets (if you are installing
new belts) and any needed carryway and
returnway replacement components.
4. Ensure the facility temperature is above 40°F
(5°C) to produce proper splices. If splicing area
is below 40°F (5°C), see TROUBLESHOOT on
page 10-1.
Prepare the Conveyor
See the ThermoDrive® Belting Conveyor Belt-
ing Installation and Maintenance at the
Intralox website or contact Intralox for com-
plete assembly and disassembly instructions.
1. Disconnect power to the conveyor.
2. Remove or disable components as needed to
prevent accidental tensioning.
3. Remove components that may cause excess
backbends.
4. Replace worn components being careful not
to create drive bar snags.
5. Install new sprockets with new belting.
6. String the belt on the conveyor and follow
correct pulley wrap configuration. Avoid con-
veyor cross braces, legs, and other snags.
7. Trial-fit and mark the belt for length. Leave
enough catenary sag so the belt NEVER runs
under tension.
8. Place marked belt area or ends where the
Splicing System can be easily and safely used.
Request assistance when moving or
splicing with the 42" Splicing System.
SET UP THE SPLICING SYSTEM
3