14 S8126 BELT SPECIFICS
Belt Splicing System v.2.0
14-5
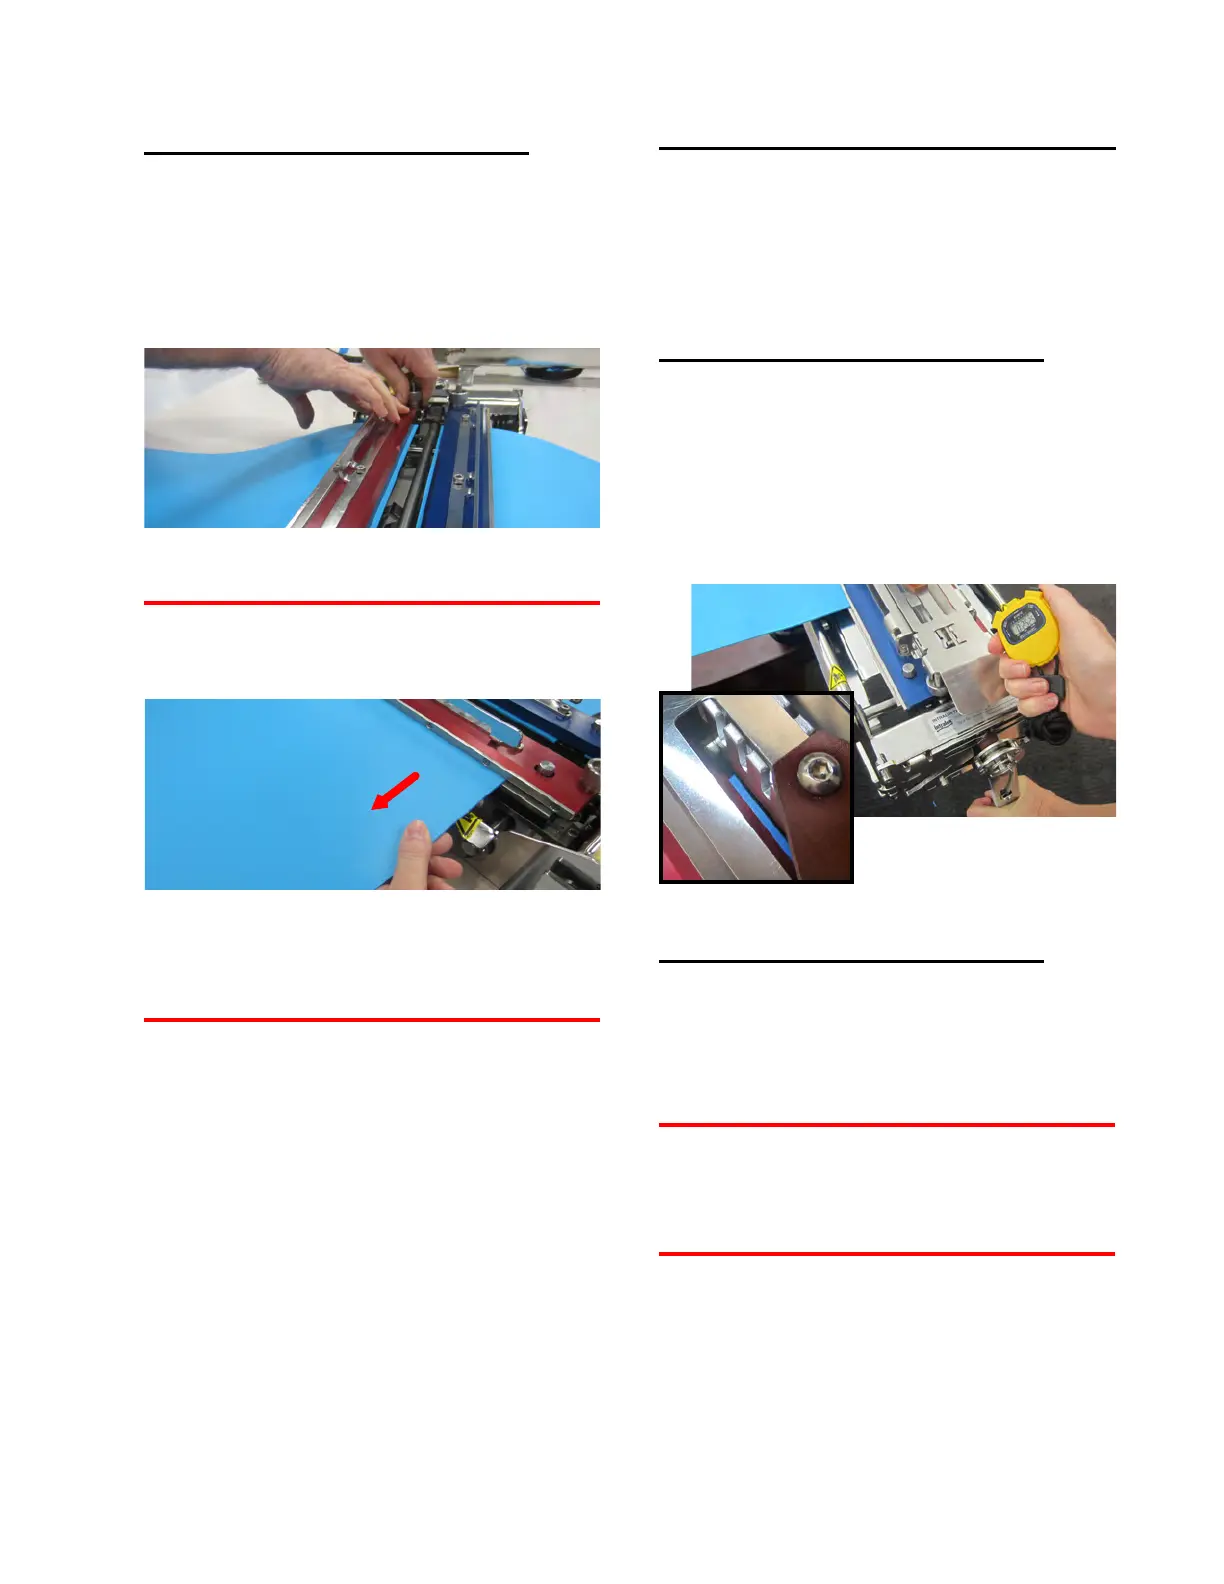
Hold the Cut Guides when
Fully Tightening Thumb Knobs
Hold the Cut Guides against the Belt Tabs,
while finger-tightening the thumb knobs evenly
at each belt edge.
Figure 14L: Clamp belt edges securely
Check for secure clamping by tugging gently
on the belt edges just before splicing.
If the belt moves when pulled, consider adding
an additional tape layer to the tape shims. Do
not add so much that belt drive bars cannot
engage the Grooved Decks.
Splice the Belt Ends
Because S8126 belting is difficult to clamp
securely, even normal clamping force can shift
the belt ends during splicing. When splicing
belt ends, include these steps in the procedure.
Control the Crank Handle
for 25 Seconds of Melting
Turn the Crank Handle gradually so melting
belt ends maintain contact with the Heat Wand
for the first 25 seconds, then lock the Clamping
Fixture closed.
Figure 14M: Maintain control of the Crank Handle
Close Decks Gently for Cooling
When removing the Heat Wand, control the
Crank Handle to close the Clamping Fixture
completely, but gently.
Normal clamping force can
cause belt end misalignment. Maintain control
of Crank Handle at all times.