5 ALIGN AND SECURE BELT ENDS
Belt Splicing System v.2.0
5-1
Avoid Injury.
Keep hands and fingers clear of Frame
edge when opening the Clamping
Fixture.
Contact with hot Heat Wand or Stand
will cause skin burns; use caution.
Prepare to Align
Ensure these requirements are met before align-
ing belt ends.
• The belt is strung on the conveyor.
• The belt is following the proper belt path.
• The belt ends are on the carryway.
• The Clamping Fixture is stable or secured
on the conveyor frame or platform under the
conveyor belt.
Align Belt Ends
These instructions provide the
most common cutting procedures.
If you are aligning S8126 belt ends, a belt with
troughing grooves, or a belt with nubs, see
SPECIAL PROCEDURES.
1. Open the Clamping Fixture fully.
2. Clear any dust, debris, or residue from the
Grooved Deck tops and edge.
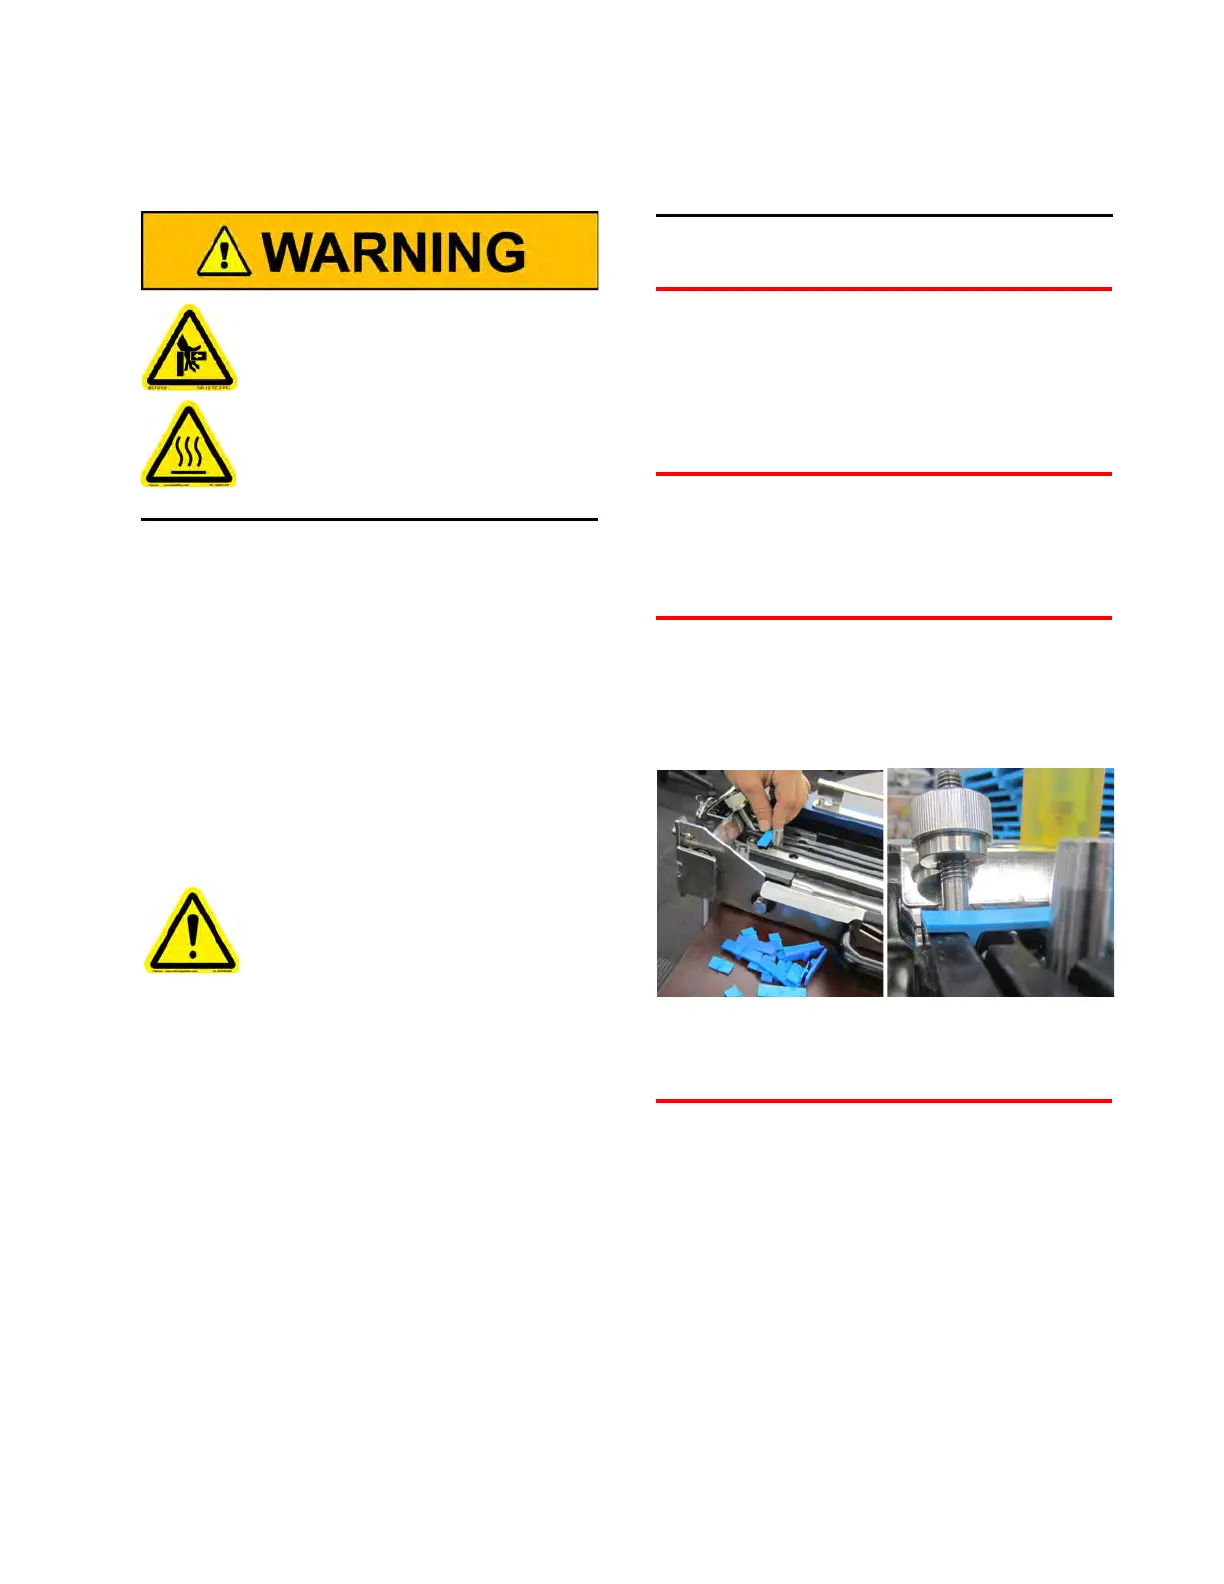
The following extra step helps equalize the
clamping pressure across the belt ends.
Gather four (4) Belt Tabs that match the belt
series and style you are splicing.
Place one Belt Tab at each Grooved Deck end
between the Locating Pin and the Pivoting
Stud. Ensure the drive bars engage the grooves.
Keep hands and fingers clear of fixture
frame when opening the Clamping
Fixture.
ALIGN AND SECURE BELT ENDS
5