7 TRIM & INSPECT THE BELT
7-2
Belt Splicing System v.2.0
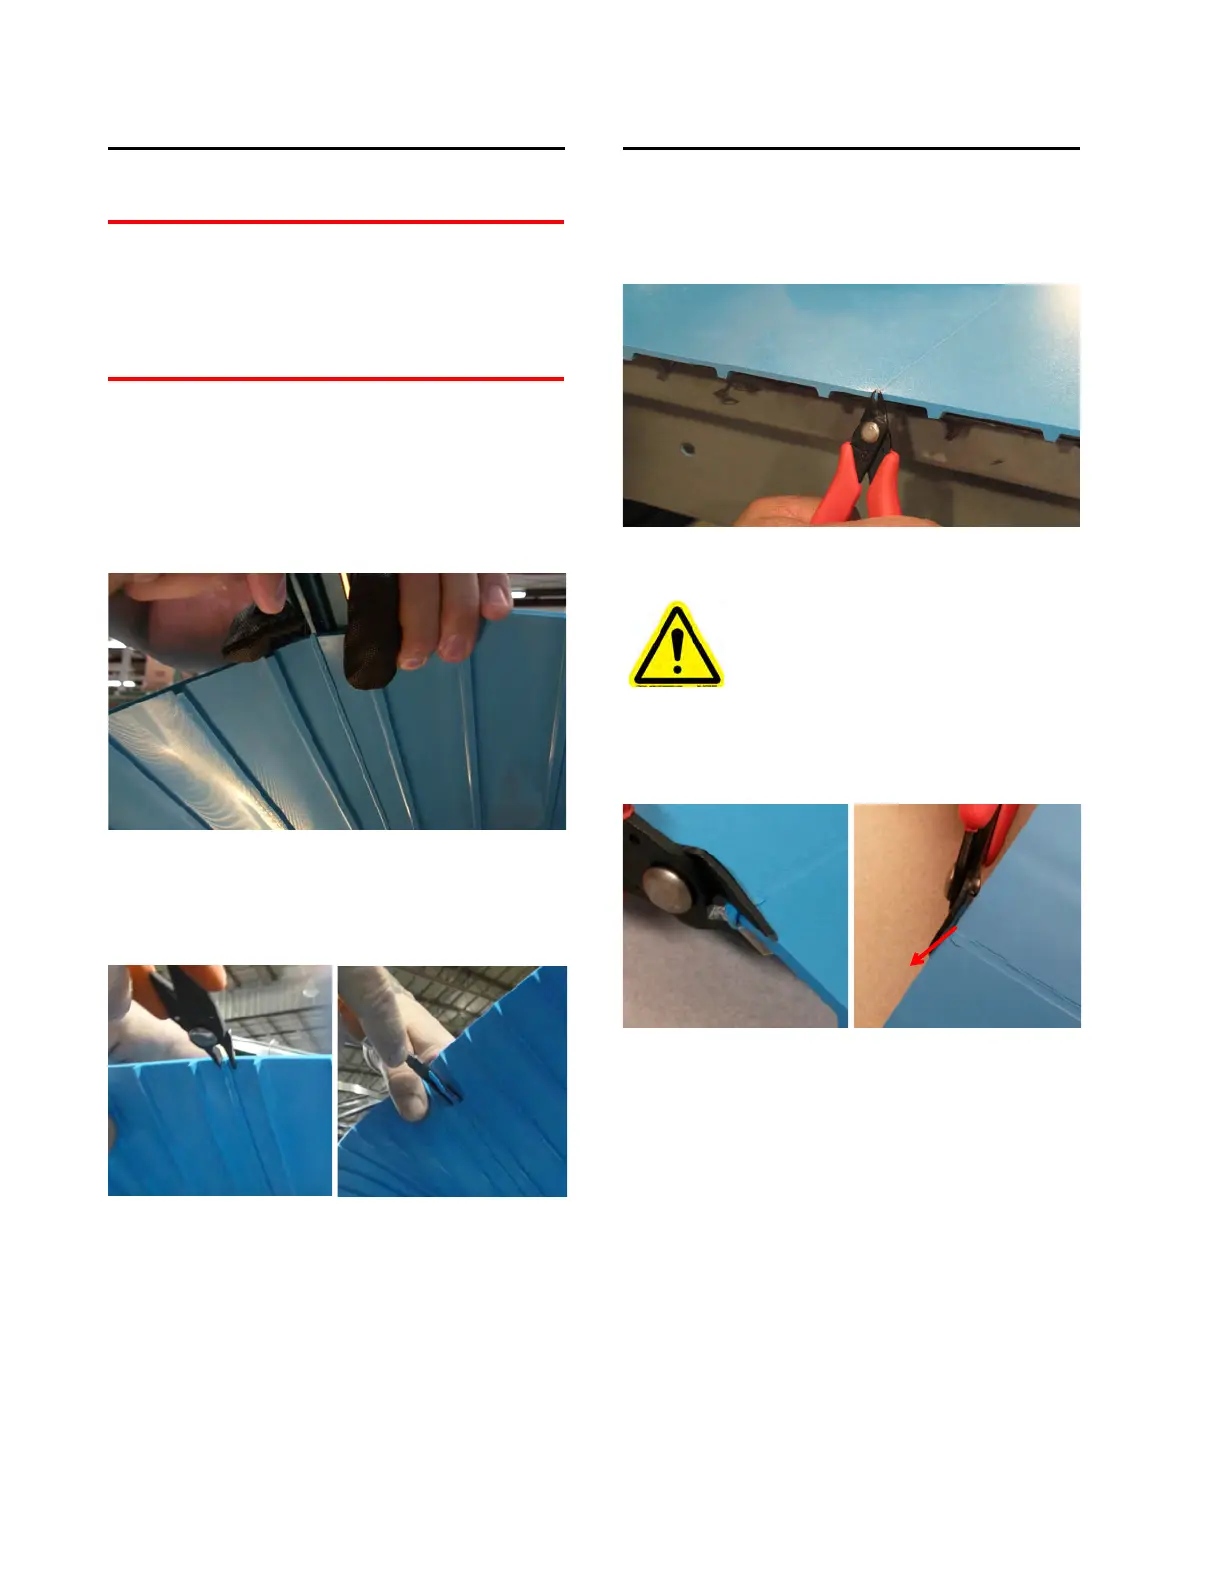
Trim Second Weld Bead
The most common procedure for removing the
second weld bead is provided here.
For an alternate procedure,
see SPECIAL PROCEDURES on page 11-1.
1. If possible, remove the Clamping Fixture
from the conveyor frame.
2. Have someone hold the belt up and away
from the conveyor frame while holding the Cut
Guide behind the weld bead.
Figure 7D: Remove the second weld bead
3. Use Trimmers to cut a small piece of the
weld bead from the belt at the belt edge.
Figure 7E: Trim and skive
4. Place the Skiver blade under the cut weld
bead and trim the entire weld bead from the
belt.
Trim Belt Edges
1. Hold the Trimmers vertically against the belt
edge and cut away any flash on either side.
Figure 7F: Trim flash from belt edges
2. Hold the Trimmers at the splice and cut diag-
onally toward the belt edge to trim rough spots
or corners on belt edges.
Figure 7G: Trim rough edges or small corners
Wear safety glasses and use caution
when handling knives and trim tools.