SECTION 8—WHEELS
Solara
™
and Solara
™
Limited 46 Part No 1085787
5. Reinstall rear wheel to the wheelchair. Refer to the Owner's Manual, part number
1080556.
6. Do one (1) of the following:
A. Permanent Axles - Proceed to STEP 7.
B. Quick-Release Axles - If the locking pins of the quick-release axles are not
protruding past the inside of the rear wheel mounting bracket or there is too much
movement of the rear wheel assembly in a back and forth position, refer to the
Owner's Manual, part number 1080556.
7. Repeat STEPS 1-6 for the opposite rear wheel, if necessary.
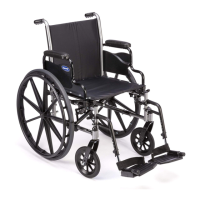
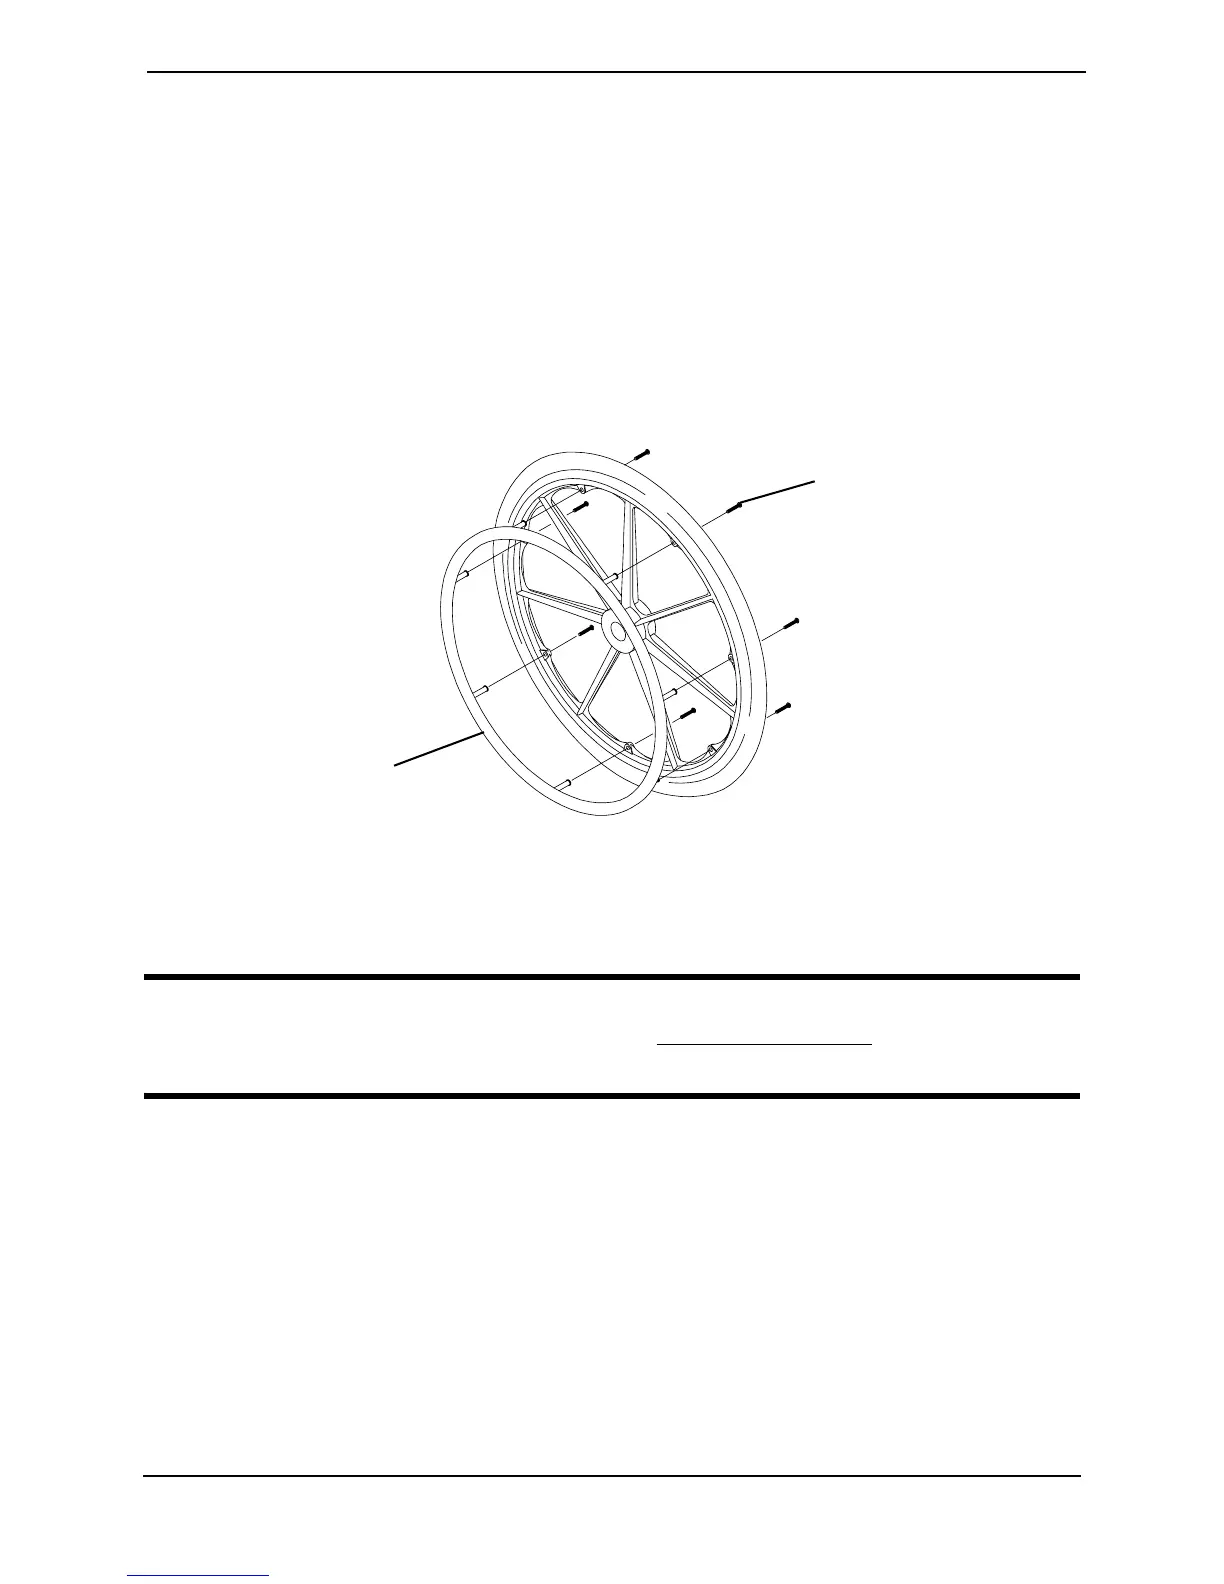
FIGURE 8.2 - REPLACING REAR WHEEL HANDRIM - 20 OR 22 INCH WHEEL
ONLY
REPLACING THE AXLE PLATE
WARNING
BEFORE performing this procedure, Refer to General Guidelines on page 13 for
additional requirements.
NOTE: Refer to FIGURE 8.3 for this procedure.
1. Remove the rear wheels from the wheelchair. Refer to the Owner's Manual, part
number 1080556.
NOTE: Before removing the axle plate, note position of axle plate to the wheelchair frame for proper
reinstallation.
2. Remove the four (4) mounting screws, locknuts, washers and eight (8) coved spacers
that secure the axle plate to the wheelchair frame.
NOTE: Before removing axle bushing, count the number of exposed threads of the axle bushing in
axle plate for proper reinstallation.
3. Remove the outside jam nut and washer that secure the axle bushing to the axle plate.
Handrim
Button Screw