SECTION 9—TILT-IN-SPACE
Solara
™
and Solara
™
Limited 56 Part No 1085787
2. Remove the allen screw, spacer and locknut that secure the link bracket to the lower
seat frame.
3. Remove the shoulder screw and locknut that secure the existing roller to the
wheelchair frame.
4. Remove existing roller from the wheelchair.
5. Repeat STEPS 2-4 for opposite side, if necessary.
6. Install the new roller onto the wheelchair. Refer to Installing Roller on page 56.
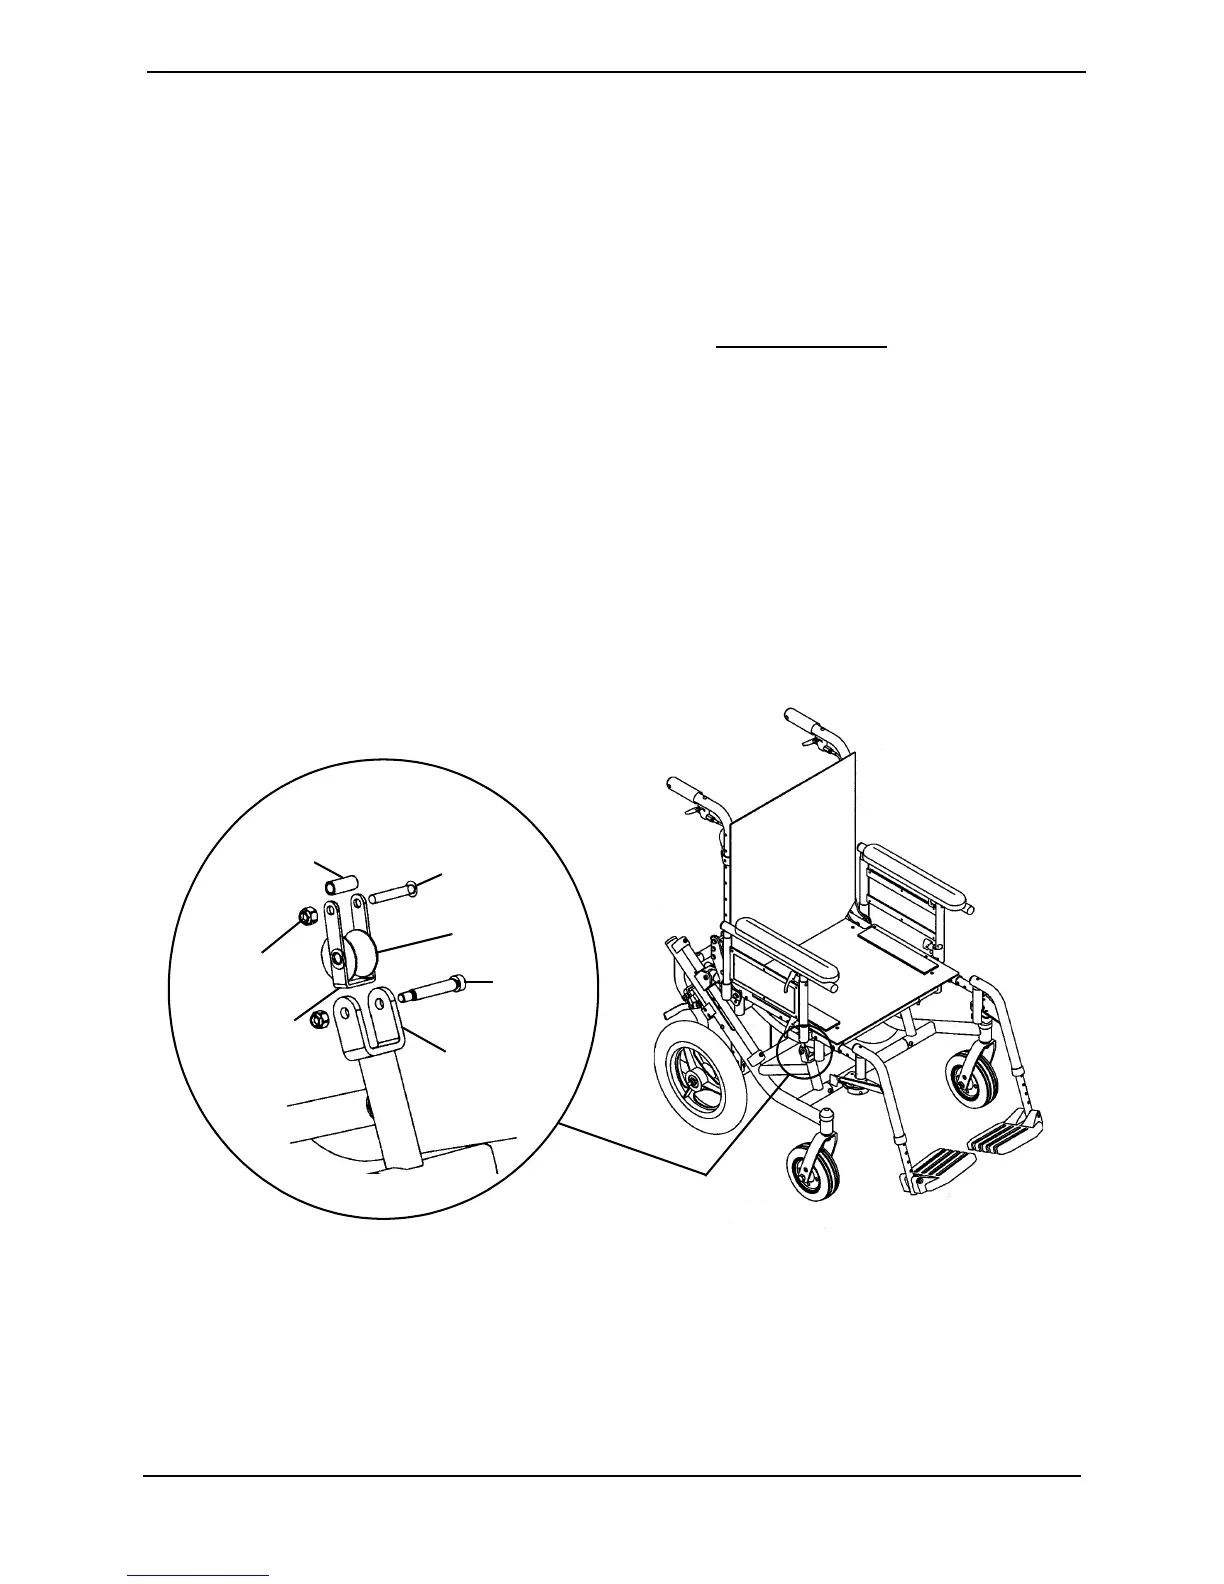
INSTALLING ROLLER
1. Position the new roller on the wheelchair frame as shown in FIGURE 9.4.
2. Secure the new roller to the wheelchair frame with the shoulder screw and locknut.
3. Secure the link bracket to the lower wheelchair frame with hex screw, spacer and
locknut as shown in FIGURE 9.4.
4. Repeat STEPS 1-3 for opposite side, if necessary.
5. Install the seating system onto the wheelchair. Refer to the Seating Systems Owner’s
Manual for installing/removing procedures.
FIGURE 9.4 - REMOVING AND INSTALLING ROLLER
Allen Screw
Roller
Spacer
Locknut
Link Bracket
Shoulder
Screw
Wheelchair
Frame
DETAIL ”B”
SCREW