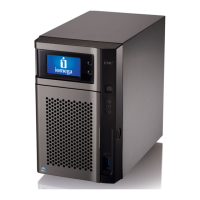
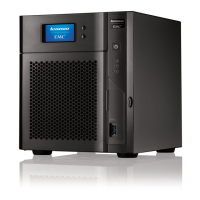
Adding NICs to Your px4-400d Network Storage
You can add an accessory 1GbE network interface card to your px4-400d, which provides two additional
NICs. This provides more ports you can connect to different physical networks and increases flexibility
when connecting to a single network or multiple networks. The additional external NICs can be bonded
with each other or with internal NIC ports. You can also use the added NICs to configure your px4-400d to
have multiple IP addresses and create more VLANs.
Wake on LAN is not supported for add-on NICs. For more information on that setting, refer to
Energy Saving
To add an accessory network interface card, follow this procedure:
1. Shut down your px4-400d and remove its cover.
2. Locate a vacant expansion slot at the back of the px4-400d and remove the expansion slot cover.
Save the expansion slot cover screw.
3. Insert the Ethernet card into the expansion slot and push the connector on the card firmly into the
slot until it is completely seated. Make sure the card bracket is flush against the px4-400d
chassis.
4. Replace the slot cover screw.
5. Replace the cover on the px4-400d and power it on.
The px4-400d Network Storage automatically recognizes the new network interface and lists the added
NICs on the Network page.
Device Configuration Options
20 Network Settings
 Loading...