3 Installation of hardware 3
3 Installation of hardware
3.1 Ports
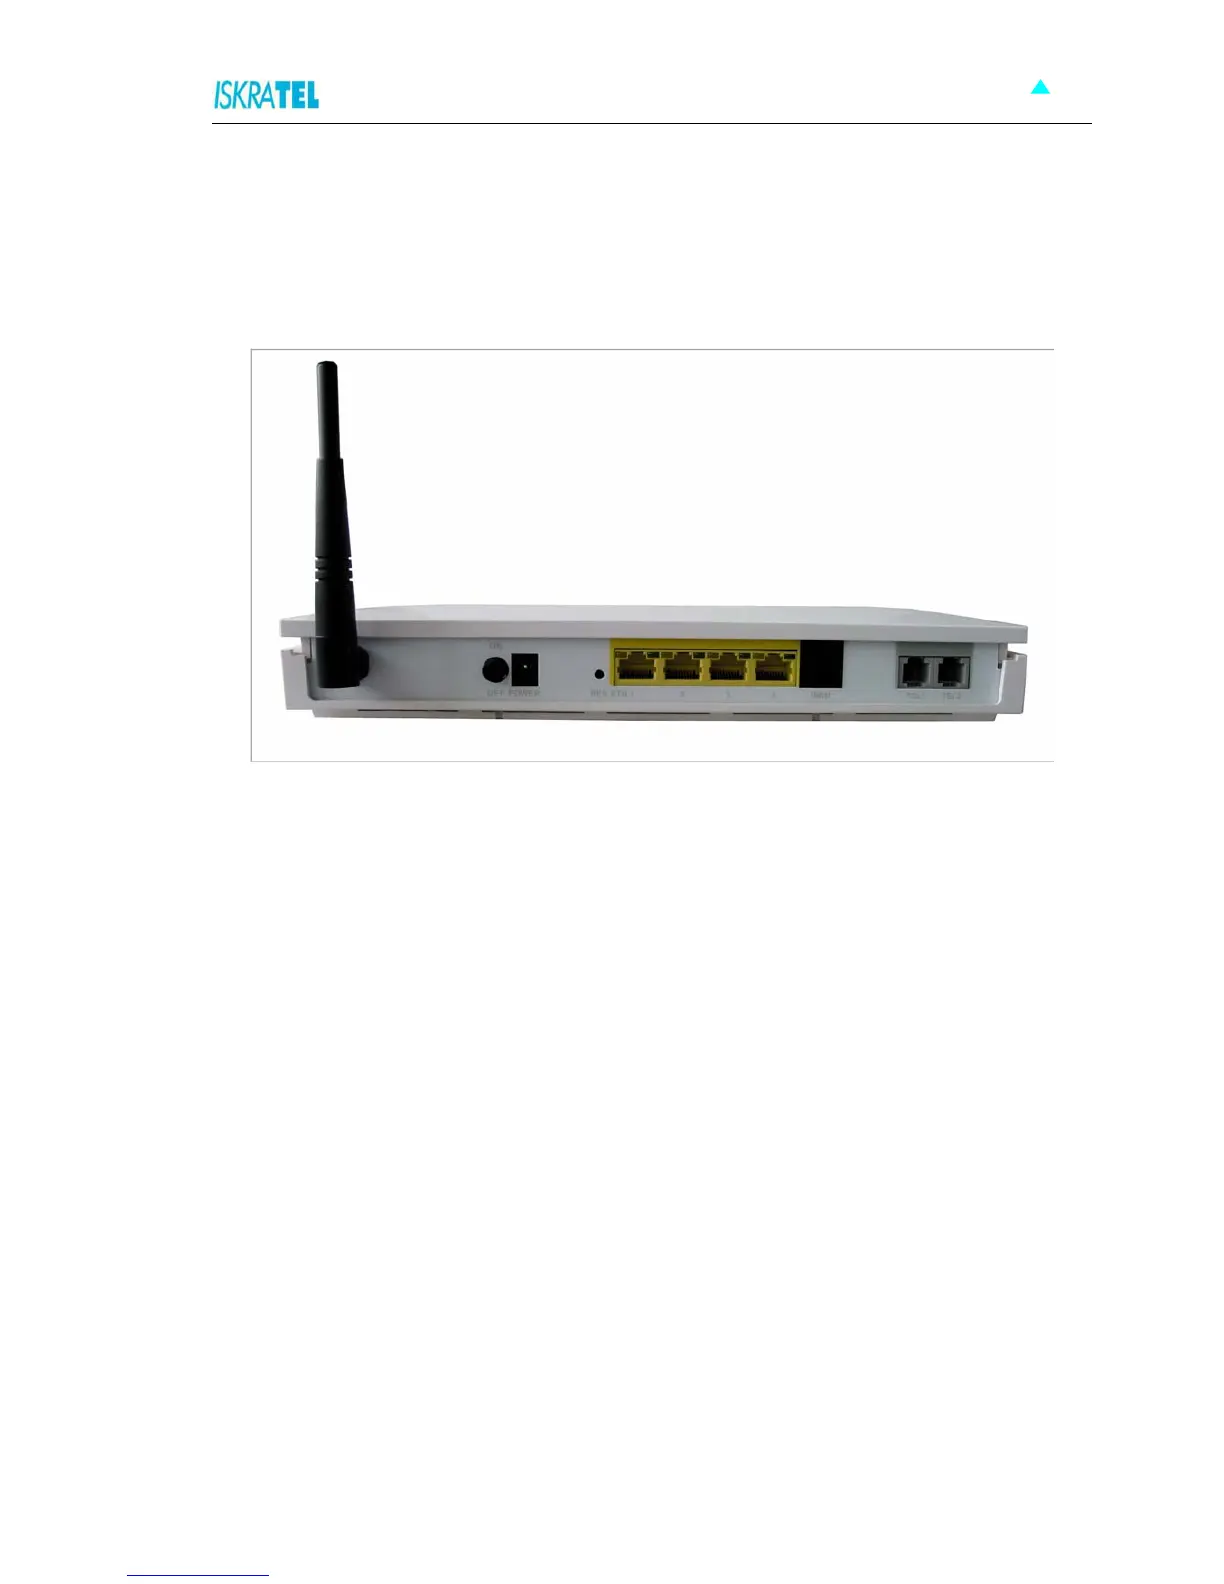
The following figure shows the rear panel of your Sinope568+ home gateway.
Figure 3-1: The rear panel of the Sinope568+ home gateway.
There are several data and voice connectors and an AC power socket on the rear panel of the modem.
ON/OFF
Switch for turning the device on or off.
POWER
Plug the power cable to ensure power to the Sinope568+ home gateway.
RES (Reset button)
This button is used to reset the configuration of the home gateway to factory default values. You must
hold this button while the home gateway is starting-up until ALM led will start flashing fast (about 30
seconds). Sinope568+ will use factory default settings only for the time it is running. If you want to
preserve factory default settings save the configuration.
ETH1, 2, 3, 4
4 Ethernet 10Base-T/100Base-T ports
Use a straight-through or crossover Ethernet cable to connect your Sinope568+ home gateway to a
computer or any other device. Up to four devices can be connected without using external Ethernet
switch. It is possible to manage the settings of the home gateway with telnet connection using this port.
The factory setting for IP address is 192.168.1.1.
WAN
This port is used for connecting the ADSL cable to your phone jack. Connect the Sinope568+ home
gateway to the WAN port to access the Internet.
TEL1/TEL2
This port is used to connect analog phones.