16
XP7202 Instruction Manual
Turn the transmitter’s power switch on and press the clear
key to begin transmitting on the selected channel.
Turn on the power to the receiver. The LED will light.
Depress the Scan button until the LED turns off
then release the button. The LED will remain off for
approximately 3 seconds.
While the LED is still off, depress and release the Scan
button again. The receiver’s LED will flash for a short
period while the receiver scans for the strongest signal.
When the receiver has locked onto the frequency, the
receiver’s LED will be on, indicating the receiver is ready
for operation.
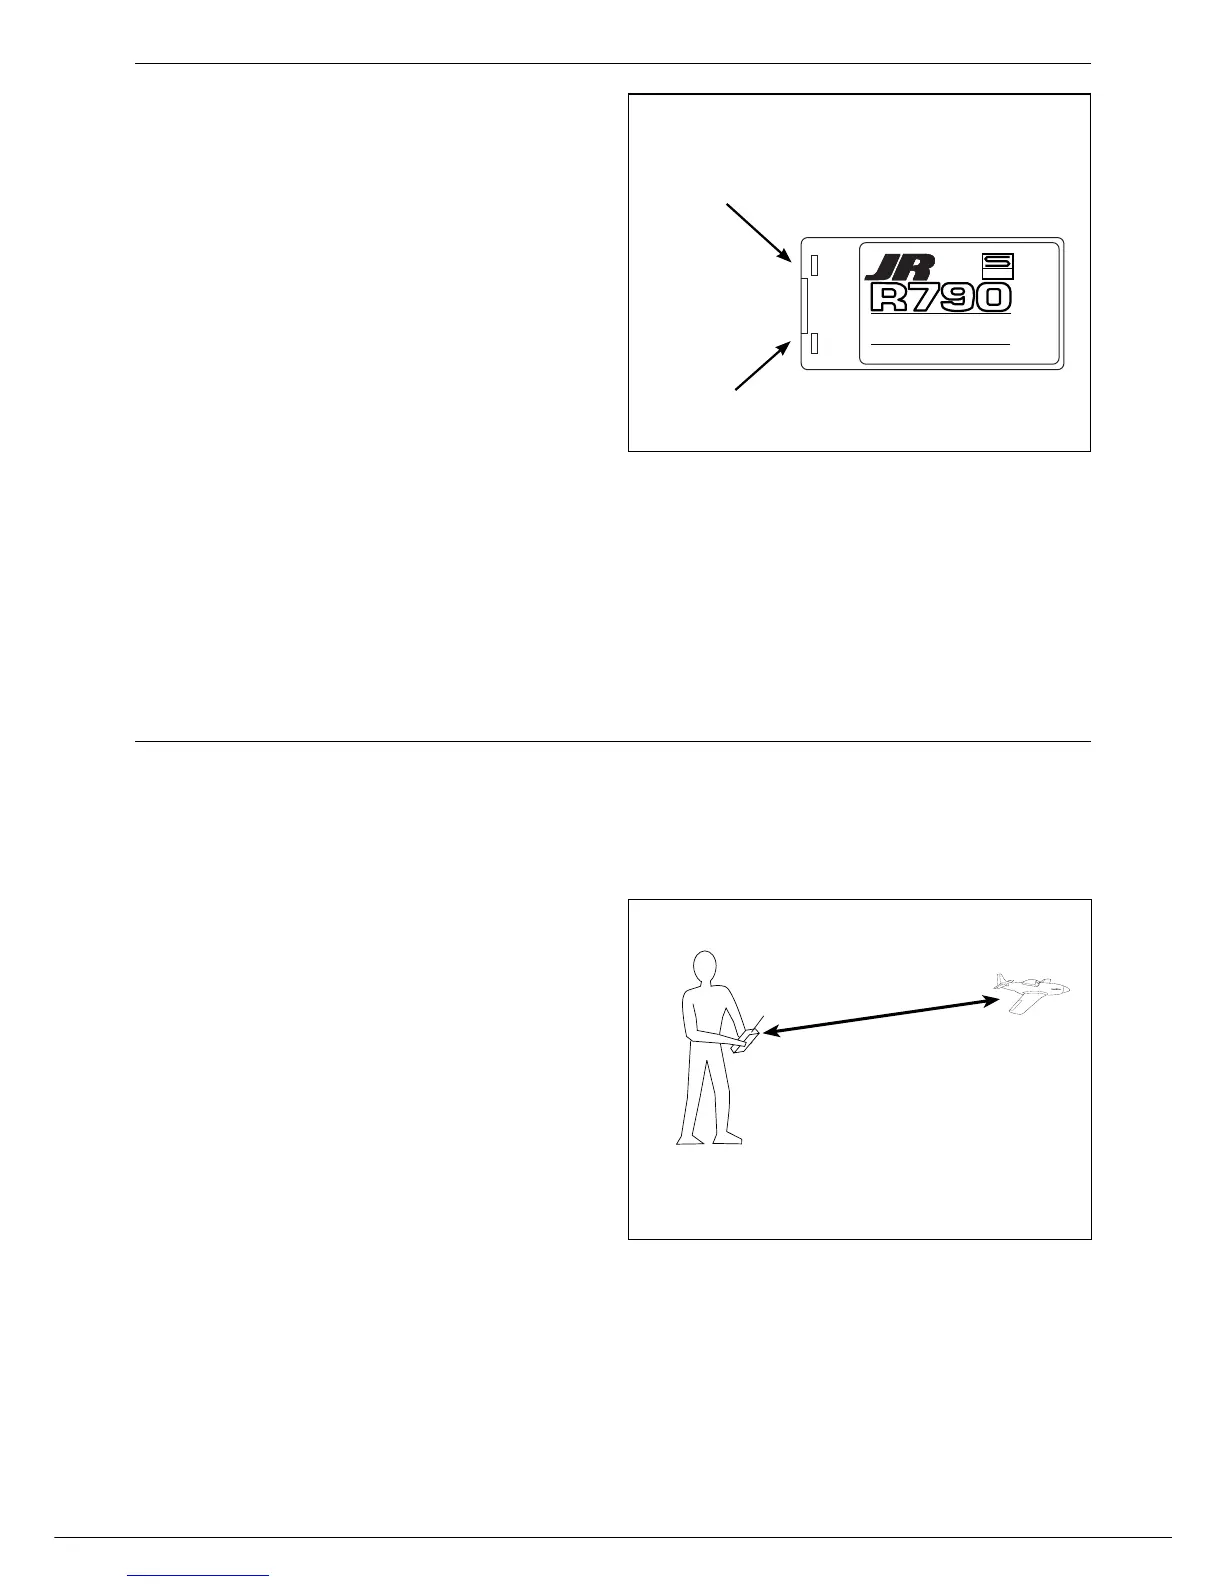
To Select a Channel (Receiver)
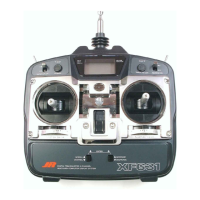
Performing a Range Test
Always perform a range check before each day’s flying
session or after selecting a different channel. The range
check should be as follows:
• Do not extend the transmitter antenna at this time.
Turn the transmitter “on.”
• Press the clear
key to begin transmitting.
• Turn the model “on.”
• Slowly walk away from the model while moving
the control surfaces. The aircraft should function
properly at a distance of 90 feet (30 paces.)
• For PCM Only: With the throttle fail-safe preset
to idle, bring the throttle slightly above idle. Walk
away until the throttle drops to idle. This will be the
distance of the range check.