CAUTION: Do not remove the fan tray unless you have a replacement fan tray
available.
The fan tray on an ACX7348 router can be accessed from the front or the rear of the chassis.
Remove a Fan Tray from the Rear of the Chassis
To remove a fan tray from the rear of the chassis:
1. Wrap and fasten one end of the ESD grounding strap around your bare wrist, and connect the other
end of the strap to one of the ESD points on the chassis.
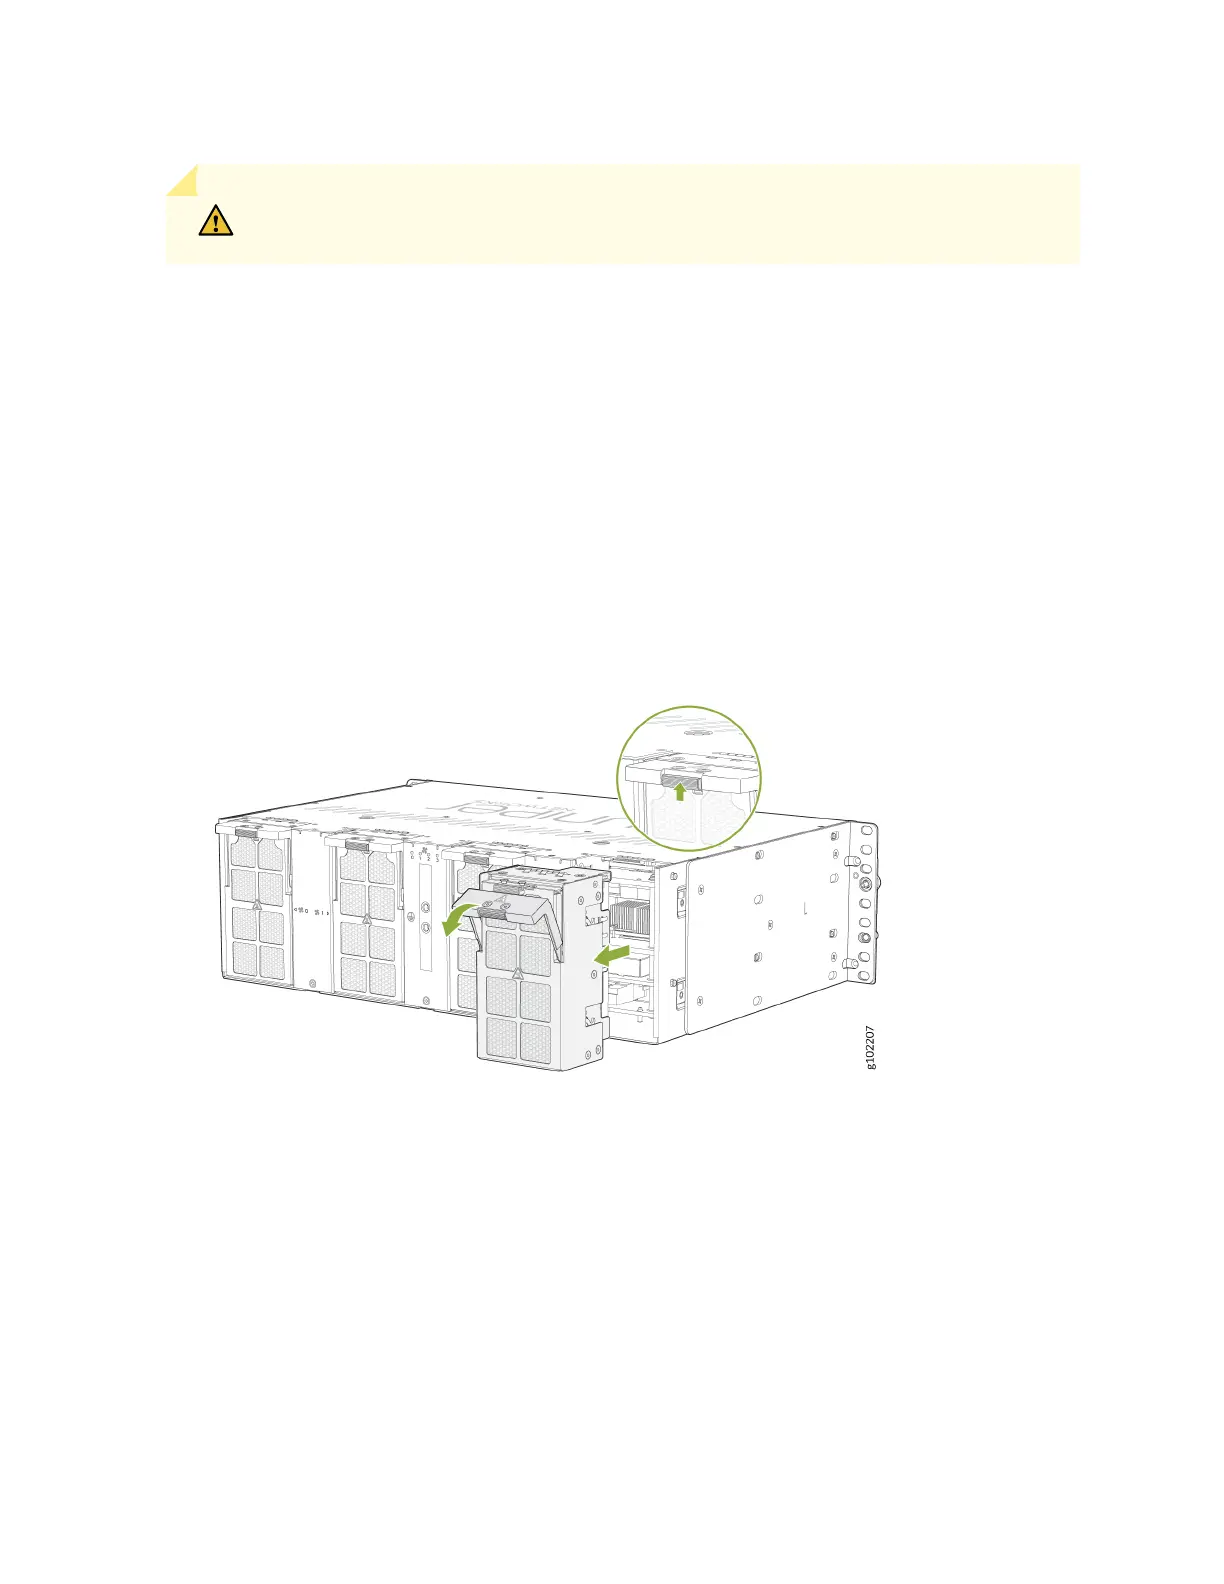
2. Press the buon on the fan tray ejector handle to unlock the fan tray. Pull down the ejector handle
and pull the fan tray completely out of the chassis. See Figure 50 on page 100.
Figure 50: Remove a Fan Tray from an ACX7348 Router
3. Place the fan tray in an anstac bag or on an anstac mat placed on a at, stable surface.
Remove a Fan Tray from the Front of the Chassis
To remove a fan tray from the front of the chassis:
1. Wrap and fasten one end of the ESD grounding strap around your bare wrist, and connect the other
end of the strap to one of the ESD points on the chassis.
2. Loosen the thumb screws and completely pull out the chassis.
3. Press the buon on the fan tray ejector handle to unlock the fan tray. Pull down the ejector handle
and pull the fan tray completely out of the chassis.
100