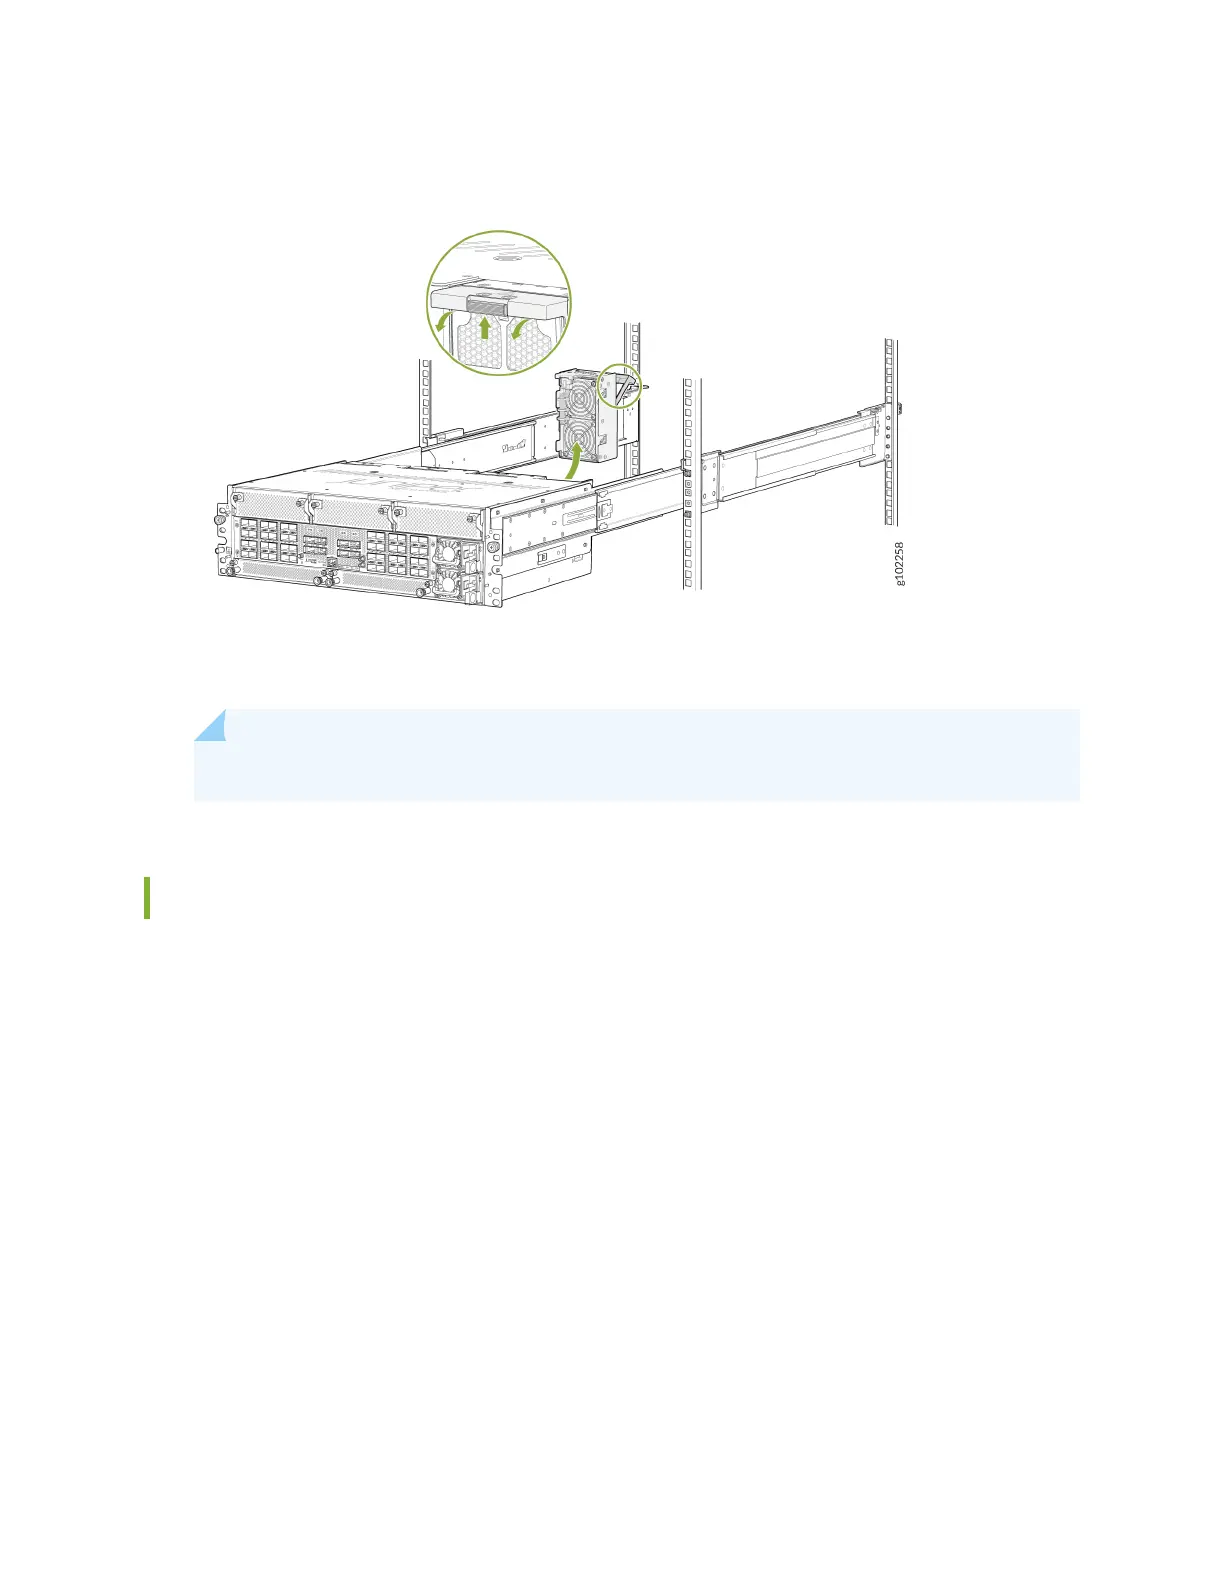
Figure 51: Remove the Fan Tray
4. Place the fan tray in an anstac bag or on an anstac mat placed on a at, stable surface.
NOTE: The fan tray LED will turn o when a fan tray is removed.
Install a Fan Tray in the ACX7348 Router
Before you begin to install a fan tray:
• Ensure that you understand how to prevent ESD damage.
• Ensure that you have the following parts and tools available to install a fan tray in an ACX7348
router:
• Electrostac discharge (ESD) grounding strap
• A replacement fan tray
To install an ACX7348 fan tray:
1. Wrap and fasten one end of the ESD grounding strap around your bare wrist, and connect the other
end of the strap to one of the ESD points on the chassis.
2. Rest the boom edge of the fan tray in the slot and slide the fan tray into place so it is fully seated.
3. Push the ejector handle upwards unl it snaps in place. See Figure 52 on page 102.
101