3. Wrap and fasten one end of the ESD grounding strap around your bare wrist, and connect the other
end of the strap to one of the ESD points on the chassis.
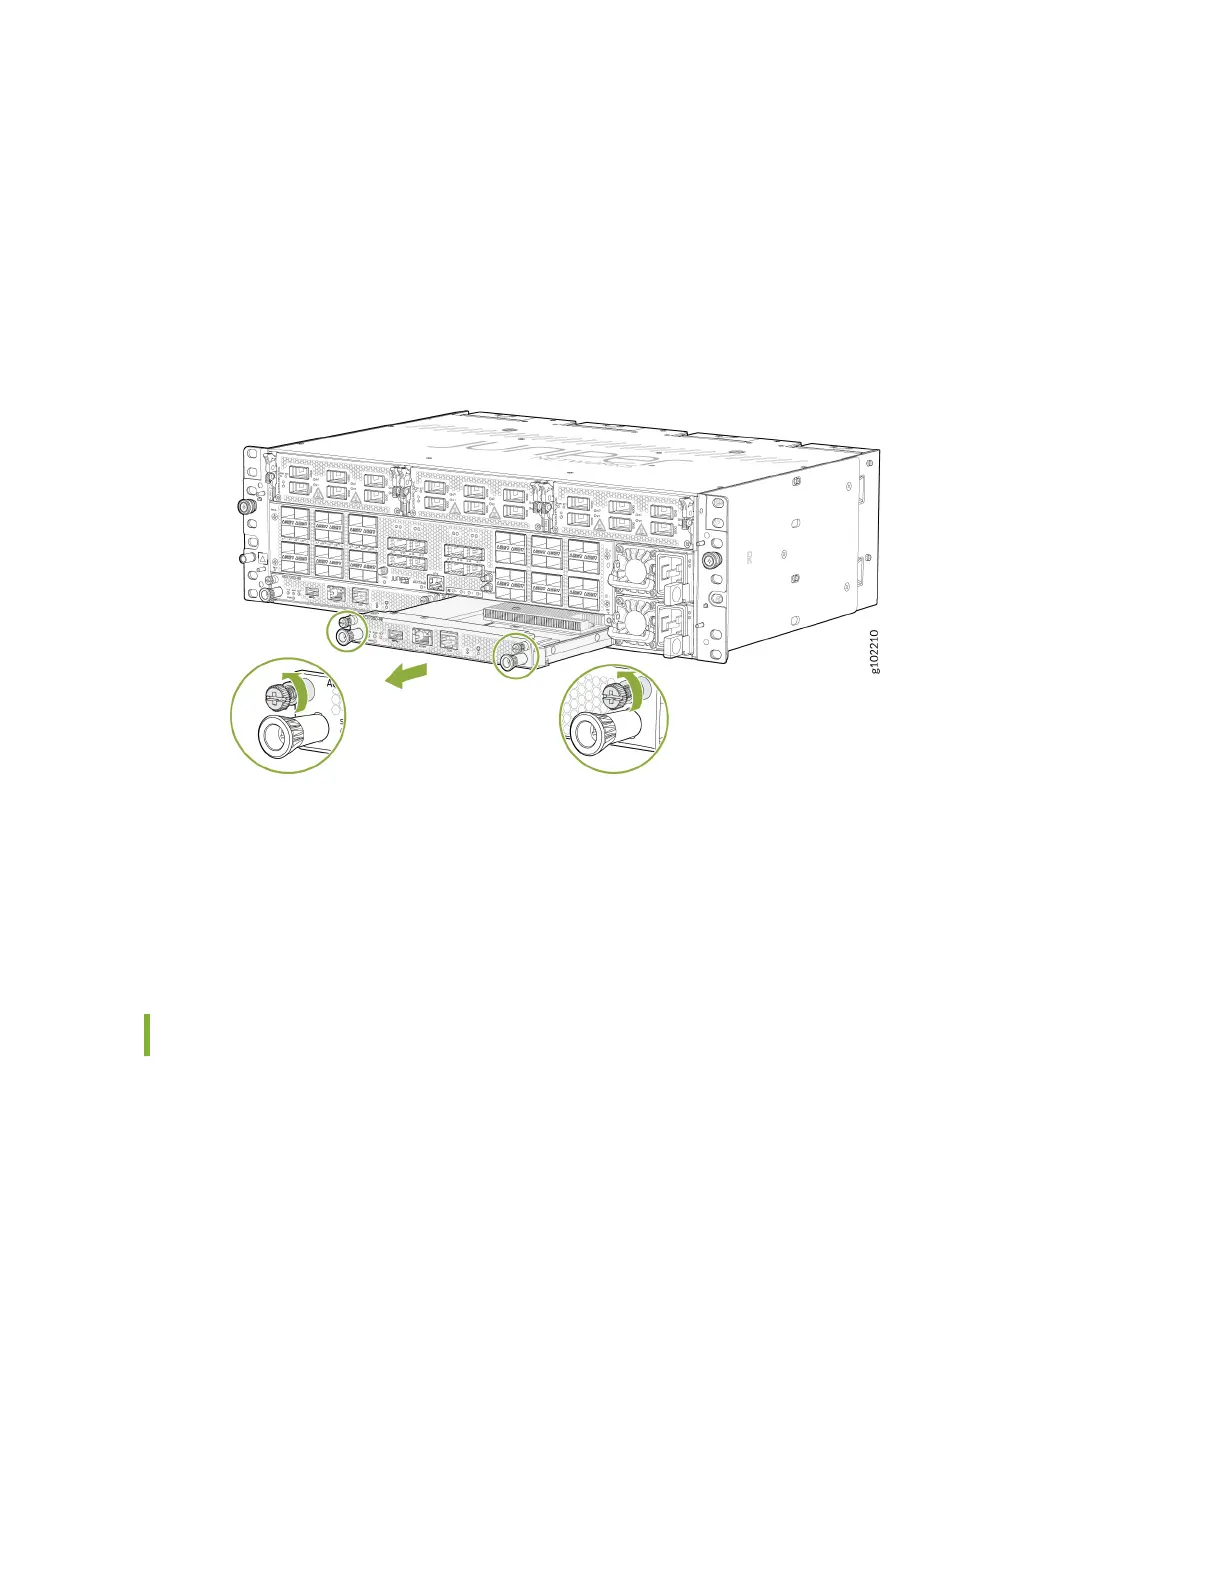
4. Rotate the thumb screws counter-clockwise to loosen the screws (see Figure 72 on page 119).
5. Grasp both ejector handles and slide the Roung Engine about halfway out of the chassis.
Figure 72: Removing a Roung Engine from the ACX7348 Router
6. Grasp the ejector handle with one hand, and place your other hand under the Roung Engine for
support as you slide it completely out of the chassis.
7. Place the Roung Engine on the anstac mat.
8. If you are not replacing the Roung Engine immediately, install a cover in the empty slot.
Install the Roung Engine in the ACX7348 Router
Before you install a Roung Engine, ensure that you have an electrostac discharge (ESD) grounding
strap.
To install a Roung Engine:
1. Wrap and fasten one end of the ESD grounding strap around your bare wrist, and connect the other
end of the strap to one of the ESD points on the chassis.
2. If a Roung Engine blank is installed, press the handles on the blank and gently pull out the blank
from the slot.
3. Remove the new Roung Engine from the anstac bag, and inspect it for any damage before
installing it in the chassis.
119