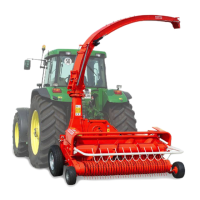
Attaching to a CLAAS Forage Harvester
KM00321,0000266 1901FEB101/2
KM00321,0000266 1901FEB102/2
Adjust Rotary Harvesting Unit Tilt
Depending on the condition of the crop, the rotary
harvesting unit can be engaged in different positions.
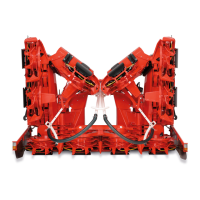
Adjustment for rotary harvesting units with tilt frame
To guide the rotary harvesting unit flat on the ground,
install mounting bracket (A) on both sides as shown in
illustration 1 (factory setting).
In certain harvesting conditions, mounting bracket (A)
can be reversed on both sides to obtain a larger angle to
the ground.
Procedure:
•
Remove quicklock pin and pull out pin (B).
•
Reverse mounting bracket (A) on both sides and
reinstall it.
•
Install pin (B) and secure with quicklock pin.
IMPORTANT: For normal harvesting conditions,
the flat engagement position (illustration
1) is recommended.
A—Mounting bracket B—Pin
KM1001086 —UN—29JAN10
Adjustment for rotary harvesting units with rigid frame
To guide the rotary harvesting unit flat on the ground,
install mounting bracket (A) on both sides in bore 1
(factory setting).
In certain harvesting conditions, mounting bracket (A)
can be moved on both sides to obtain a larger angle to
the ground.
Procedure:
•
Loosen nut (B) and remove pin (C).
•
Move mounting bracket into one of the three possible
positions.
•
Tighten nut (B).
•
Install pin (C) and secure it.
IMPORTANT: For normal harvesting conditions,
the flat engagement position (bore 1)
is recommended.
KM1001087 —UN—29JAN10
A—Mounting bracket
B—Nut
C—Pin
253
040810
PN=28