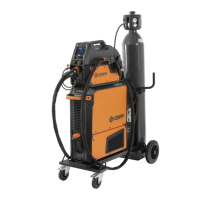
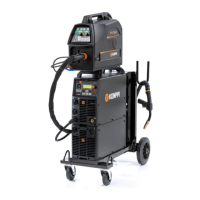
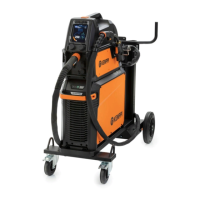
X8 MIG WELDER 2.5 Operation
2.
Connect the voltage sensing cable from the wire feeder to the welding piece.
3.
Adjust the welding parameters.
4.
Weld for at least 4 welds of 5 seconds.
With several welds, the measurement result is more accurate.
The welder calibrates to the length of the interconnection cable. The values are saved, so you
only need to calibrate once after installing the welder package.
5.
After the calibration, you can view arc voltage on Control Pad and the wire feeder control
panel during and after welding. To view the arc voltage on Control Pad display, select
Voltage display mode. Arc voltage is the default setting.
Note:
It is recommendable to keep the voltage sensing cable connected at all times.
However, if the cable is not connected, the power source calculates the arc voltage
according to the calibrating values.
Note:
Repeat steps 1-4 every time you change the length of the interconnection or earth
return cable.
2.5.2.3 Connecting to Kemppi cloud services
To use the Kemppi cloud services, connect the welding machine to the Internet either through a
WLAN or a wired connection. Form the connection by using the Cloud services view in the View
menu. You can also see the status of the Cloud services there.
Note:
Cloud communication requires that your network firewall allows outbound data through
ports 80 (HTTP), 123 (NTP), 443 (HTTPS) and 8883 (Secure MQTT).
Kemppi cloud services include, for example, My Fleet and WeldEye.
For more information on My Fleet, see My Fleet. For more information on WeldEye, see
Introduction to WeldEye for welding procedure and qualification management on page 10 . For
more information on operating Control Pad, see Control Pad on page 94.
Proceed as follows:
1.
Go to the View menu > Cloud services > WiFi settings.
OPERATING MANUAL | EN 114
©
KEMPPI 2017 | 1817
 Loading...