Chapter 13 249
Assembly Replacement Procedures
Hard Disk Drive
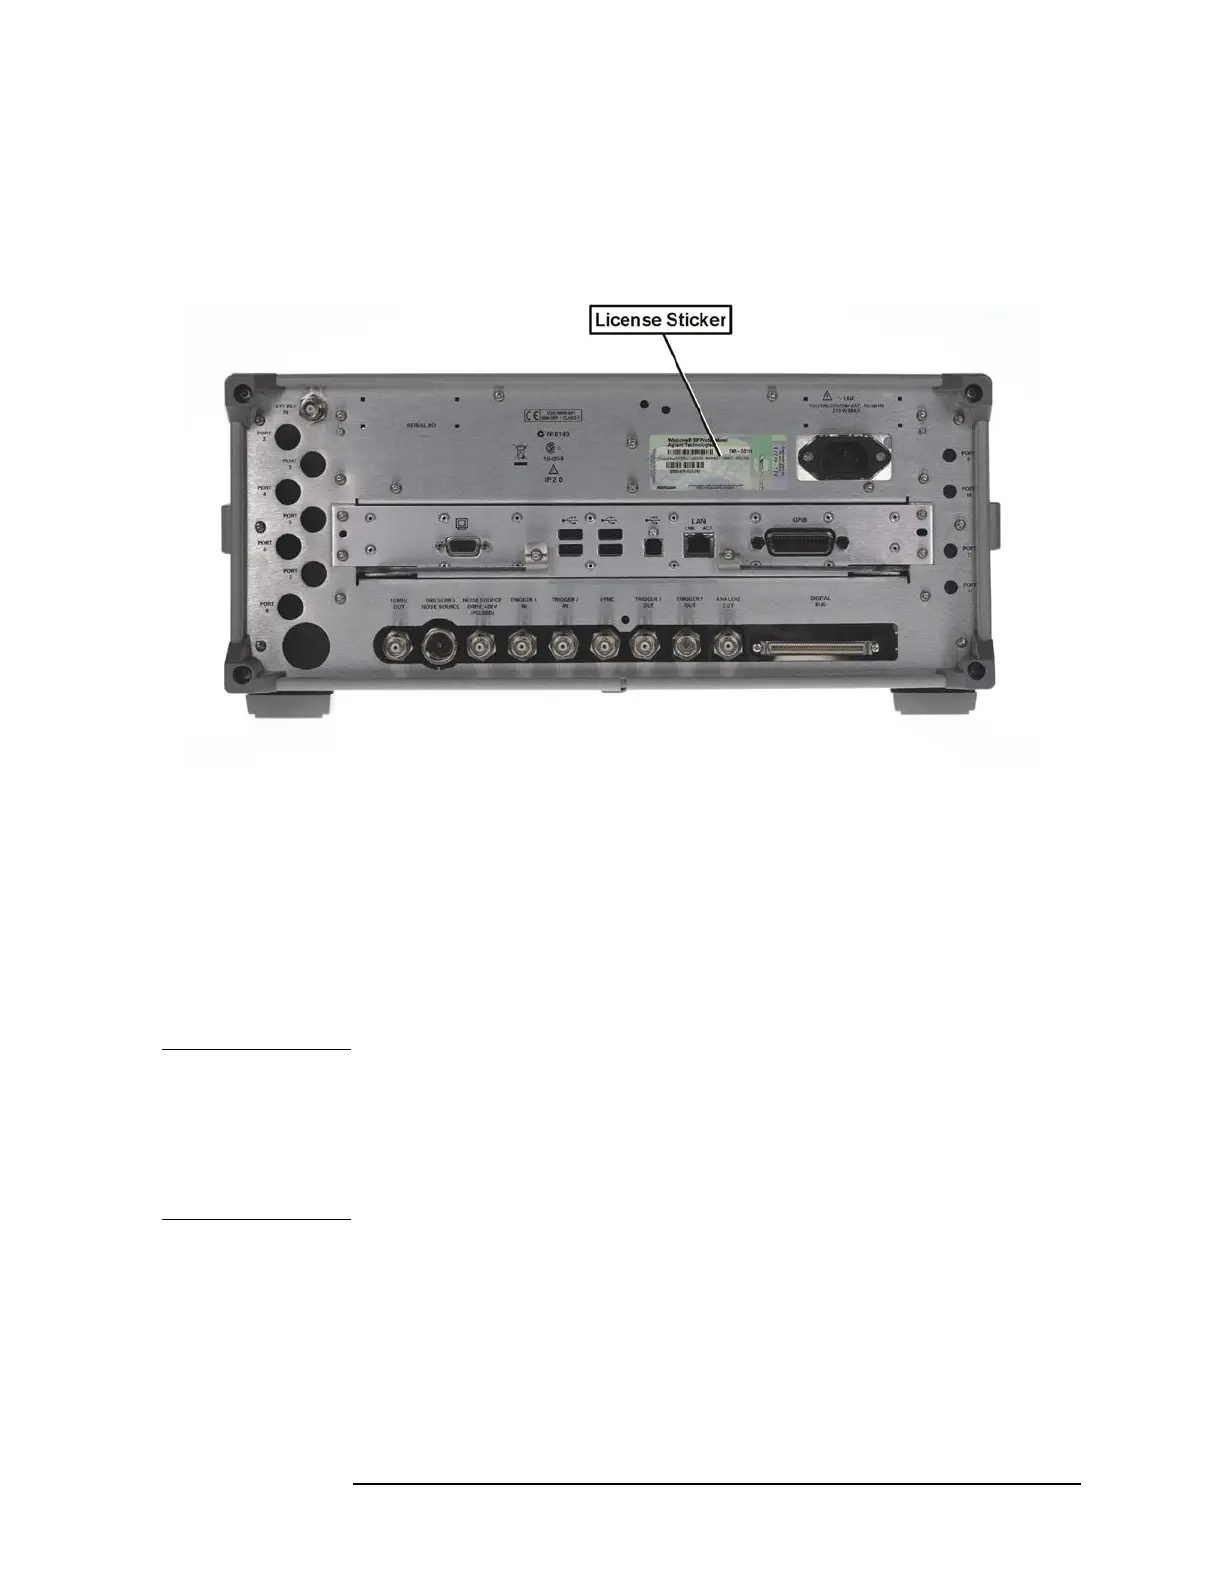
12. Locate the Windows XP License Sticker that came with the replacement hard
drive and apply the sticker to the rear of the instrument as shown in Figure
13-16, covering the existing sticker if present.
Figure 13-16 Windows License Sticker Rear Panel Location
Powering On the Instrument
1. Position the instrument so that you have easy access to the power cord and plug
it in.
2. Press the power switch (located in the lower left-hand corner of the analyzer’s
front panel) to turn the analyzer on.
Accepting the End-User License Agreement (EULA) Screen
NOTE A warning about accepting the Microsoft End-User License agreement will be
displayed since the analyzer Hard Disk Drive has been replaced. The Microsoft
End-User License agreement must be accepted the first time you see it so that
adjustments and verification tests can be performed. At the end of this procedure
the instrument recovery will reset the instrument to the factory Out-of-the-Box
state.

 Loading...


